

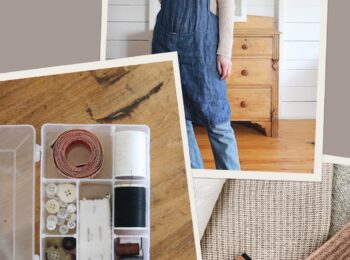


One fun fact about your resident Bee is that I love a good gift wrapping opportunity. Both my parents have always been really creative with how they wrap presents and I seem to have inherited a fondness for it. I’ve always loved beautiful wrapping paper and finding simple but impactful ways to make a gift look extra special.
Of course, gift wrap can be senselessly wasteful so I’ve been trying to be more mindful about the way I get my gift giving kicks without causing more harm than good.
Last year on my IG stories I shared how I’ve been reusing packing paper from my online orders to wrap gifts for the holidays. Those stories received lots of good feedback so I thought I’d share a closer look at how I’m wrapping gifts again this year.
Here’s a simple step by step look!
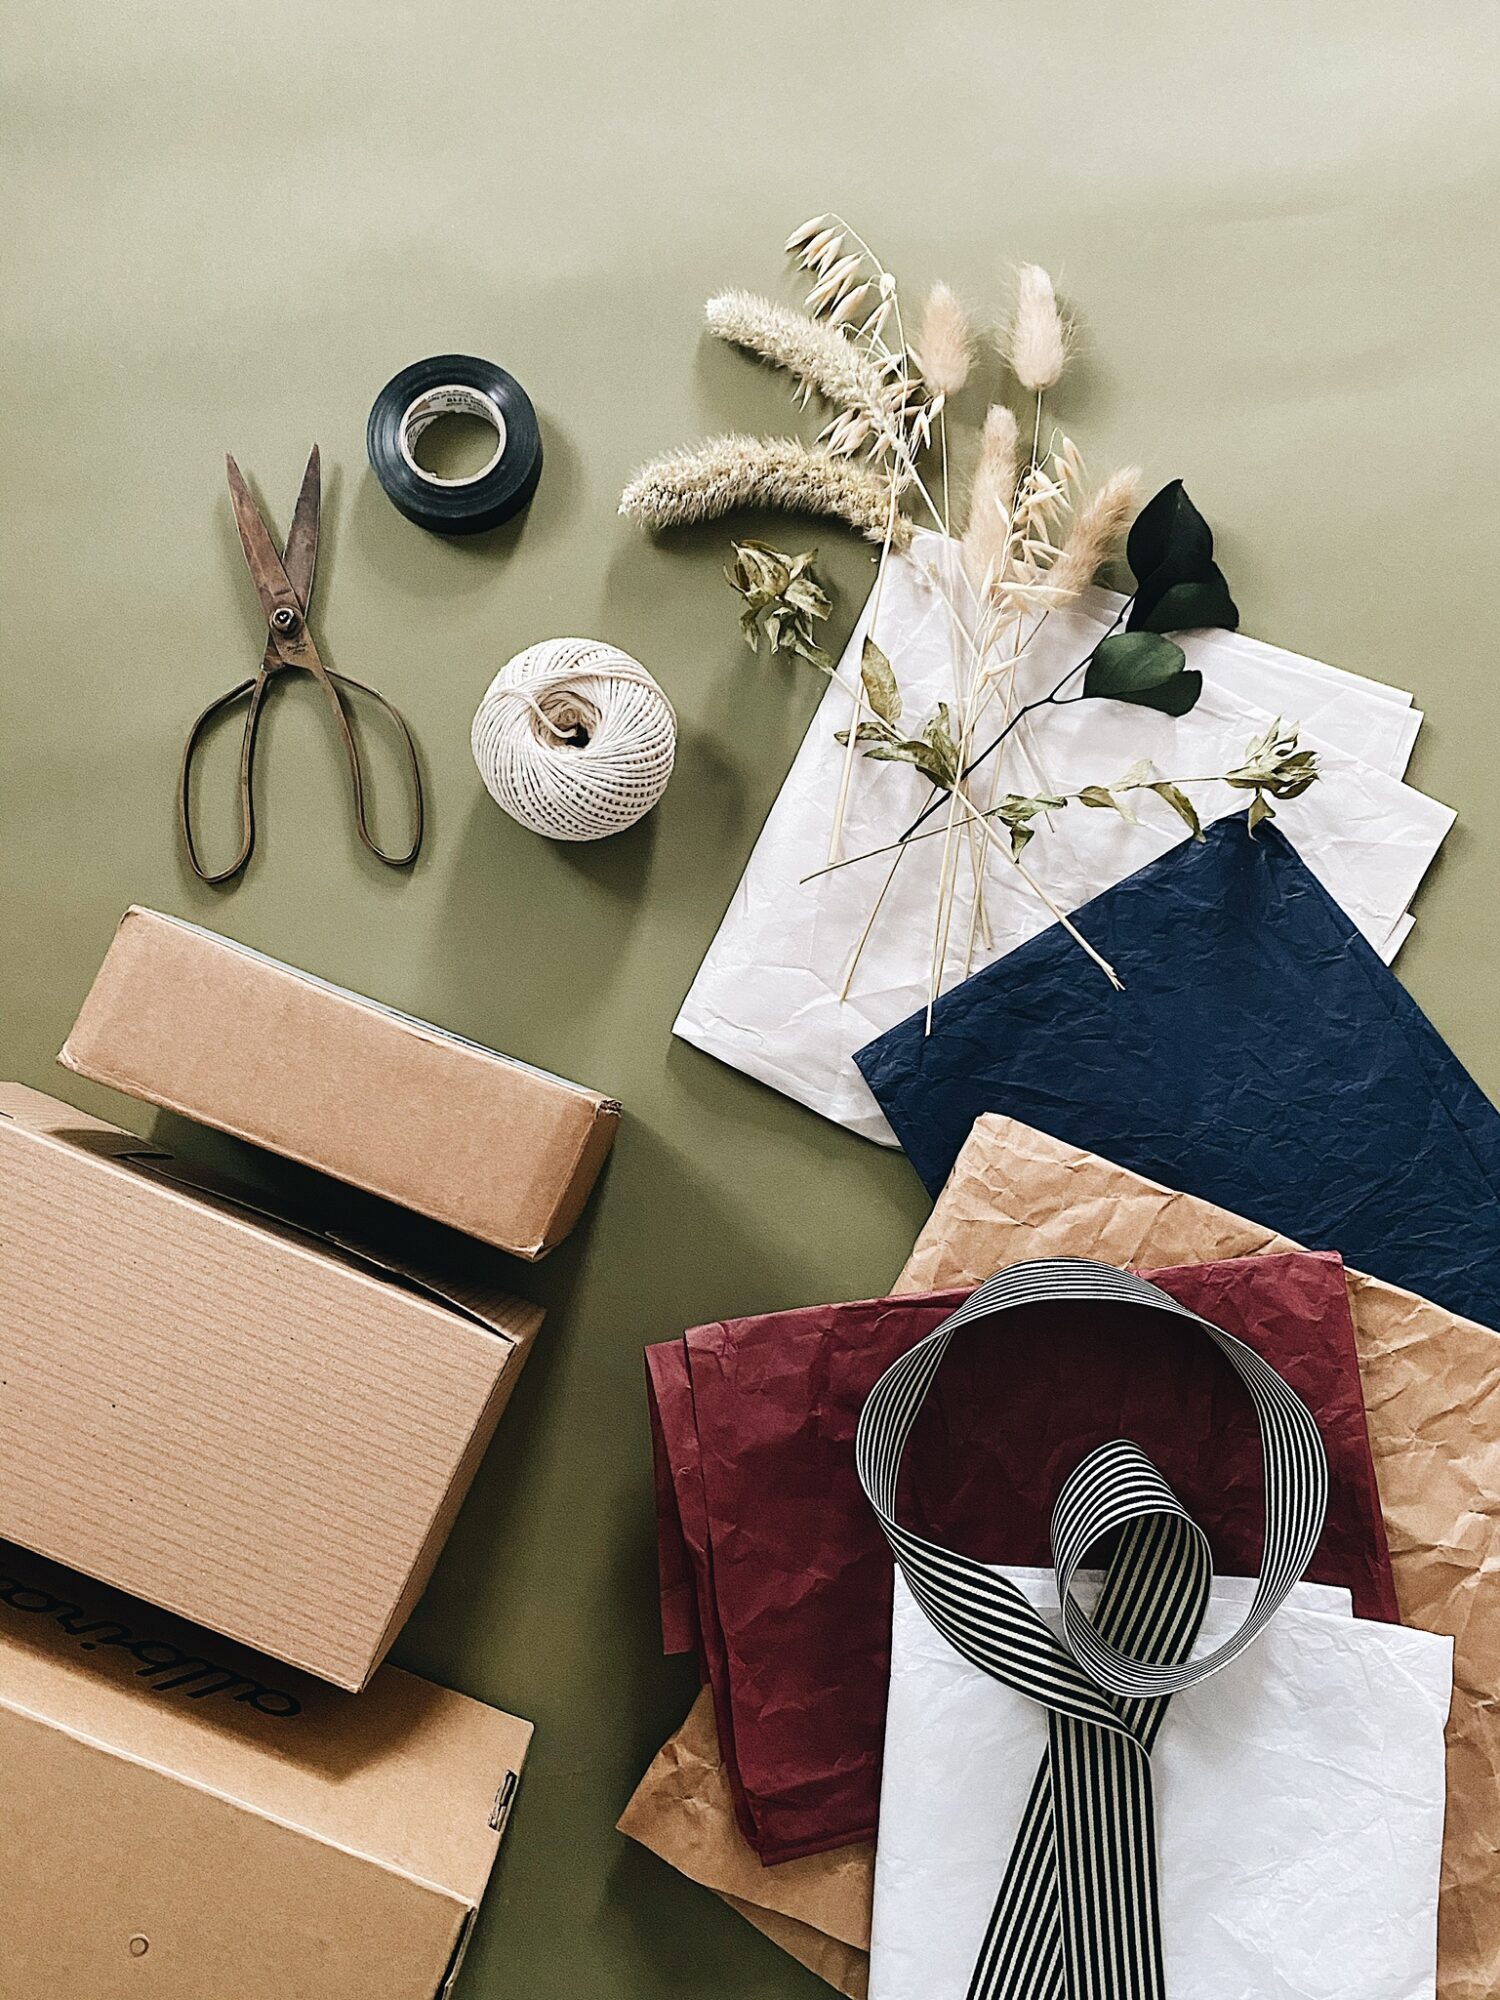
WHAT YOU NEED
- COLLECTED PAPERS – From online orders & deliveries. Much of my collection is craft paper or newsprint. It need not be just the pretty papers you keep. I have a couple of paper bag totes I use to store the collection. Newspaper, flyers or magazine pages will also do nicely!
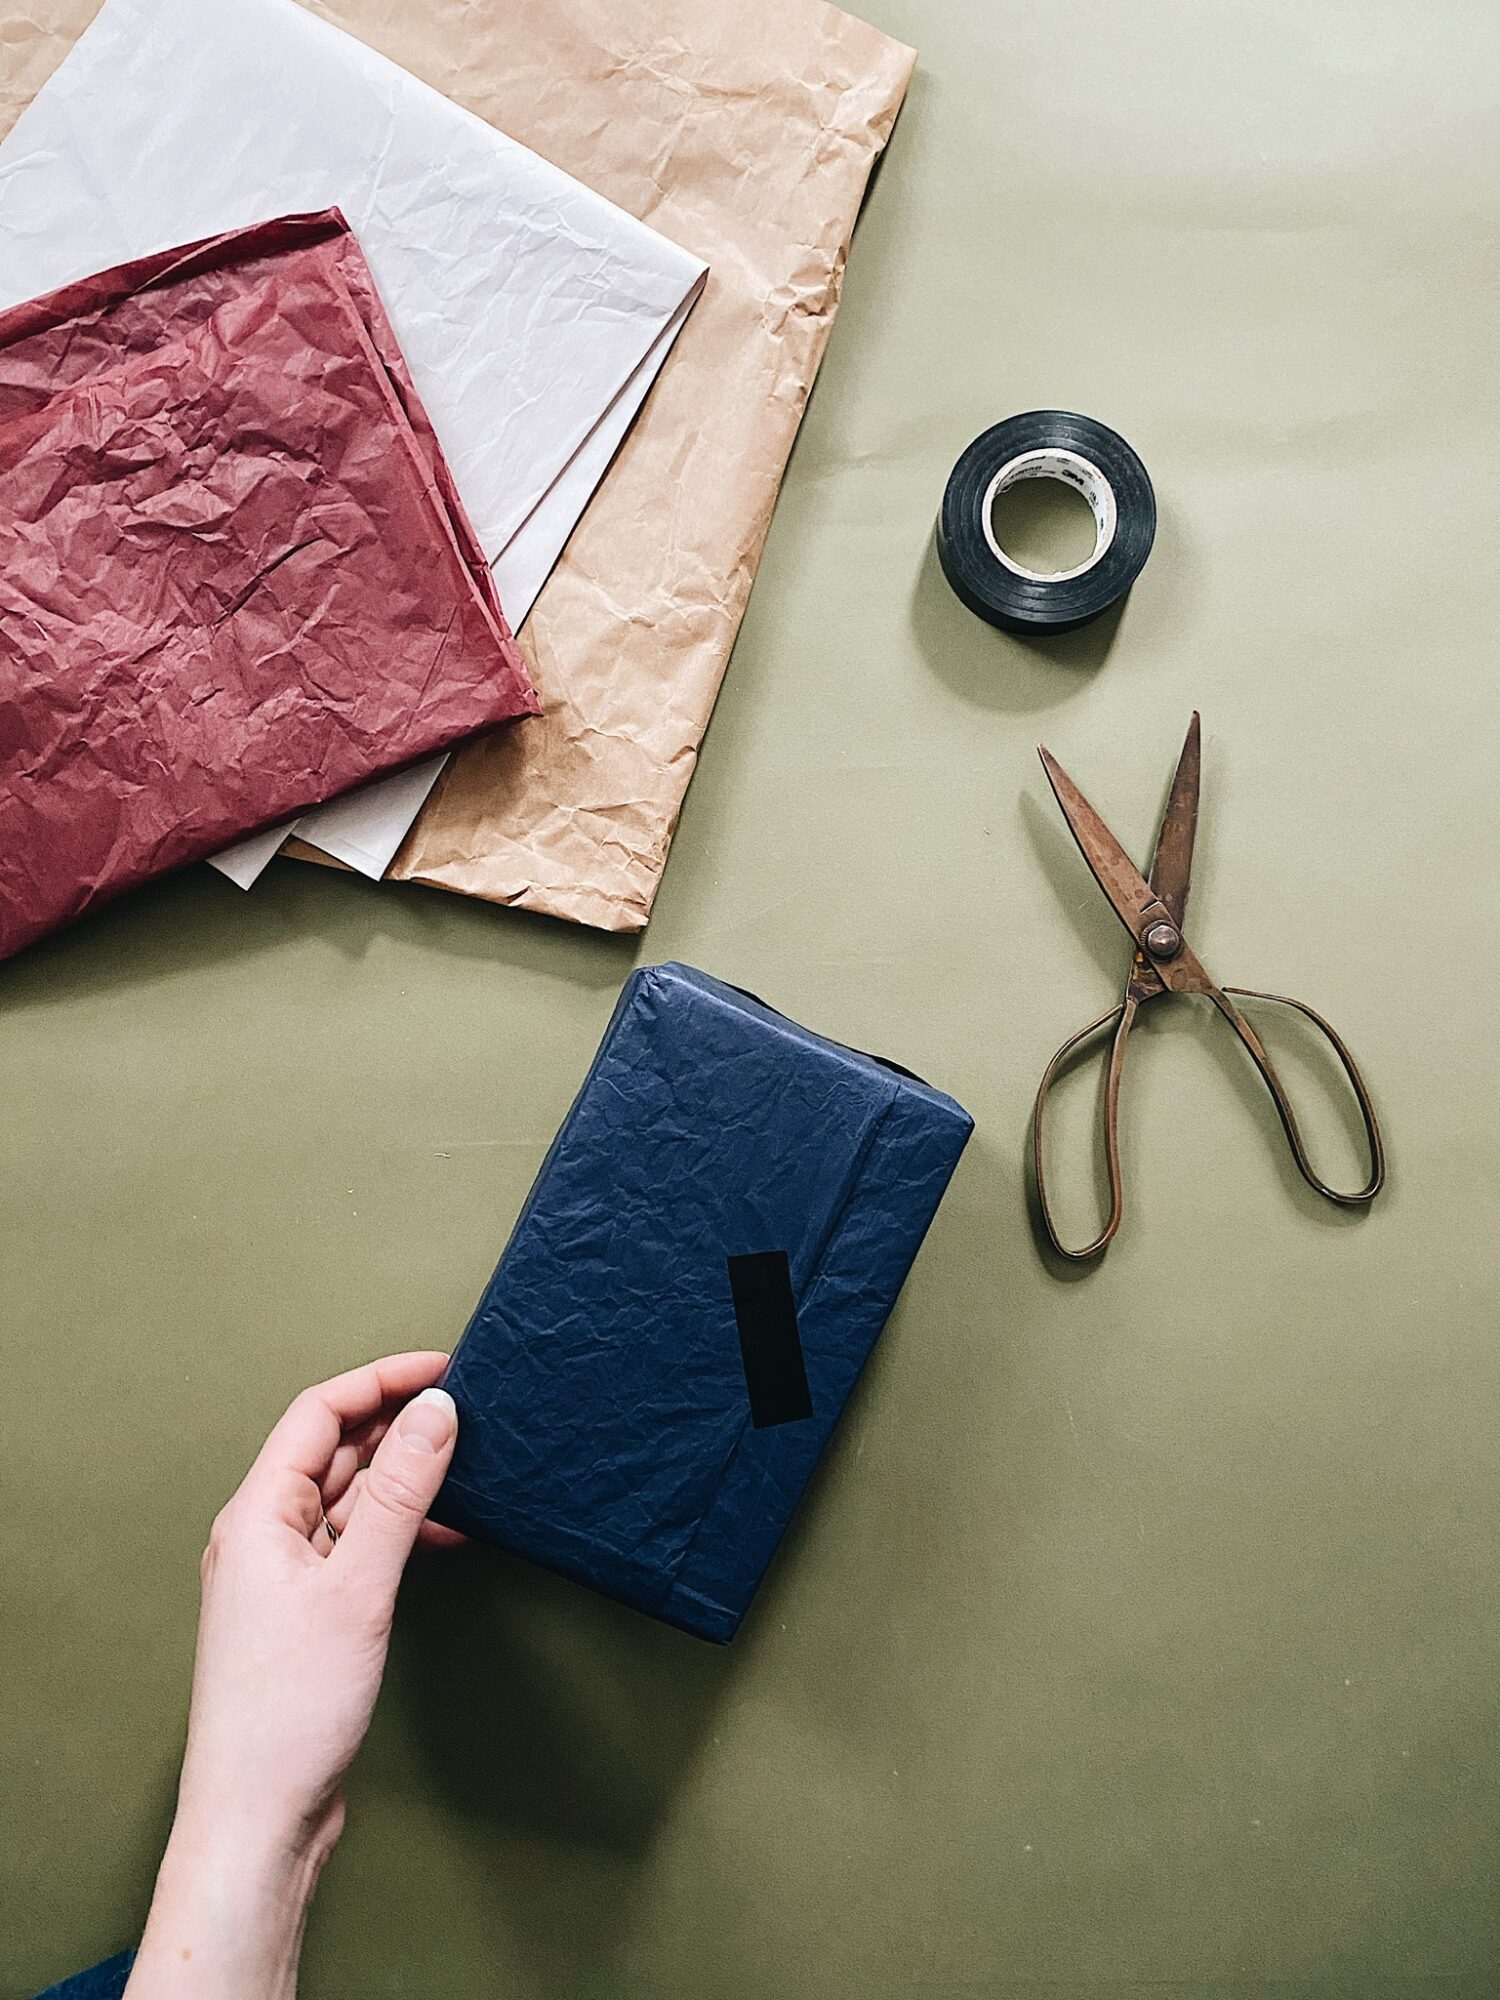
- TAPE – We had some electrical tape lying around and I love how it looks, plus it’s easy to unstick and re-stick on paper.
- KITCHEN TWINE – Any string will do but kitchen twine is usually 100% cotton and biodegradable.
- SAVED RIBBON – I always save pretty ribbon!
- SCISSORS – For snipping tape and string.
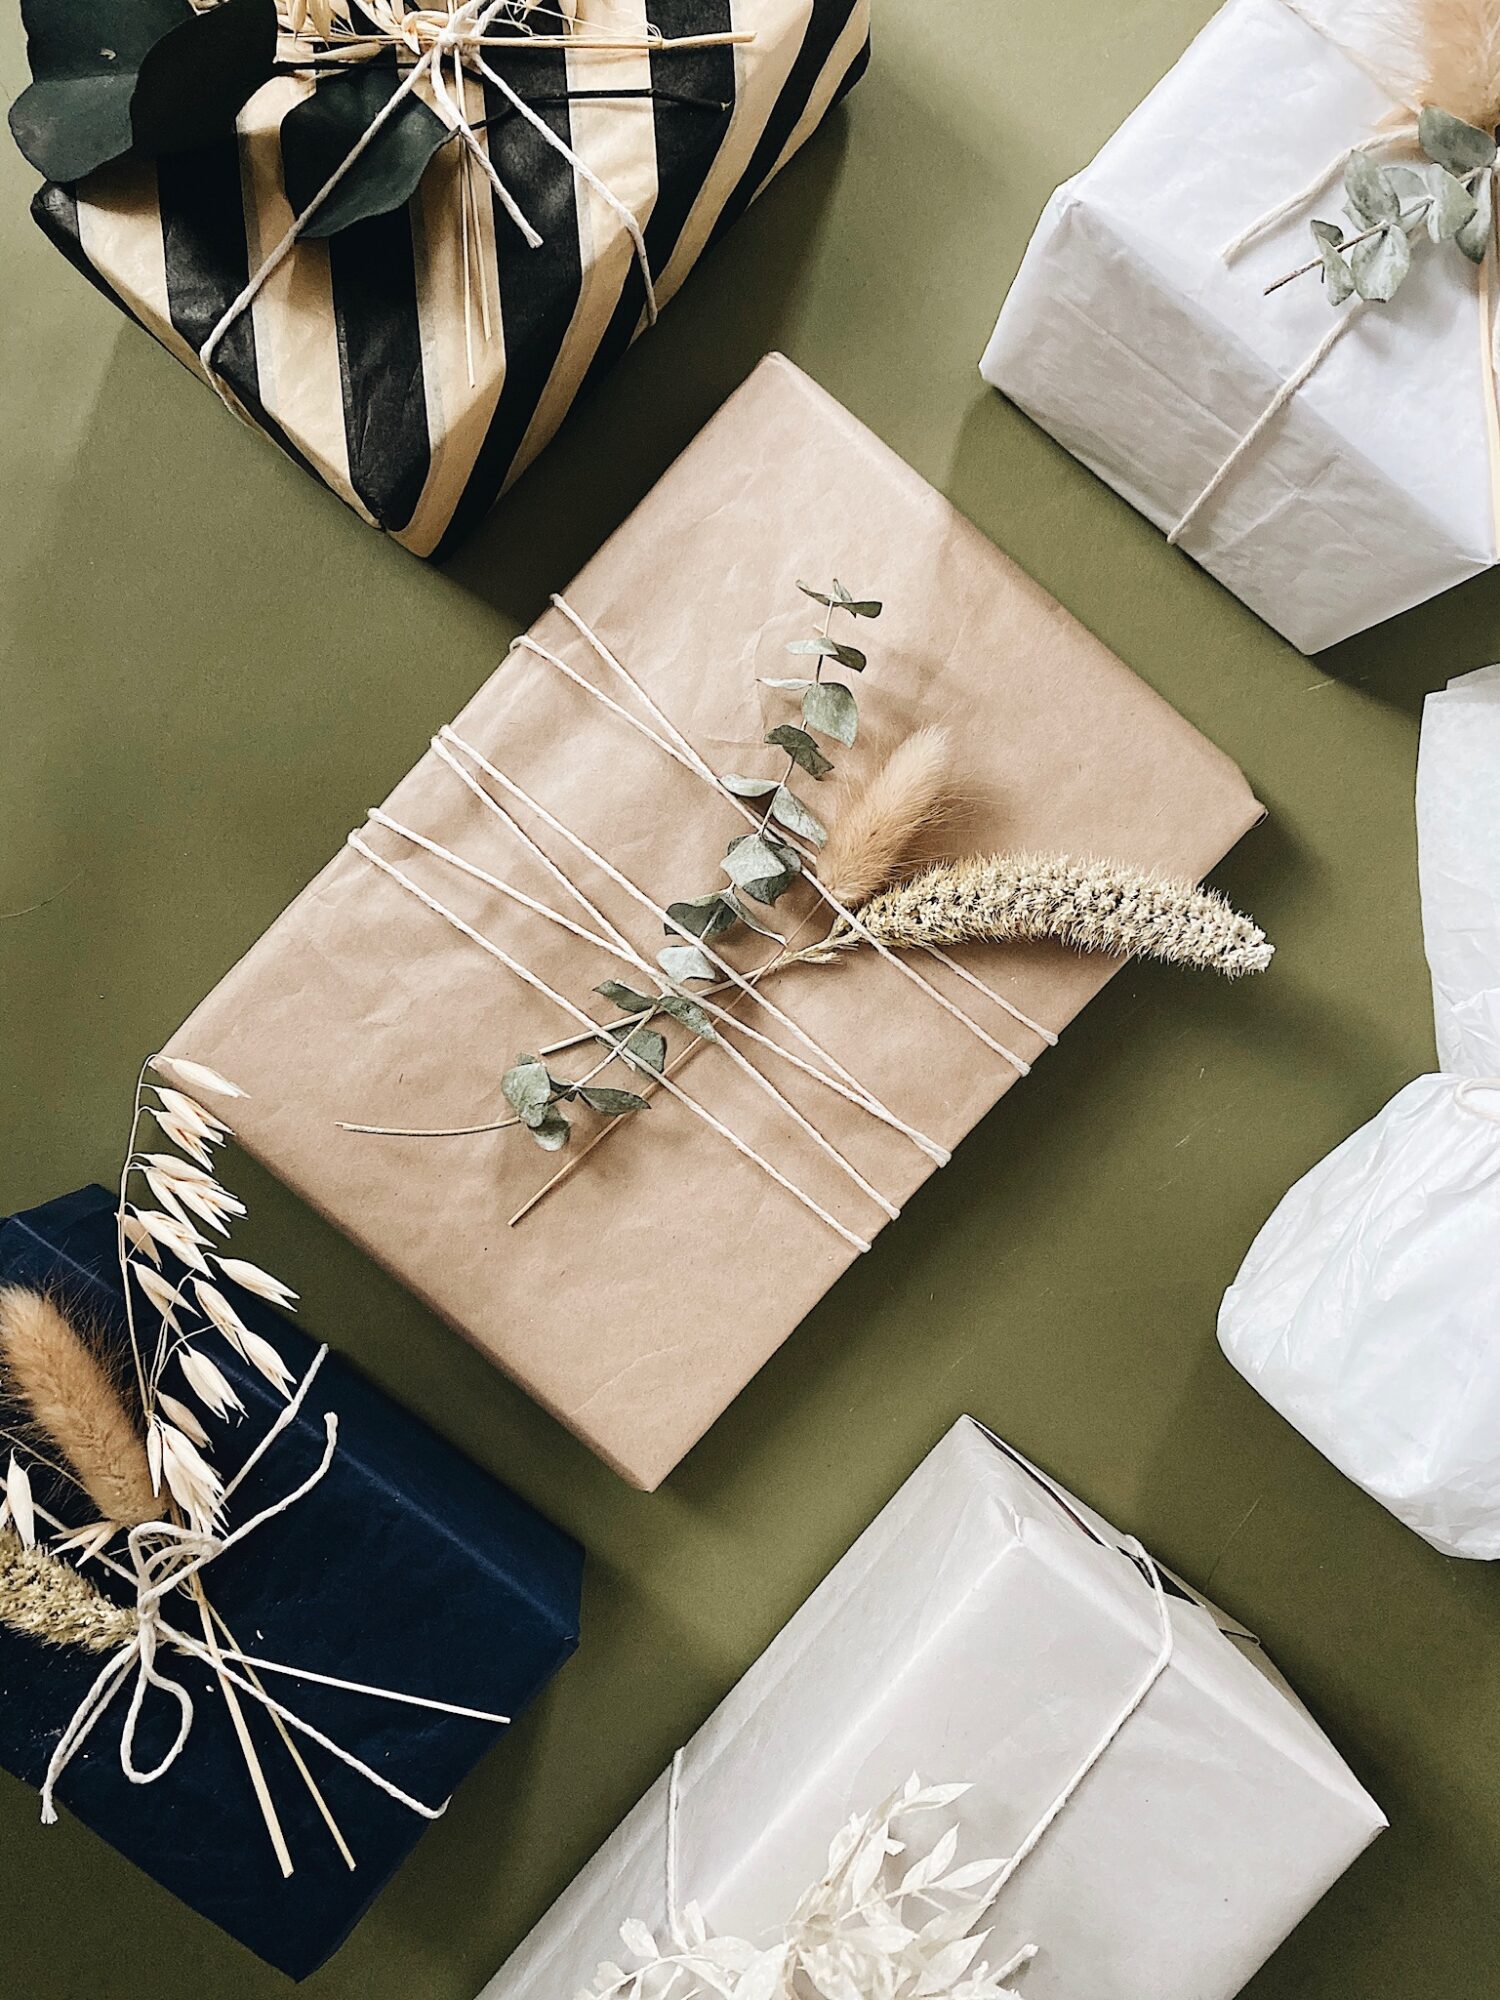
- DRIED SPRIGS – I got a bunch from a local florist in the fall but you could dry your own clippings too.
- YOUR GIFTS – In boxes as needed. I hang onto a variety of boxes in different sizes to use for gifts.
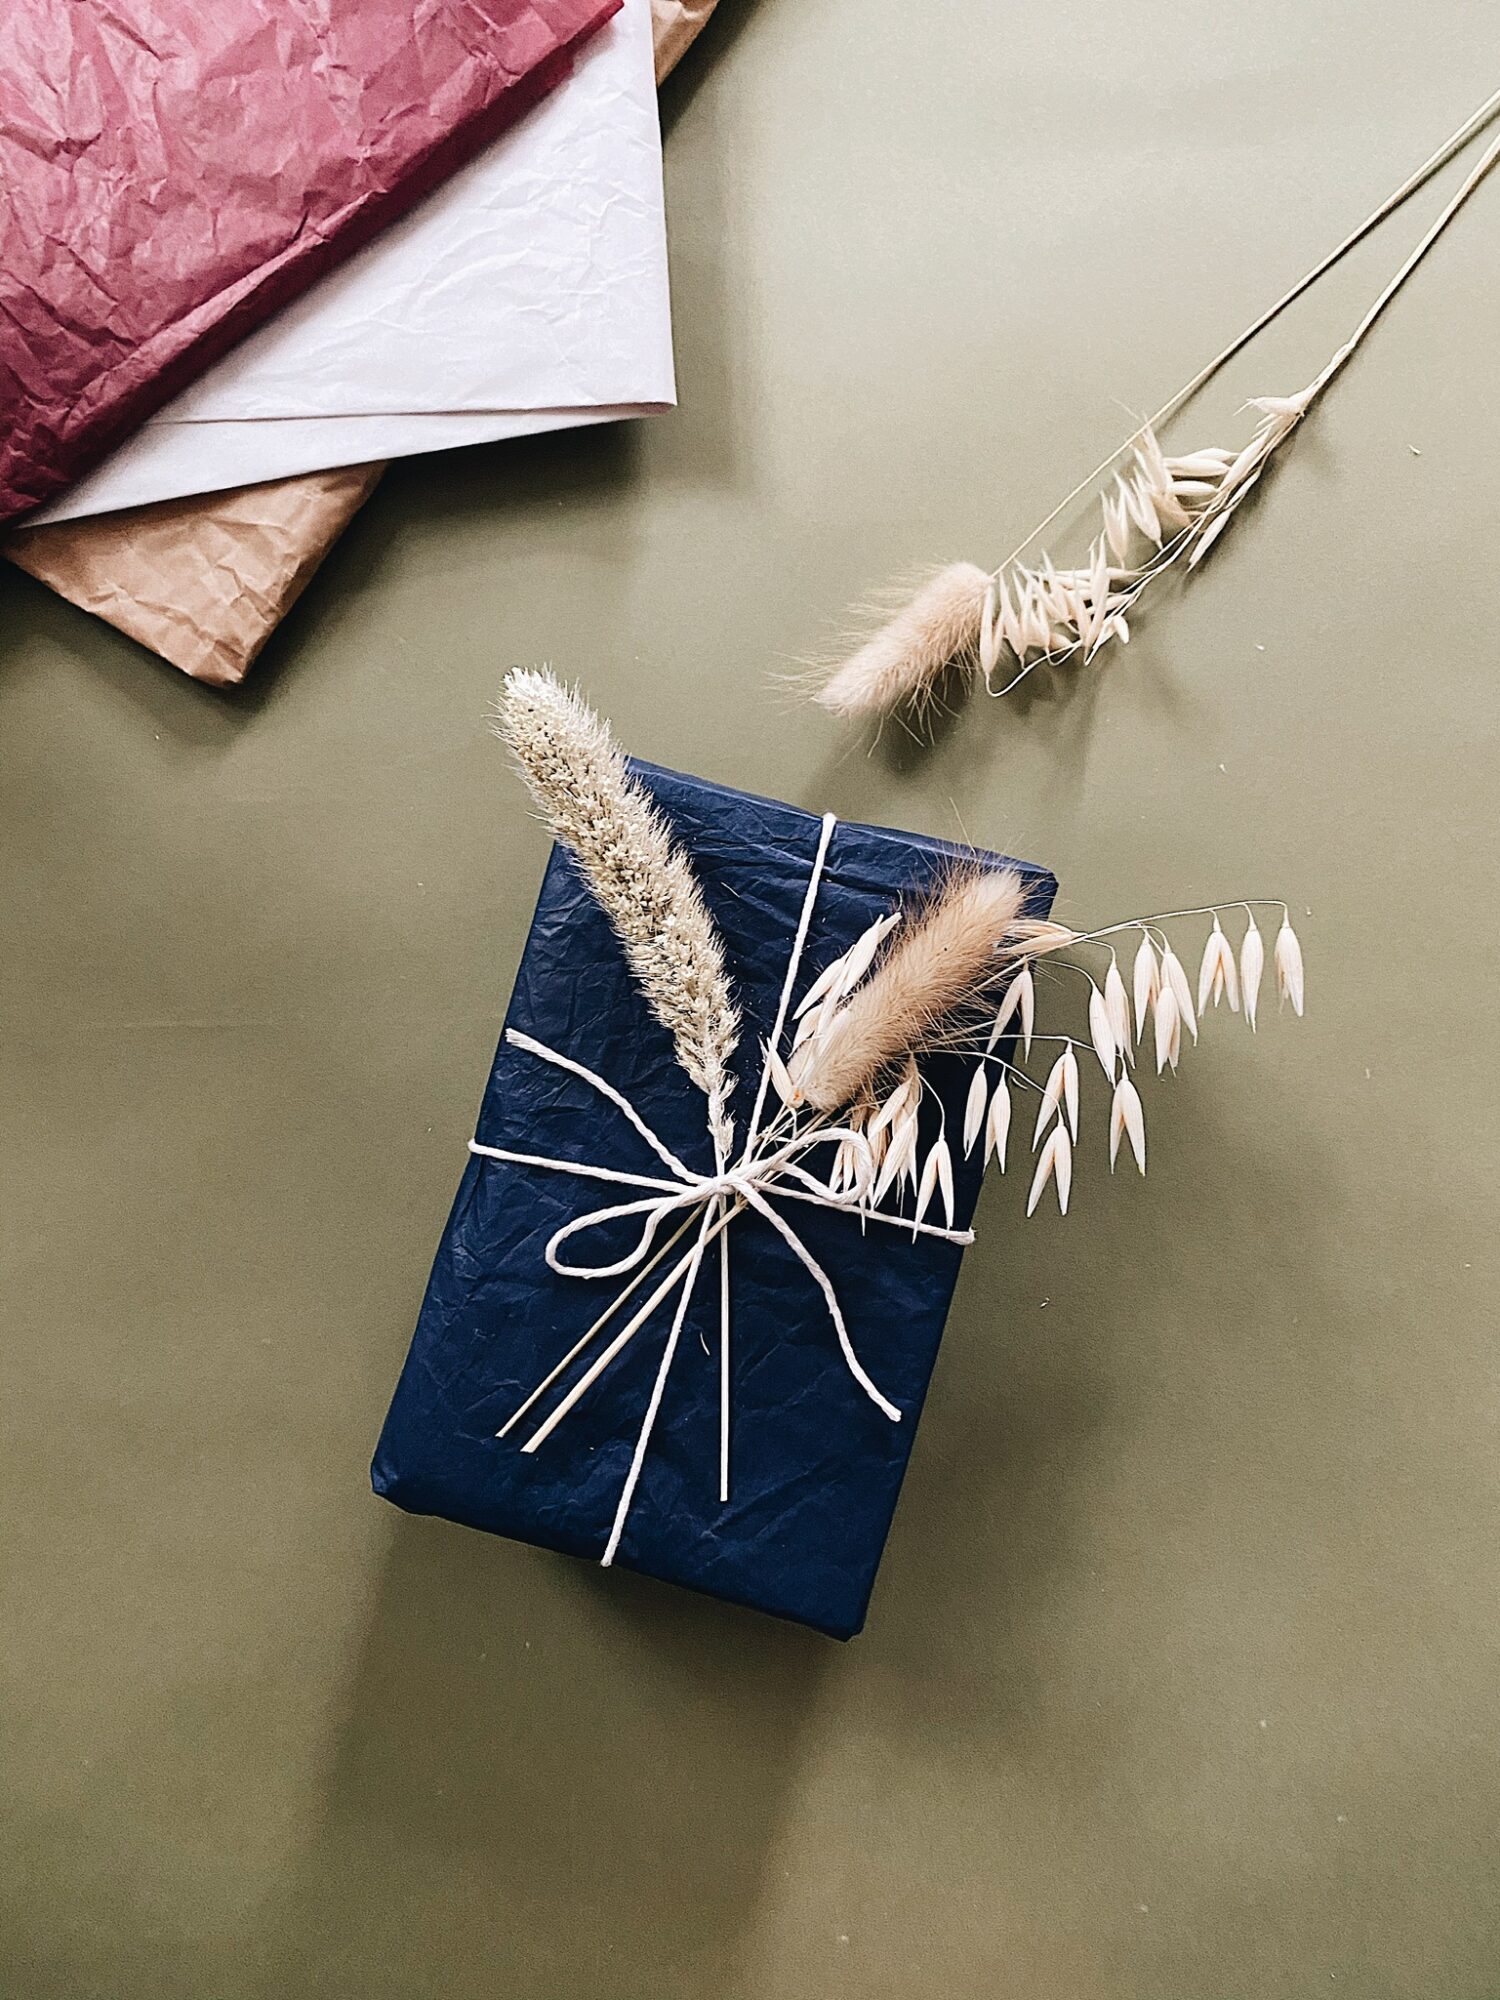
STEP 1
Choose your paper and wrap the gift. Use tape to secure paper. No worries if the paper is crinkled, that just adds some nice texture!
STEP 2
TO AVOID OVER/UNDER CUTTING THE STRING:
I usually measure about 4 times the longest length of the gift I’m wrapping with several inches extra. This works 99% of the time!
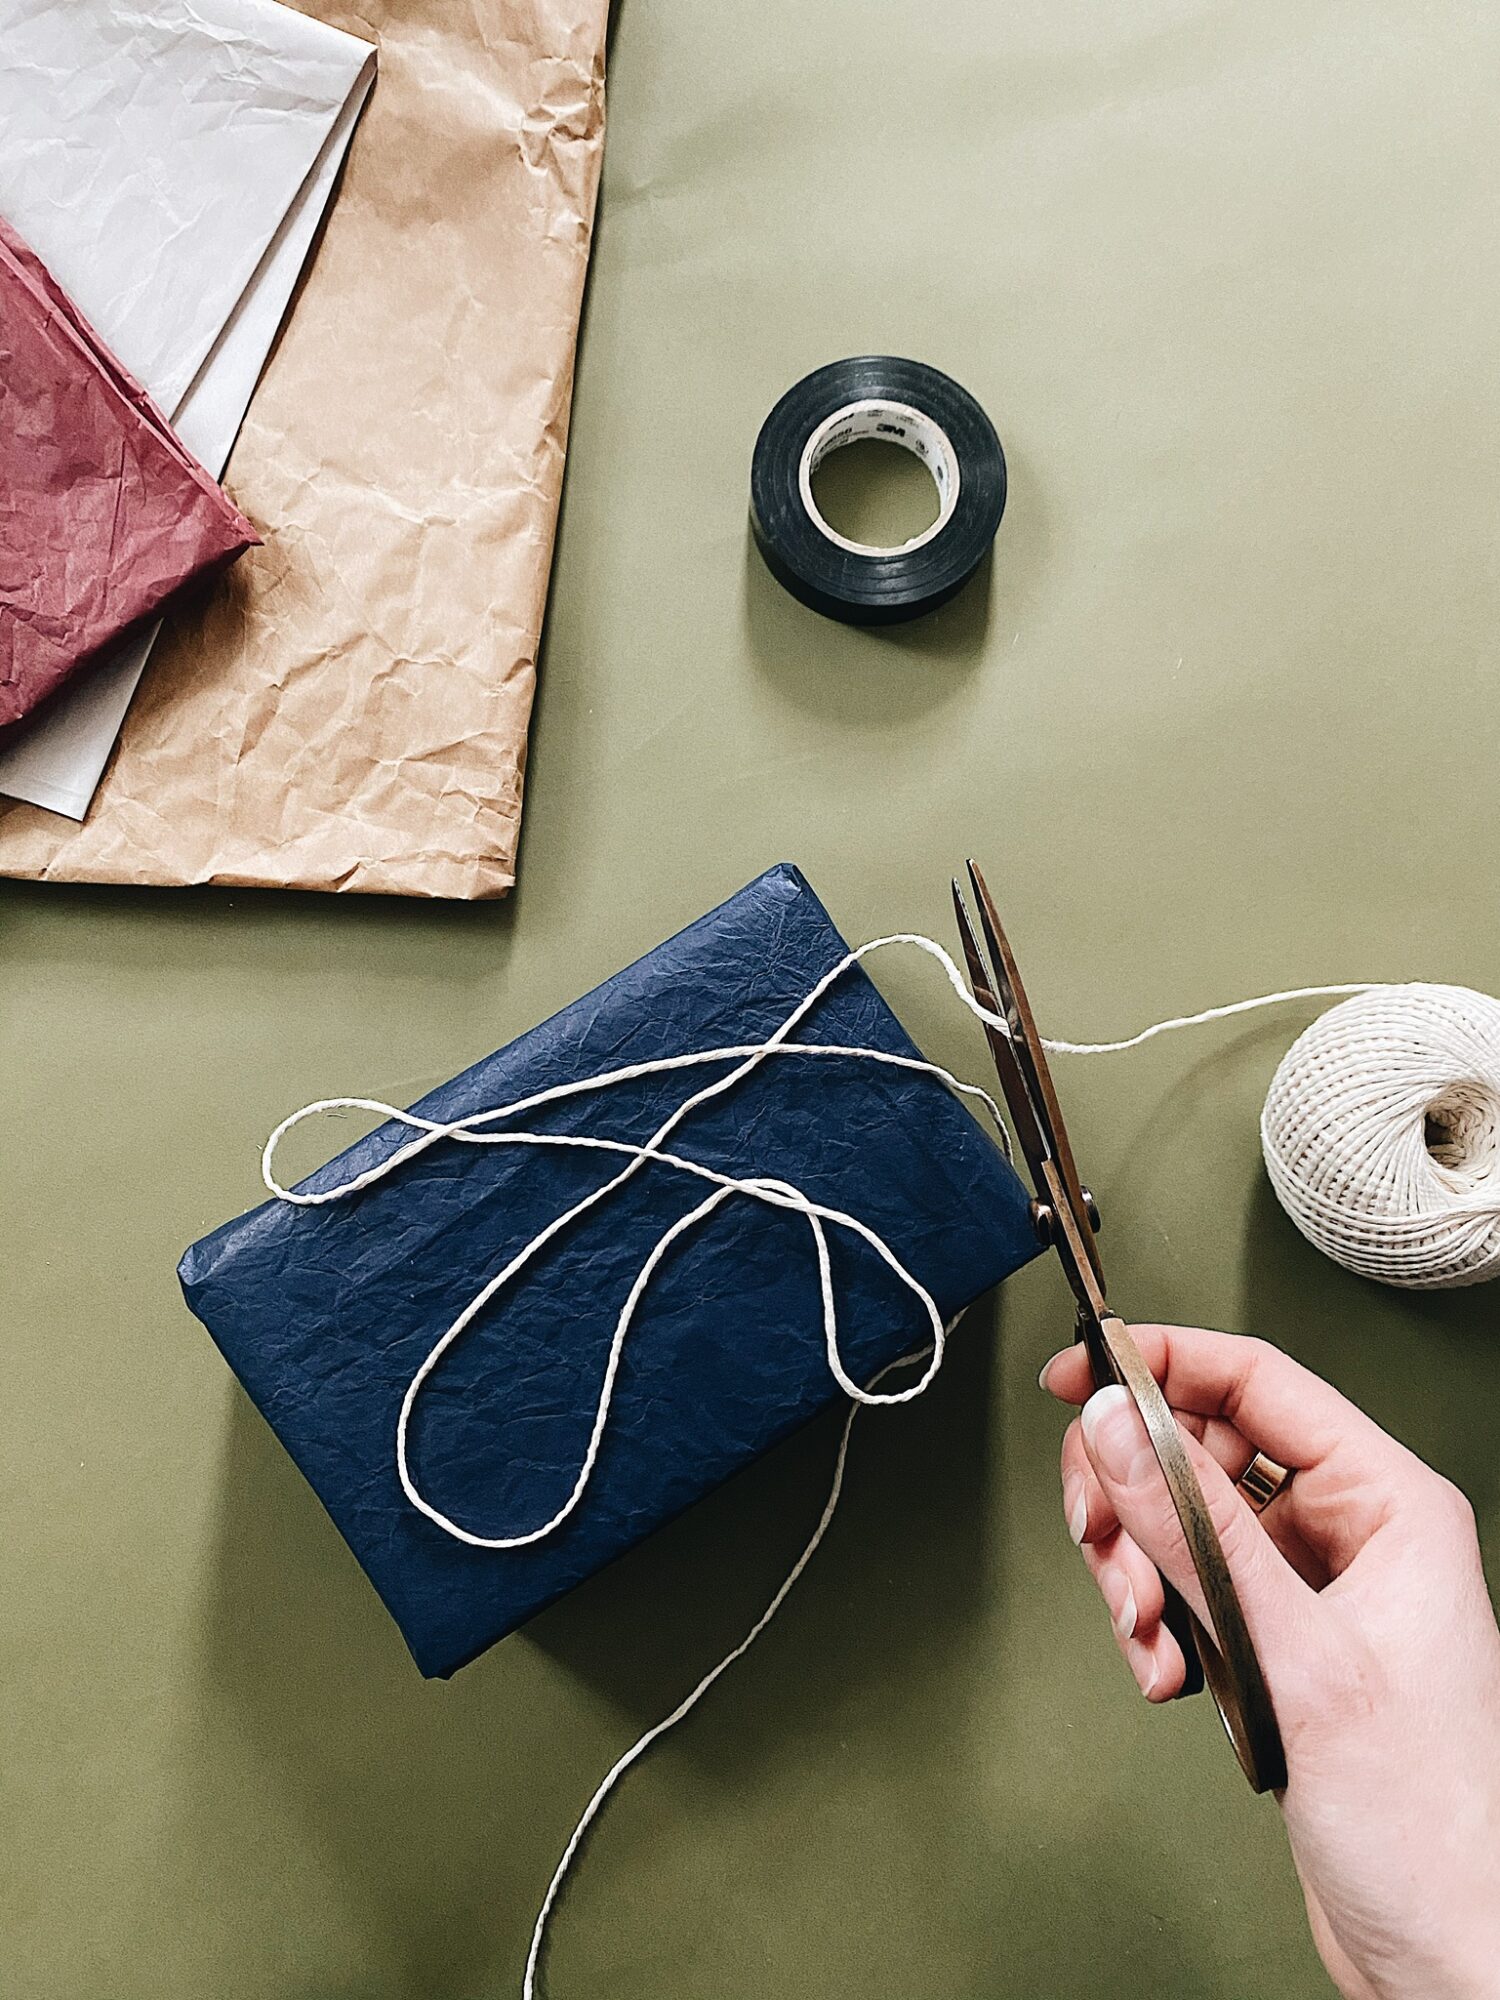
STEP 3
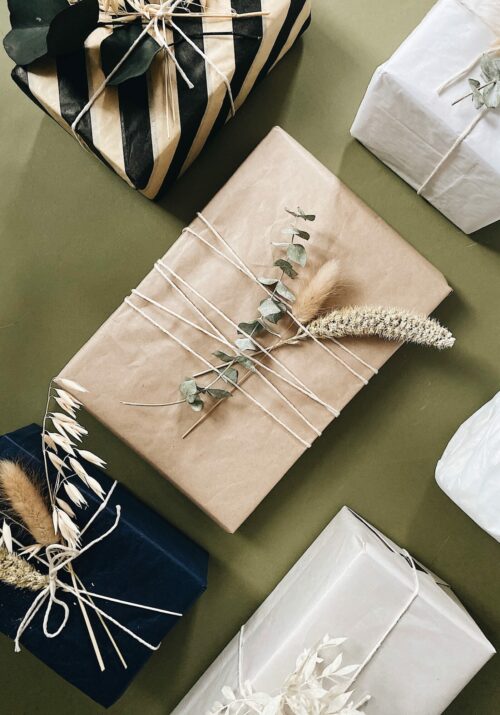
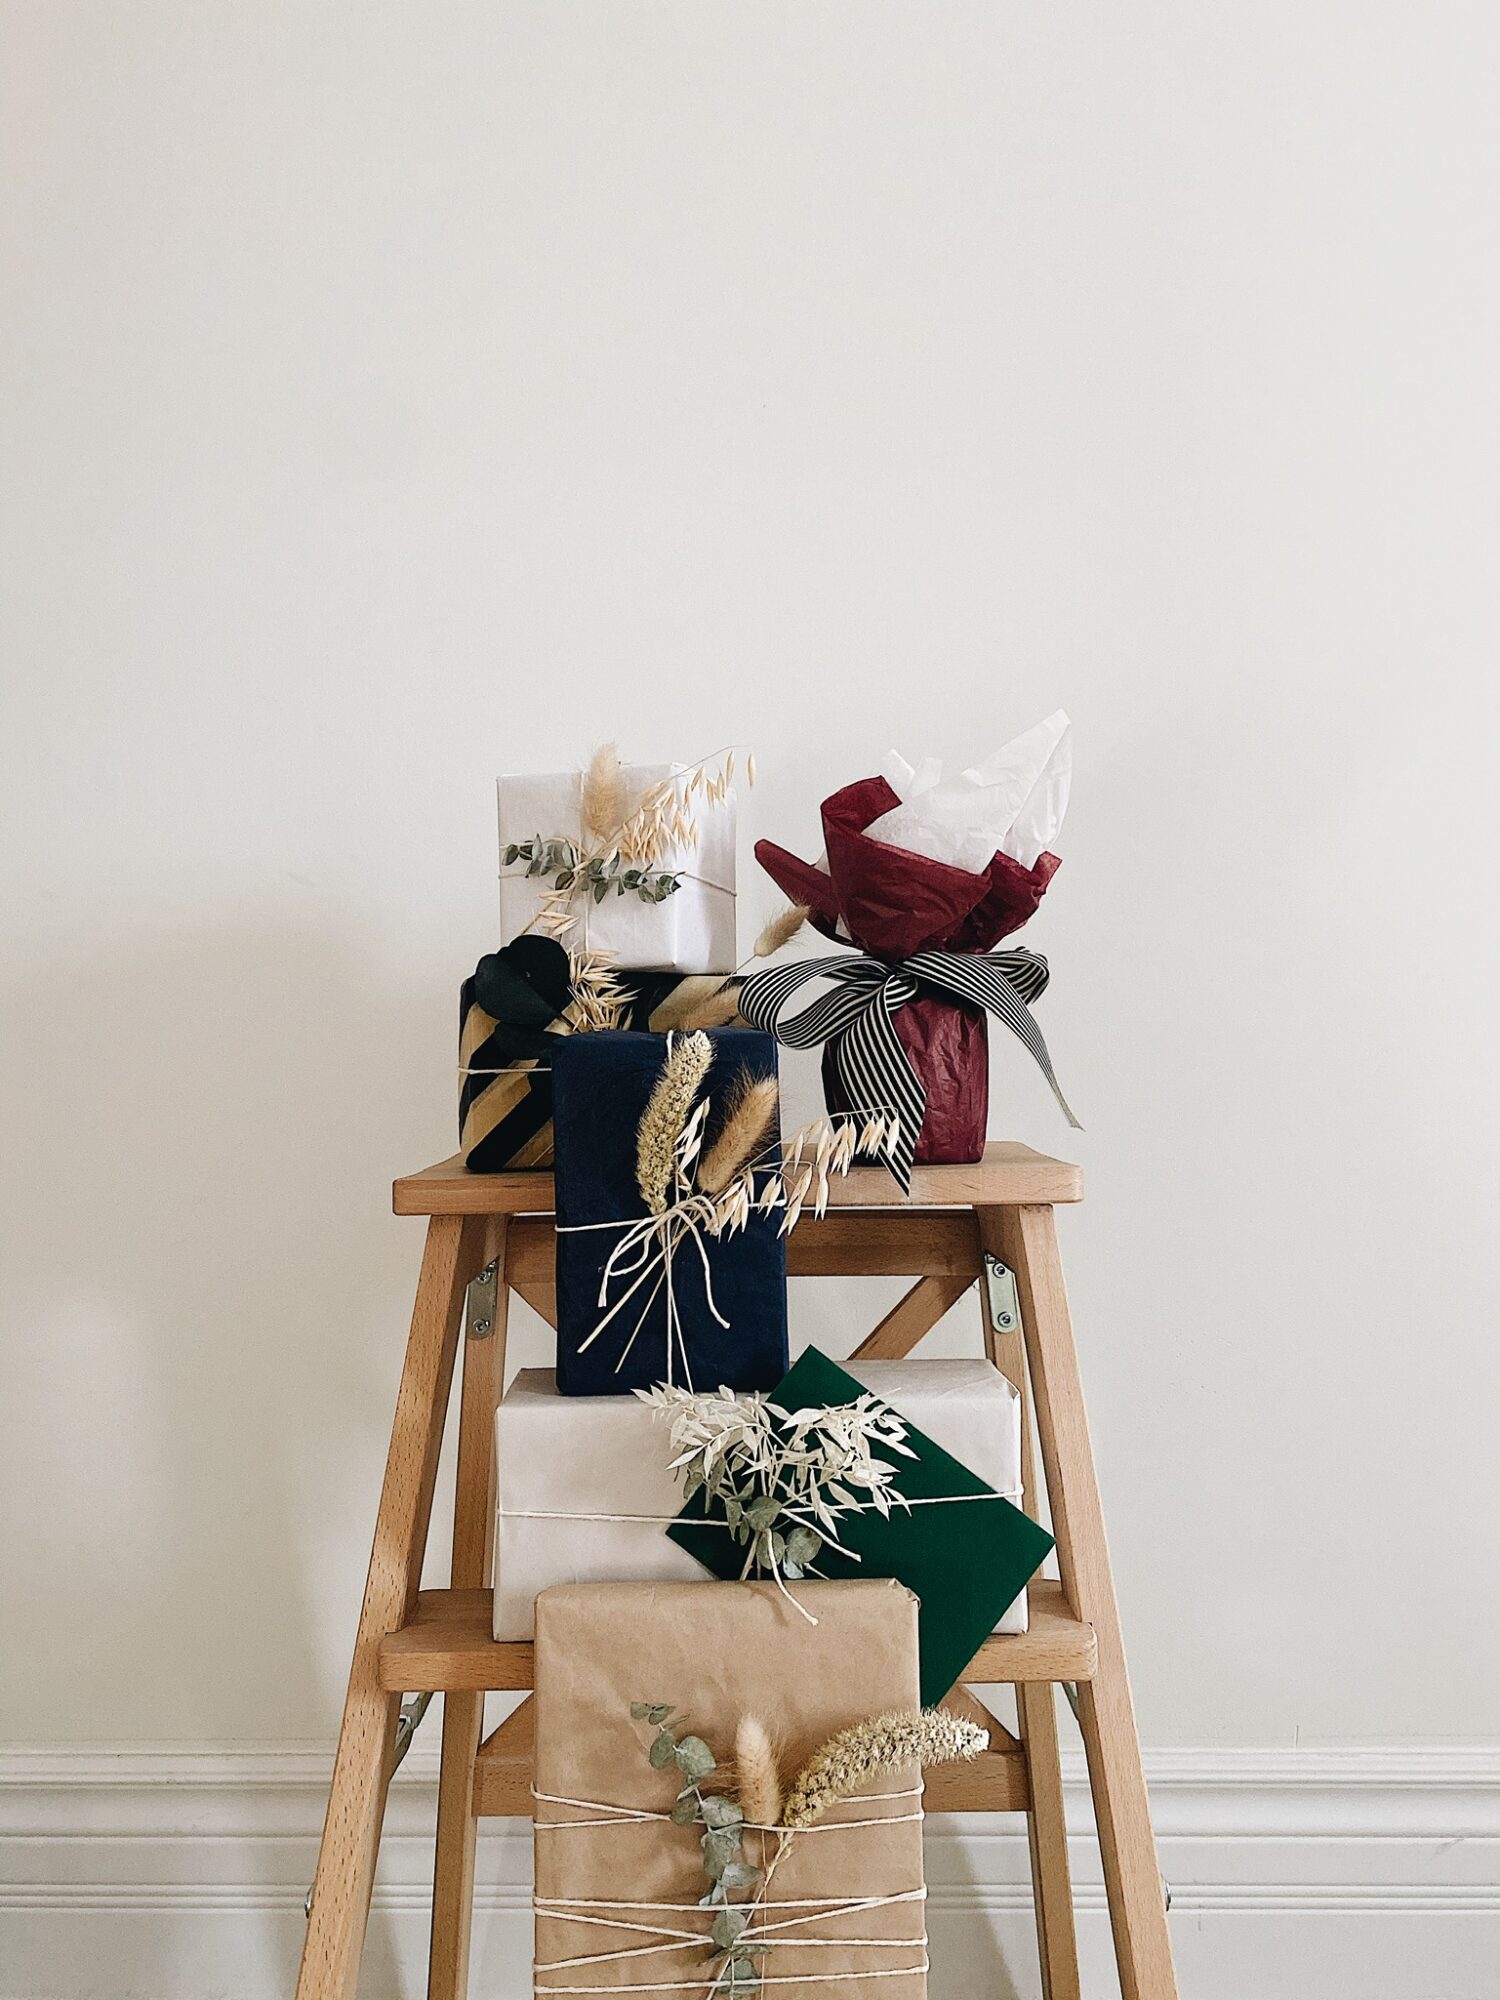
Wrap with ribbon or kitchen twine. Tie into a simple bow for easy opening or wrap around the middle of the gift a few times.
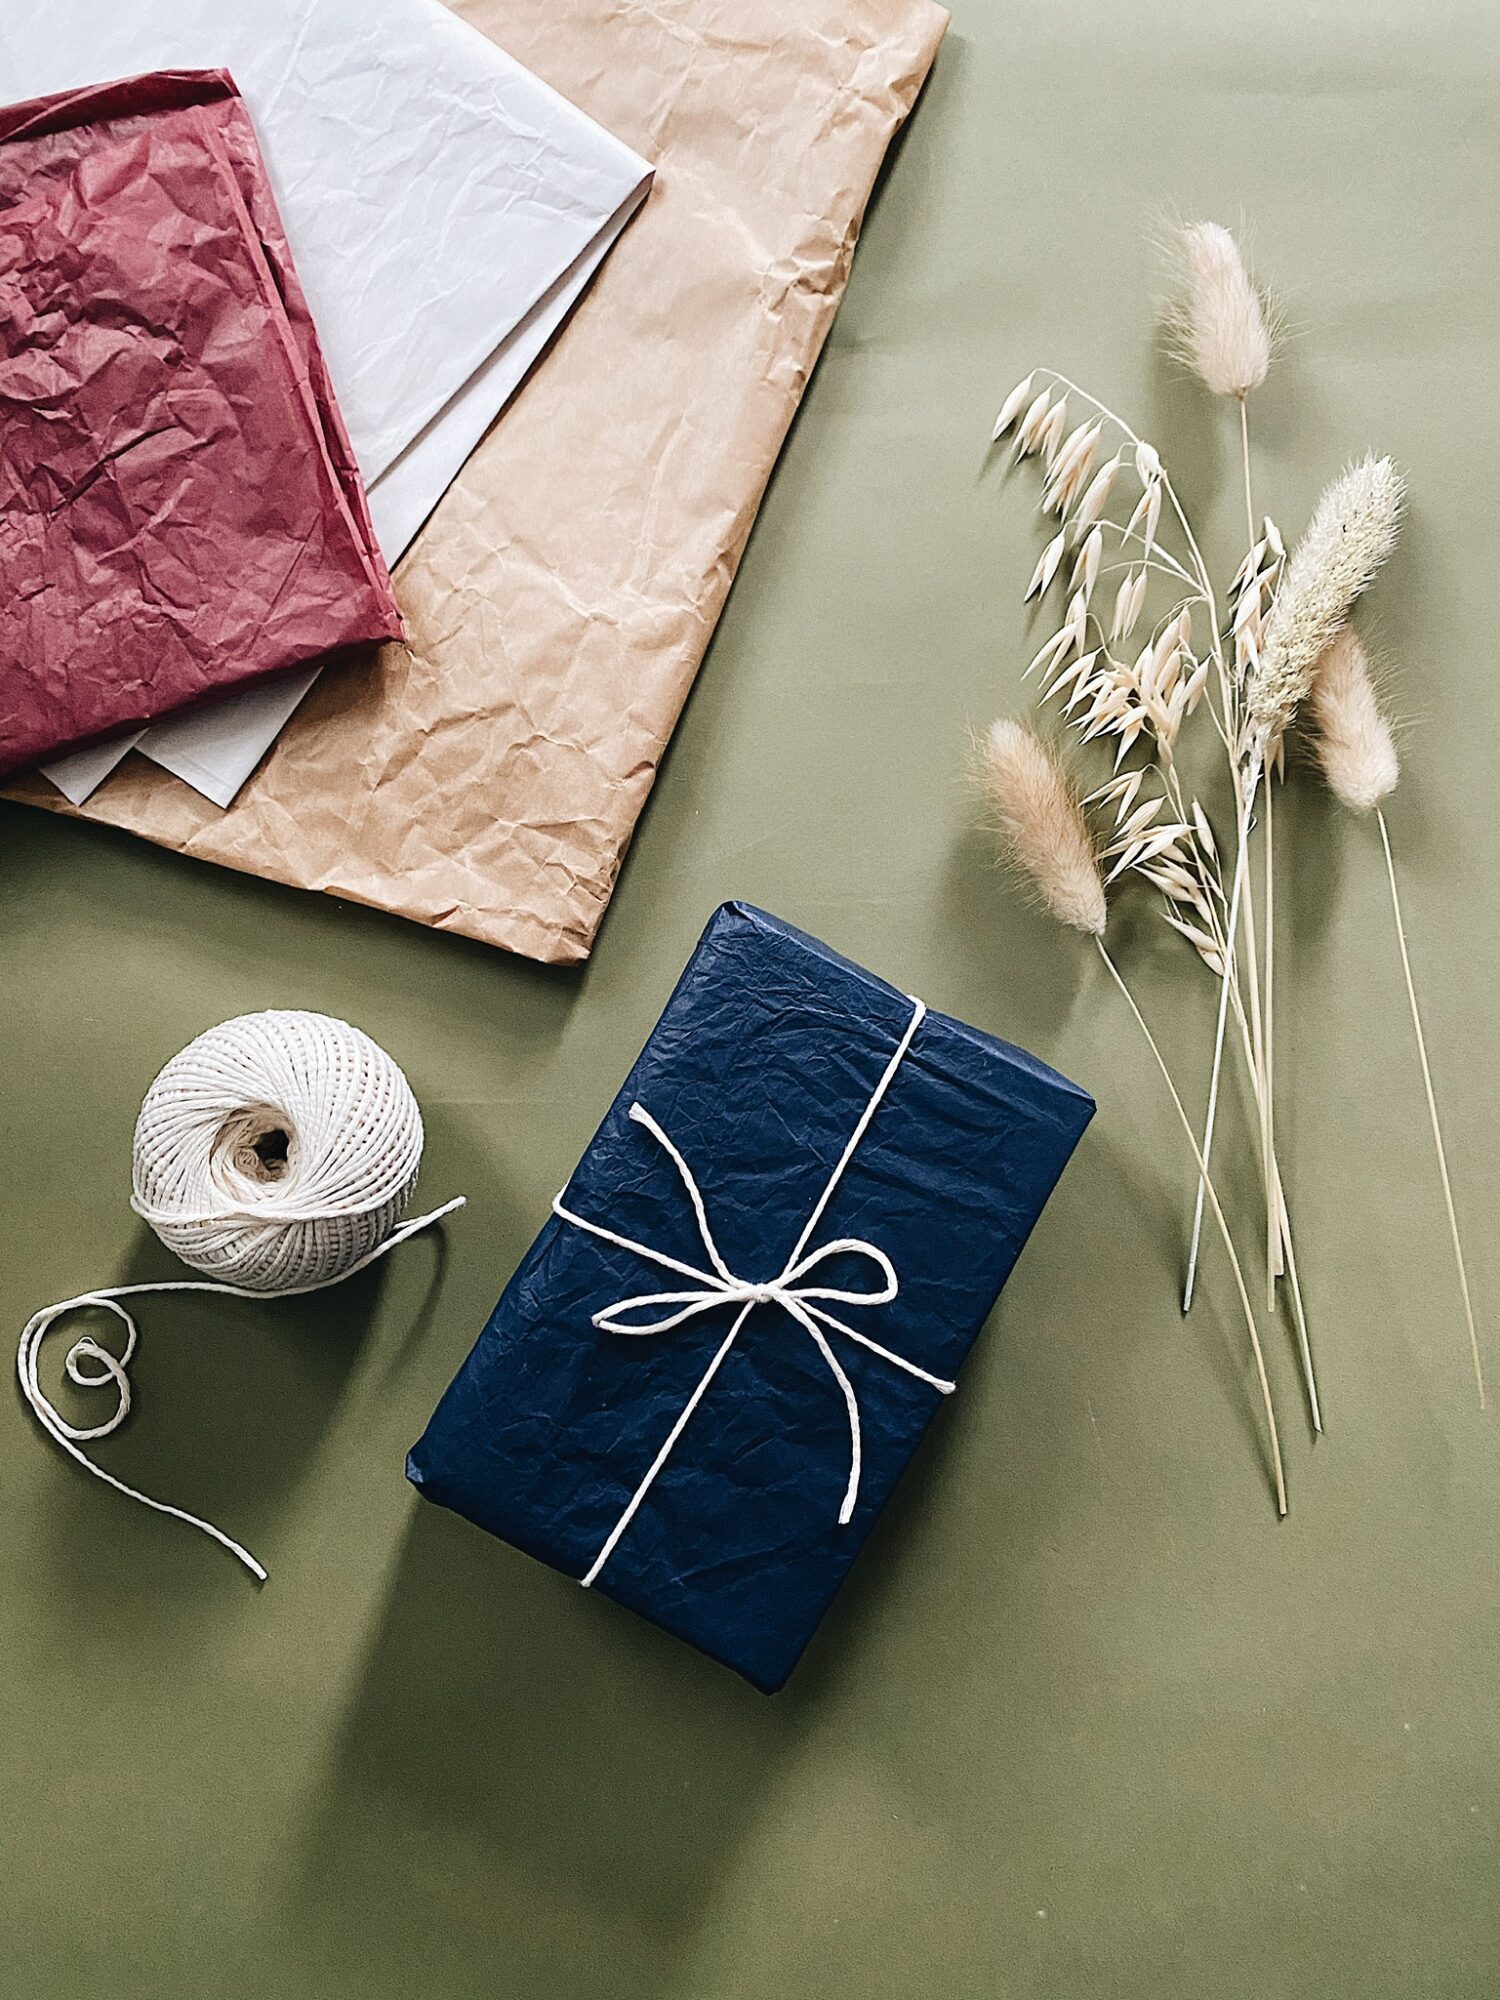
STEP 4
Stick in a few sprigs of dried flowers or foliage.
If you don’t have access to dried flowers, another option is to find a few images you like from old magazines and cut them out.
STEP 5
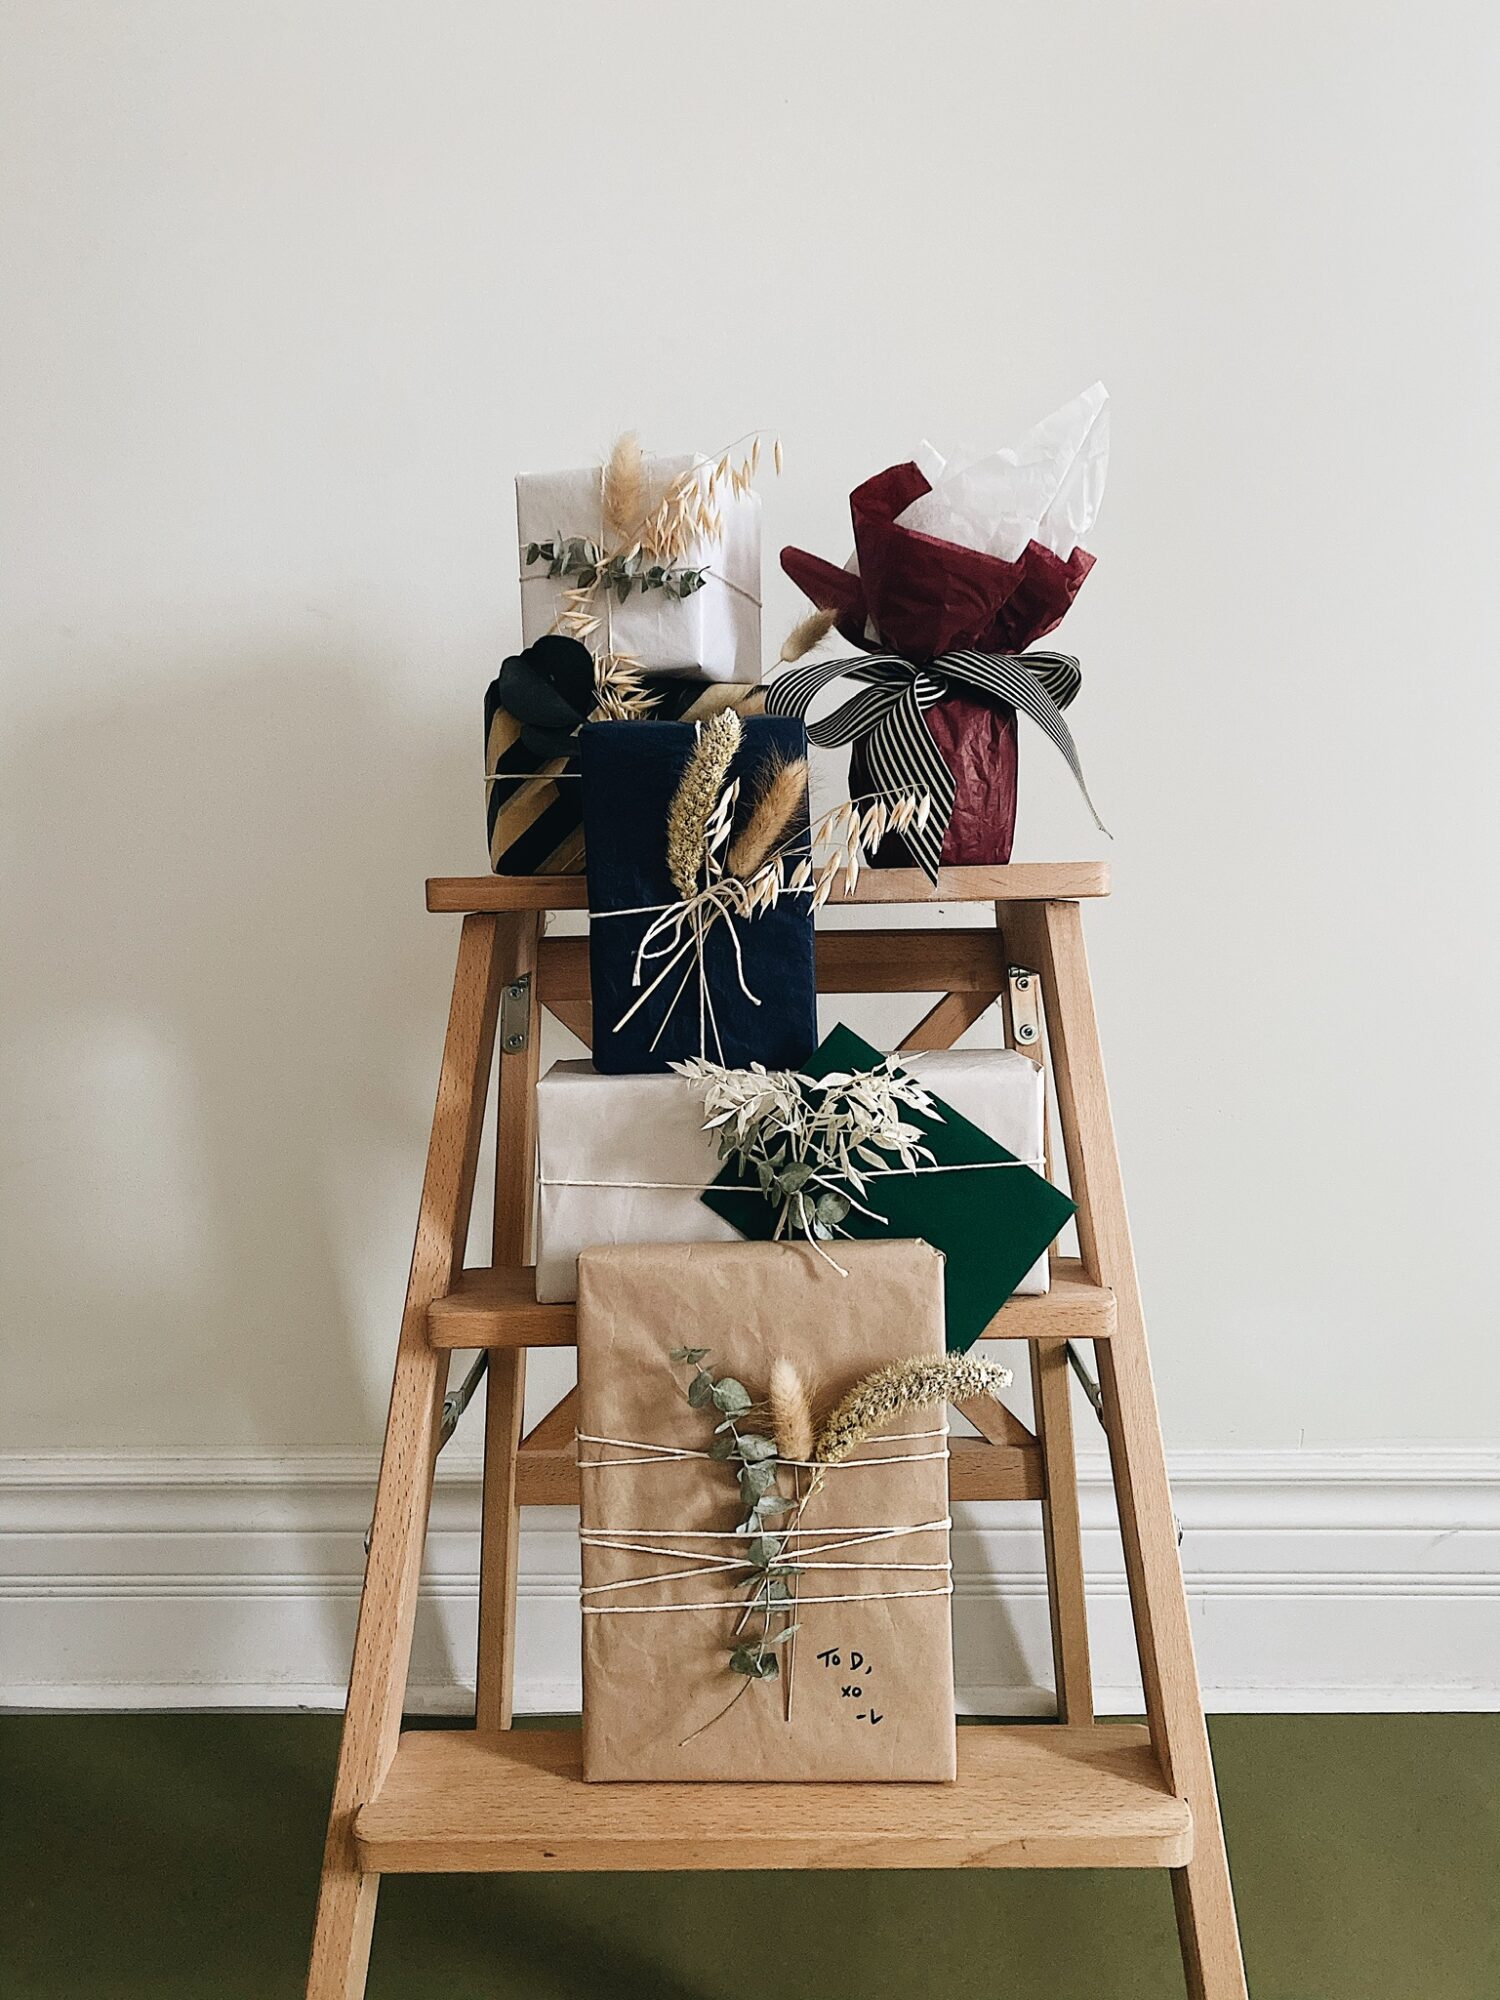
Add a card or sign your name right onto the paper.
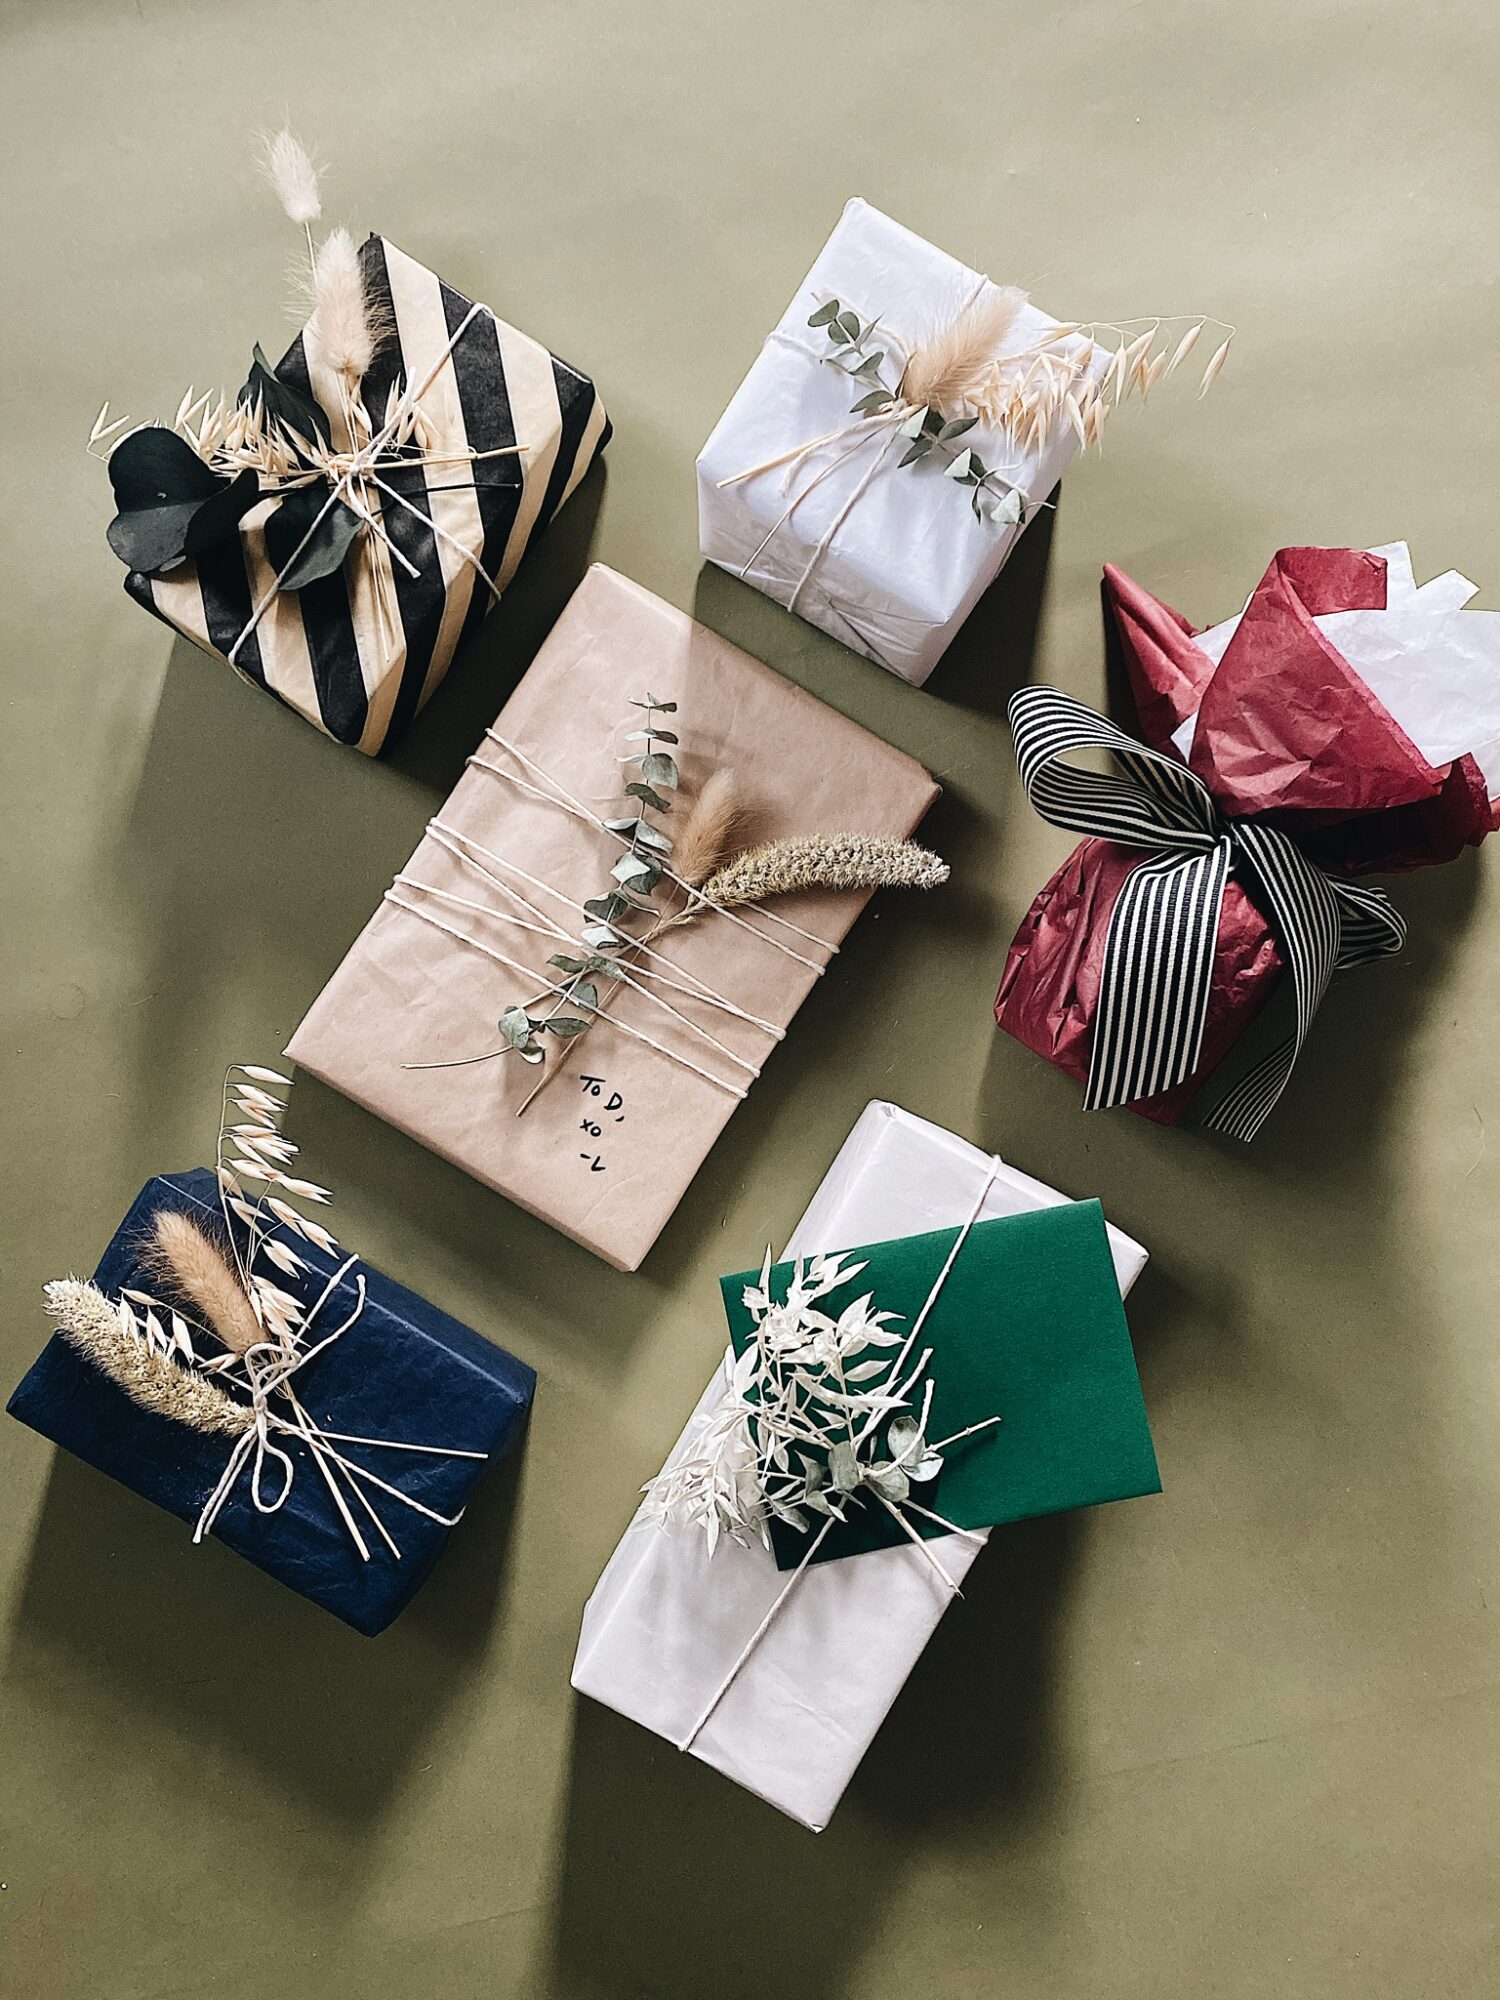
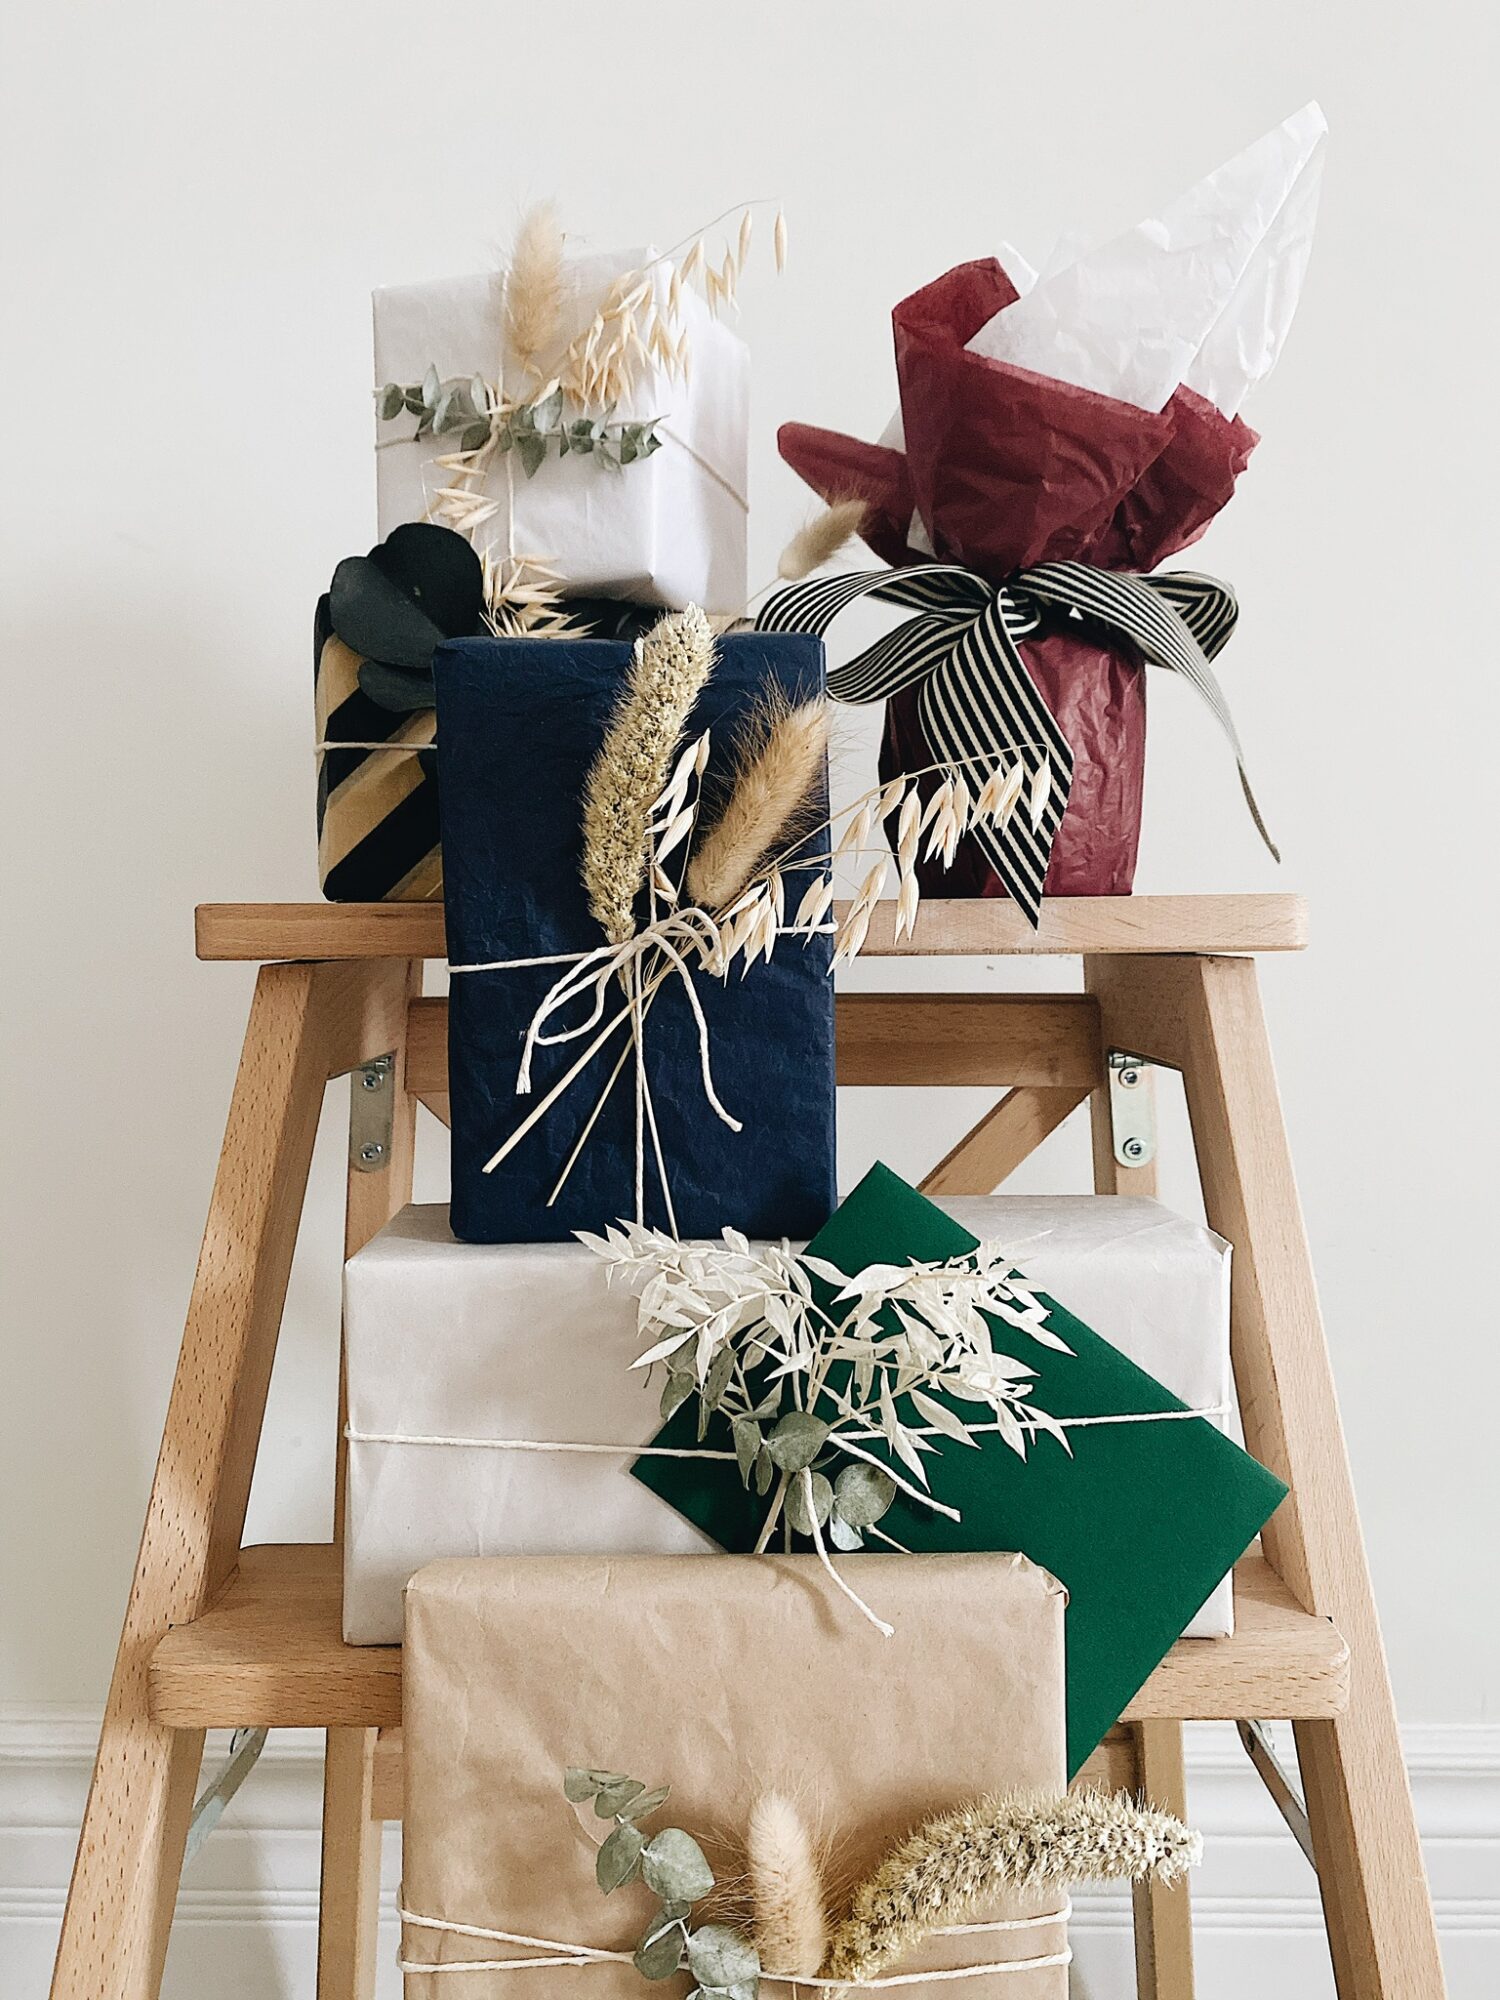
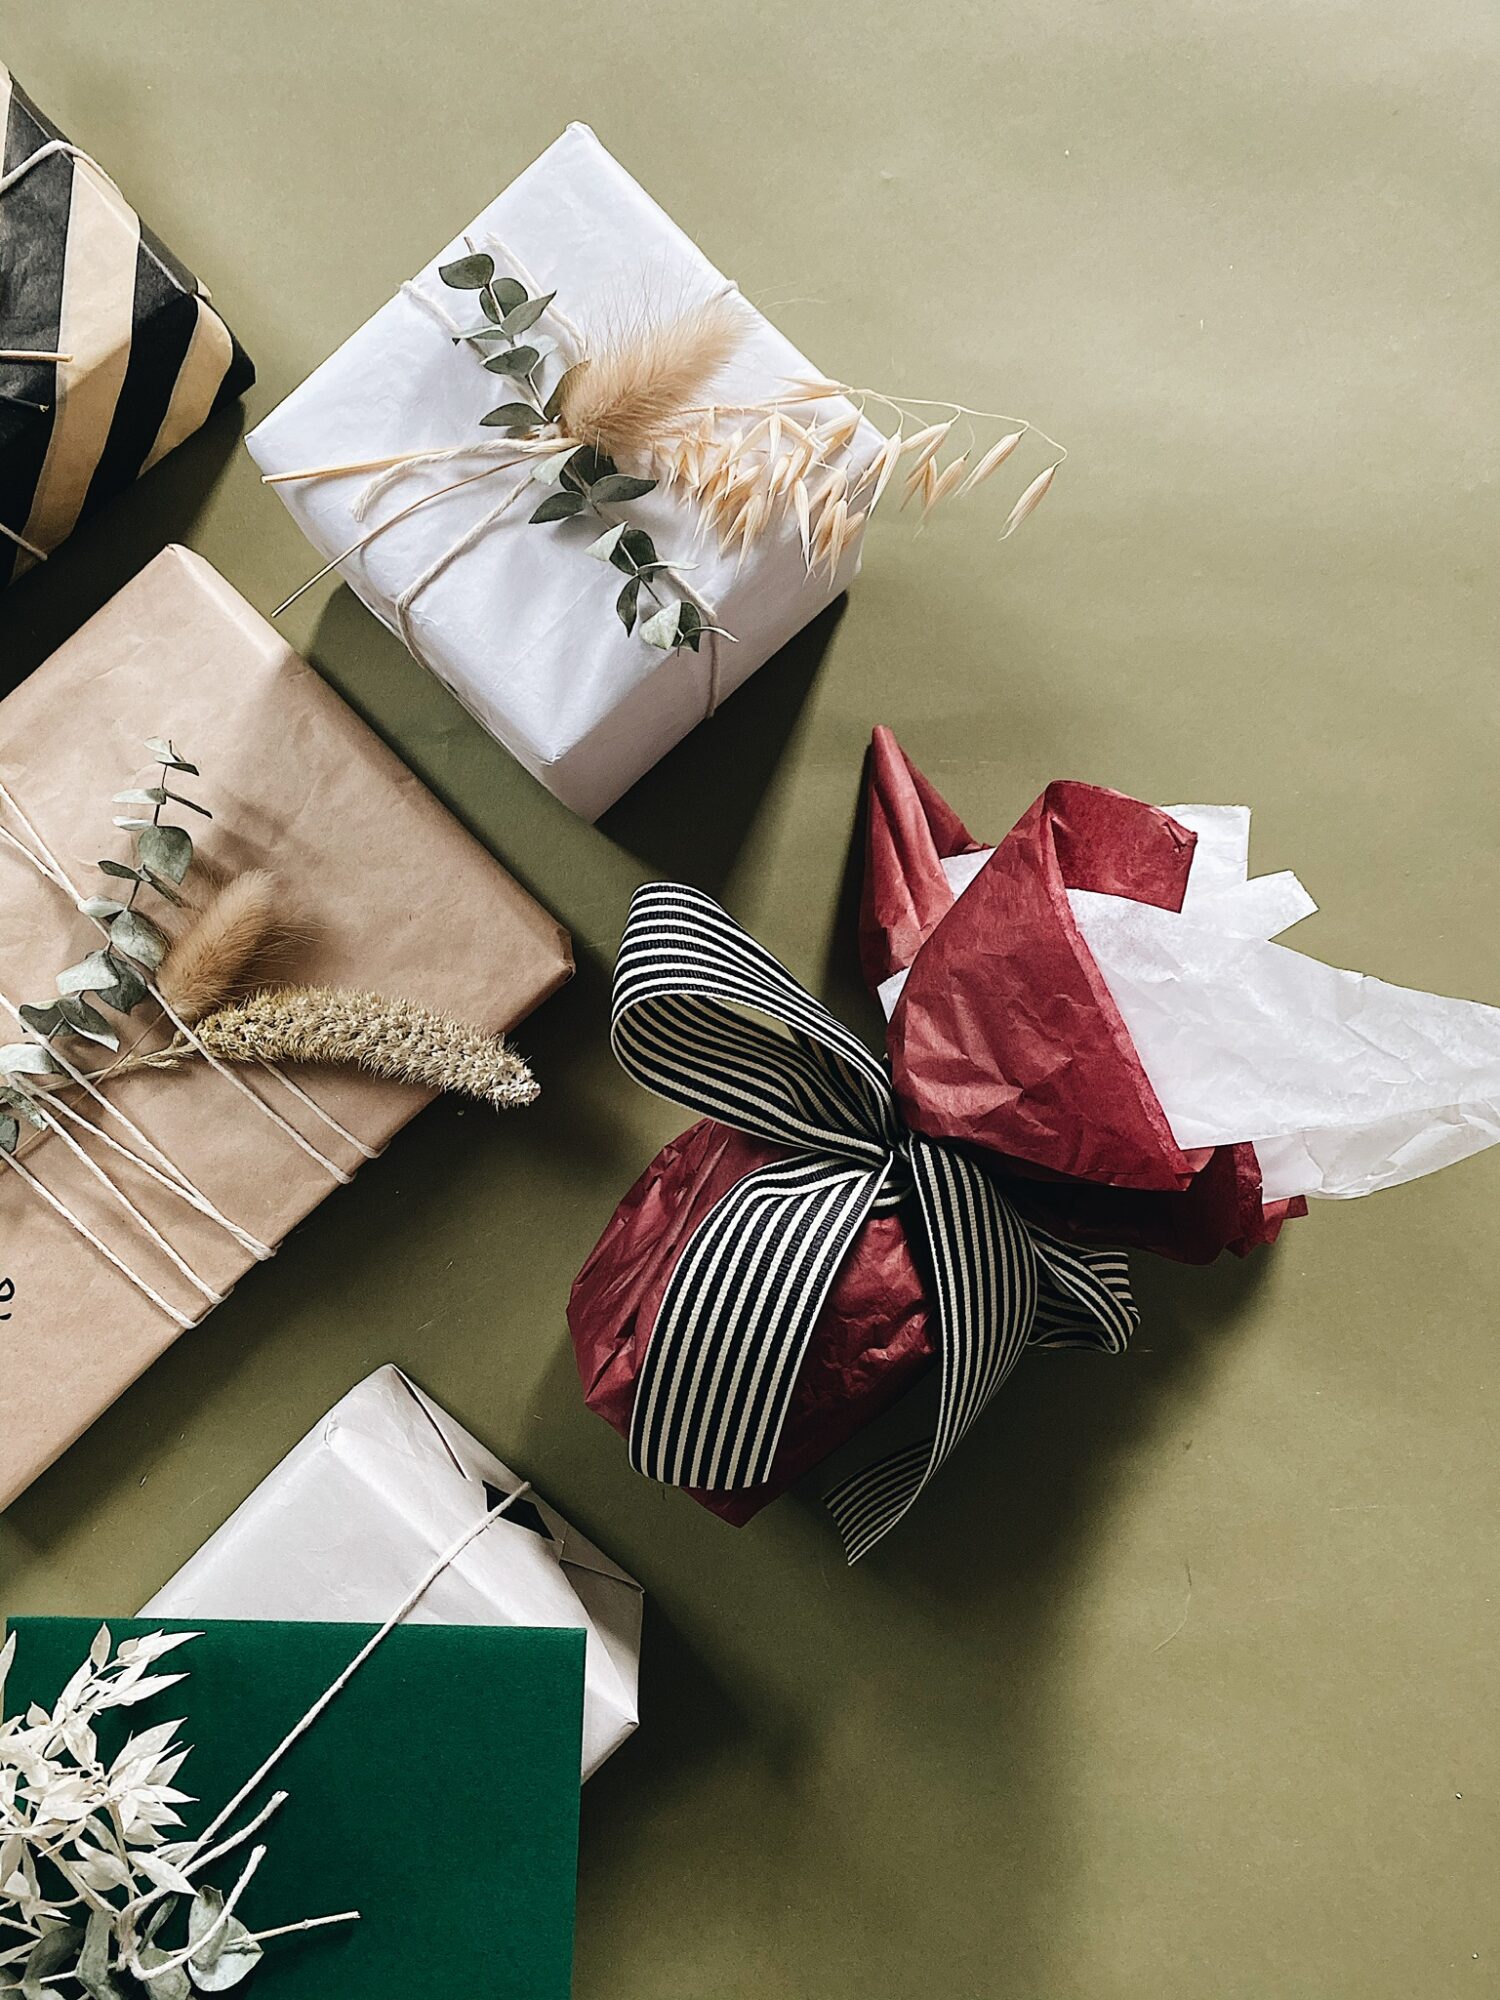
Pull all your presents together and admire your handywork!
THANKS FOR READING!

Great gift wrapping tips and inspiration that reusing paper and ribbon can look great!
Very nice……….have always loved creative wrapping. A very good article with lots of good ideas.
This is so pretty! I’m going to use this idea for my kids teachers gifts this year! thanks!
These are so pretty! I always save my ribbon but haven’t been very good about saving paper recently. Will have to do that more, this year! XO Nipa