The time has FINALLY come to share the finished Steep Hill Cottage garage!
As I mentioned in Part 1 – The Build Phase, this space is the culmination of many years of imagining, months of planning and many MANY hours of painting, framing, roofing, siding, installing and finishing. It definitely didn’t happen over night but seeing it through from a pile of dirt and stone to a complete space has been such a gratifying experience.
Our objectives for this build included:
- to create an heirloom quality building in a timeless architectural style
- sized to accommodate equipment & workshop needs for Ruhl Builds
- using a palette of natural materials and textures with proven durability
Not an insignificant challenge, to say the least, but a great test for our first big project on the property.
Join me for a tour of the exterior (the interior is still being outfitted) and see all the thoughtful details that went into the space.
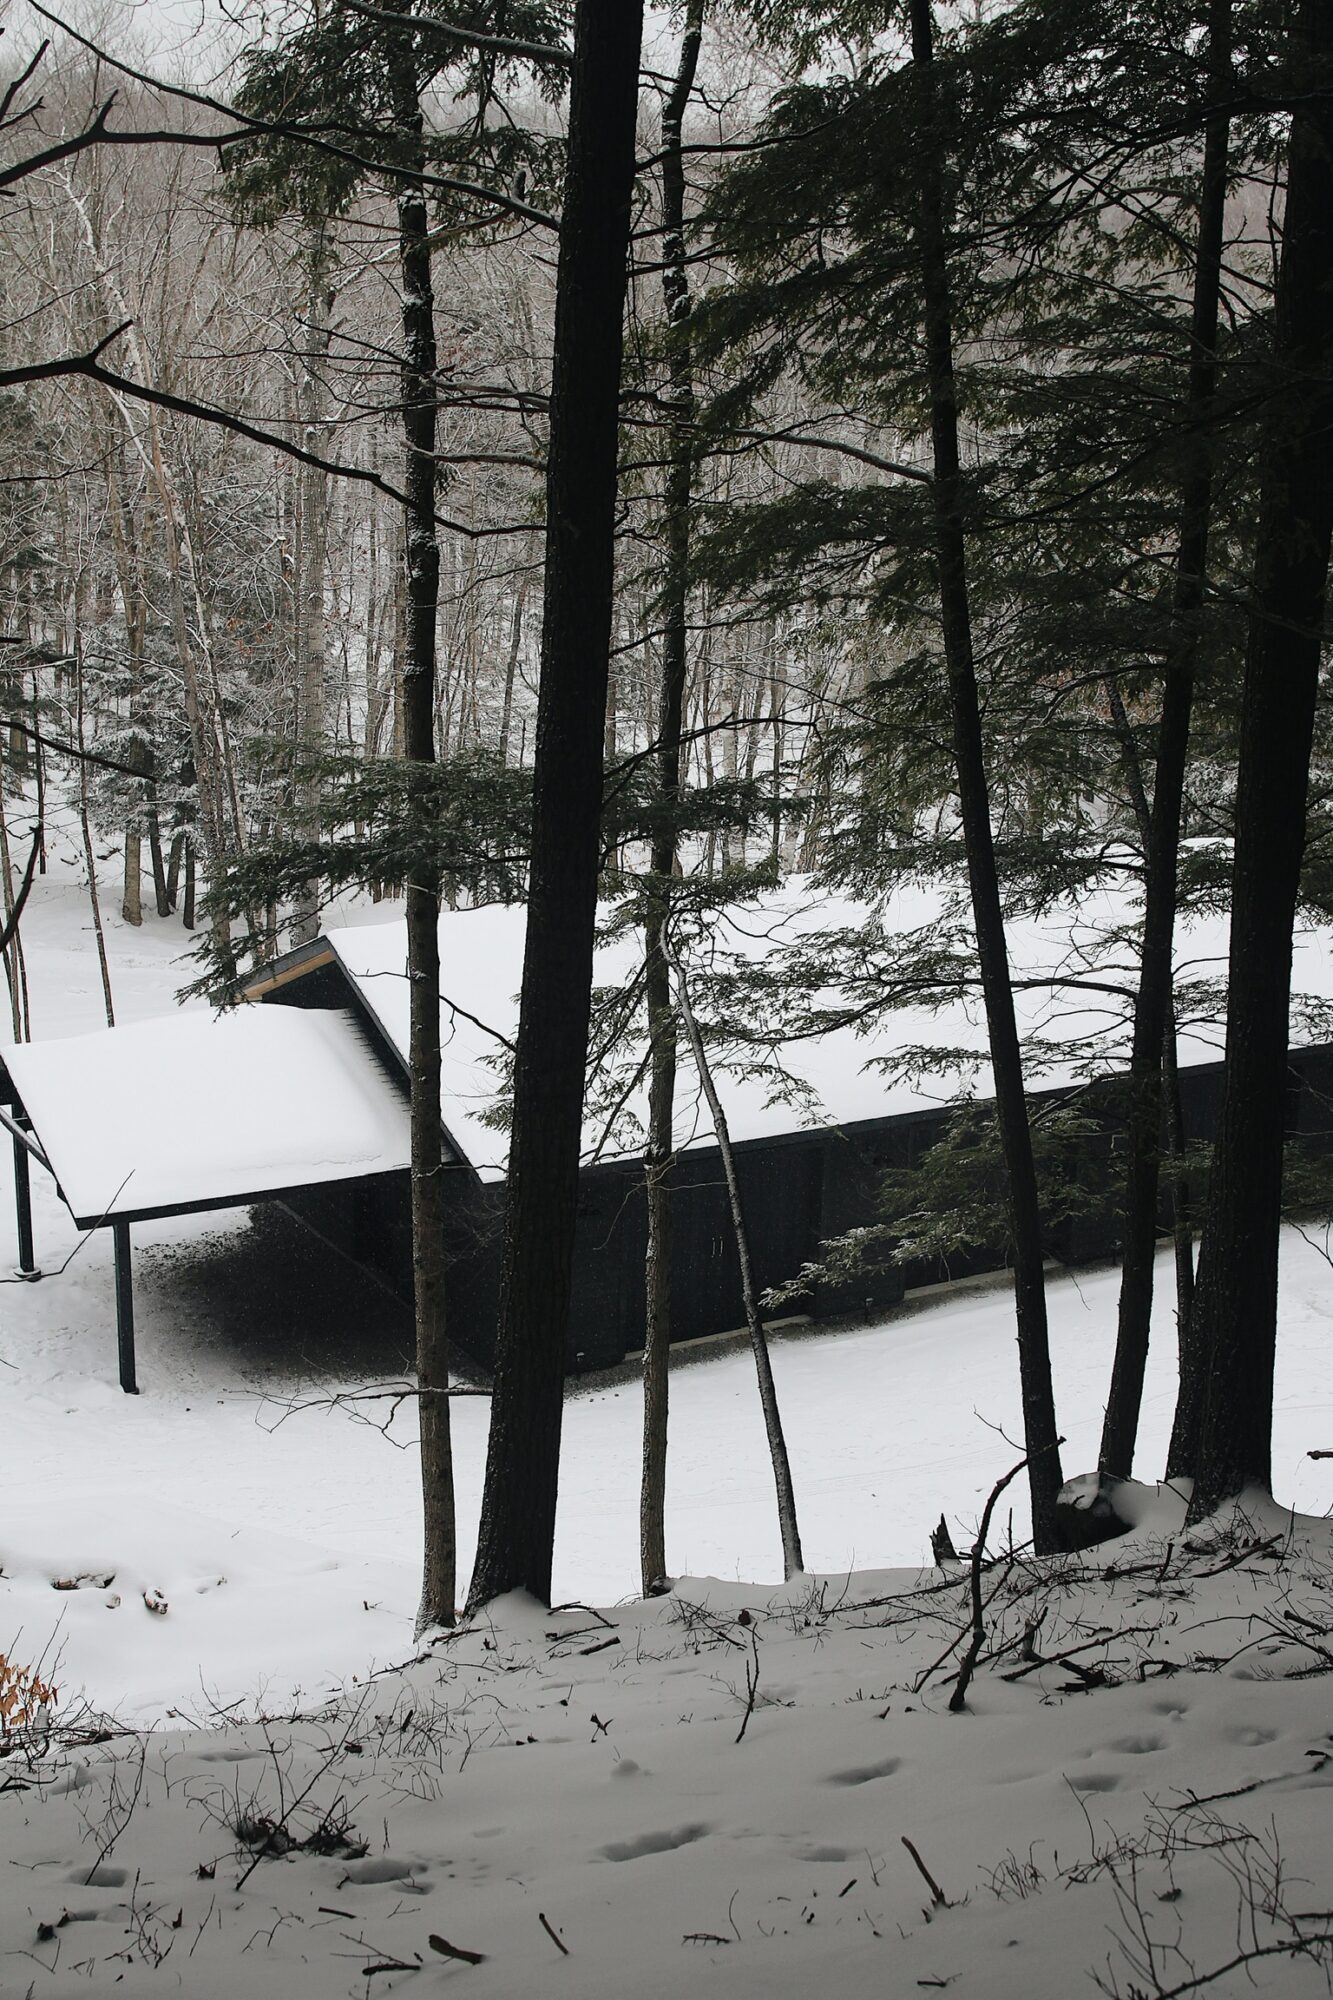
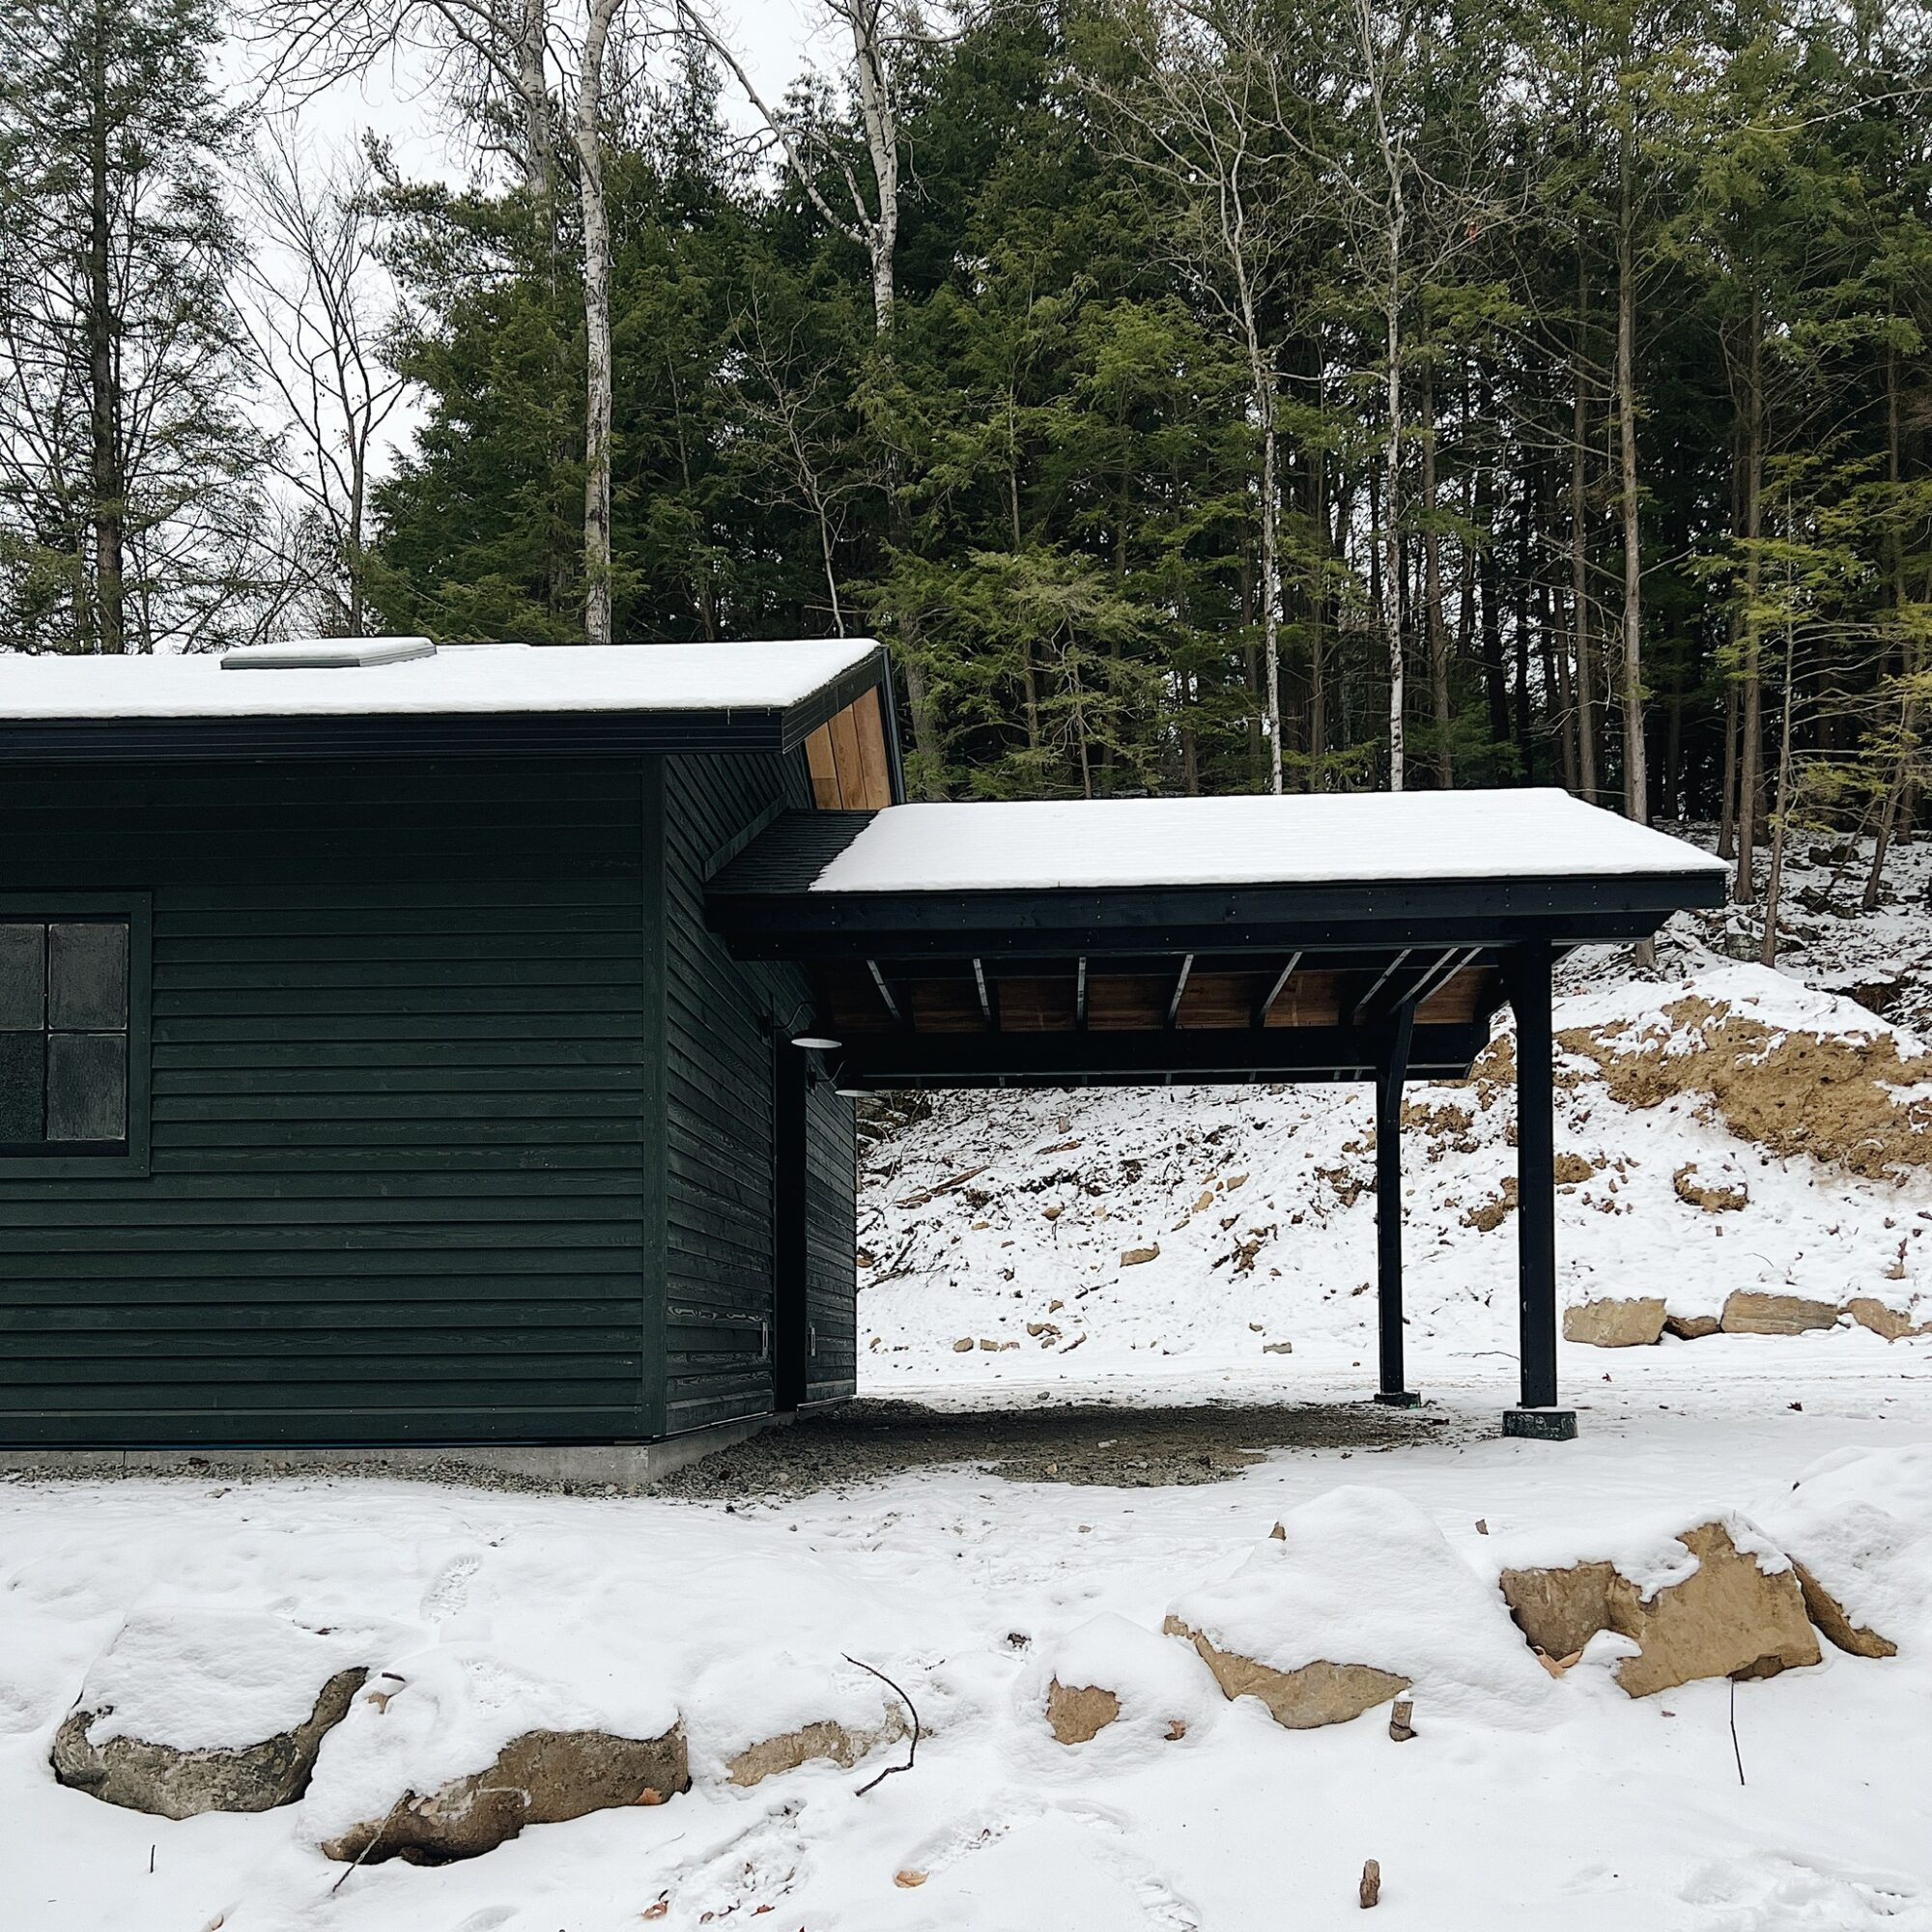
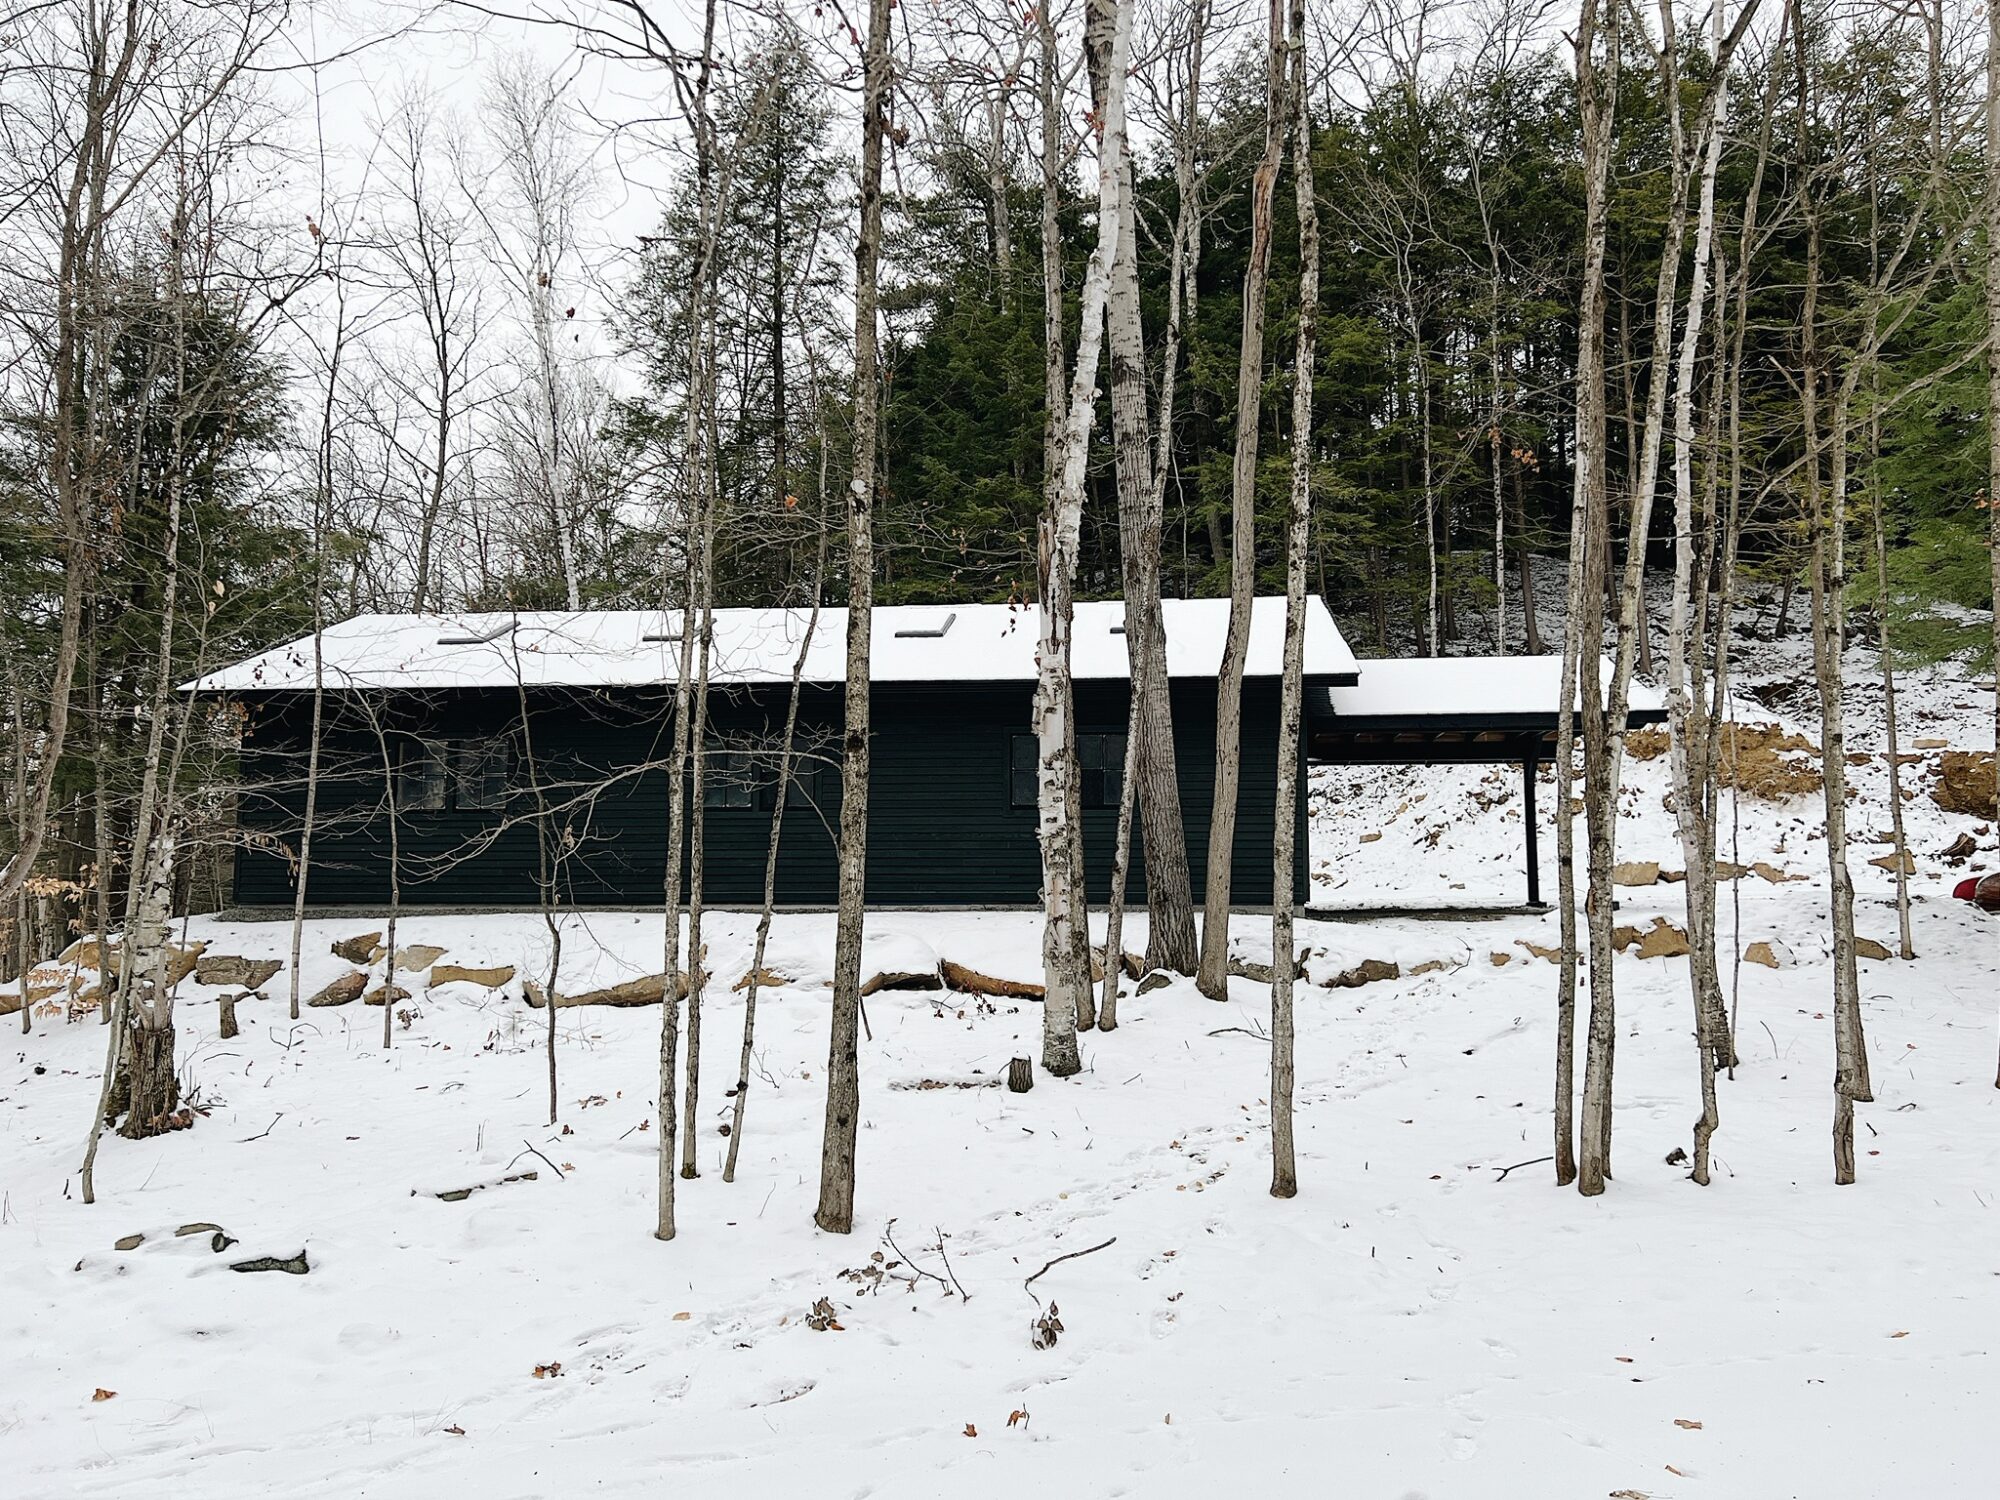
This is the view of the whole building from what we like to call ‘the summit’ of the property. I took most of these photos during a recent snow fall and I love how the building looks against the white ground and all the evergreens that surround it. In the spring and summer it will be much more camouflaged by foliage and greenery all around.
The photo below is southern facing and the side we see most often as we walk up along the path from the lake. So let’s start there!
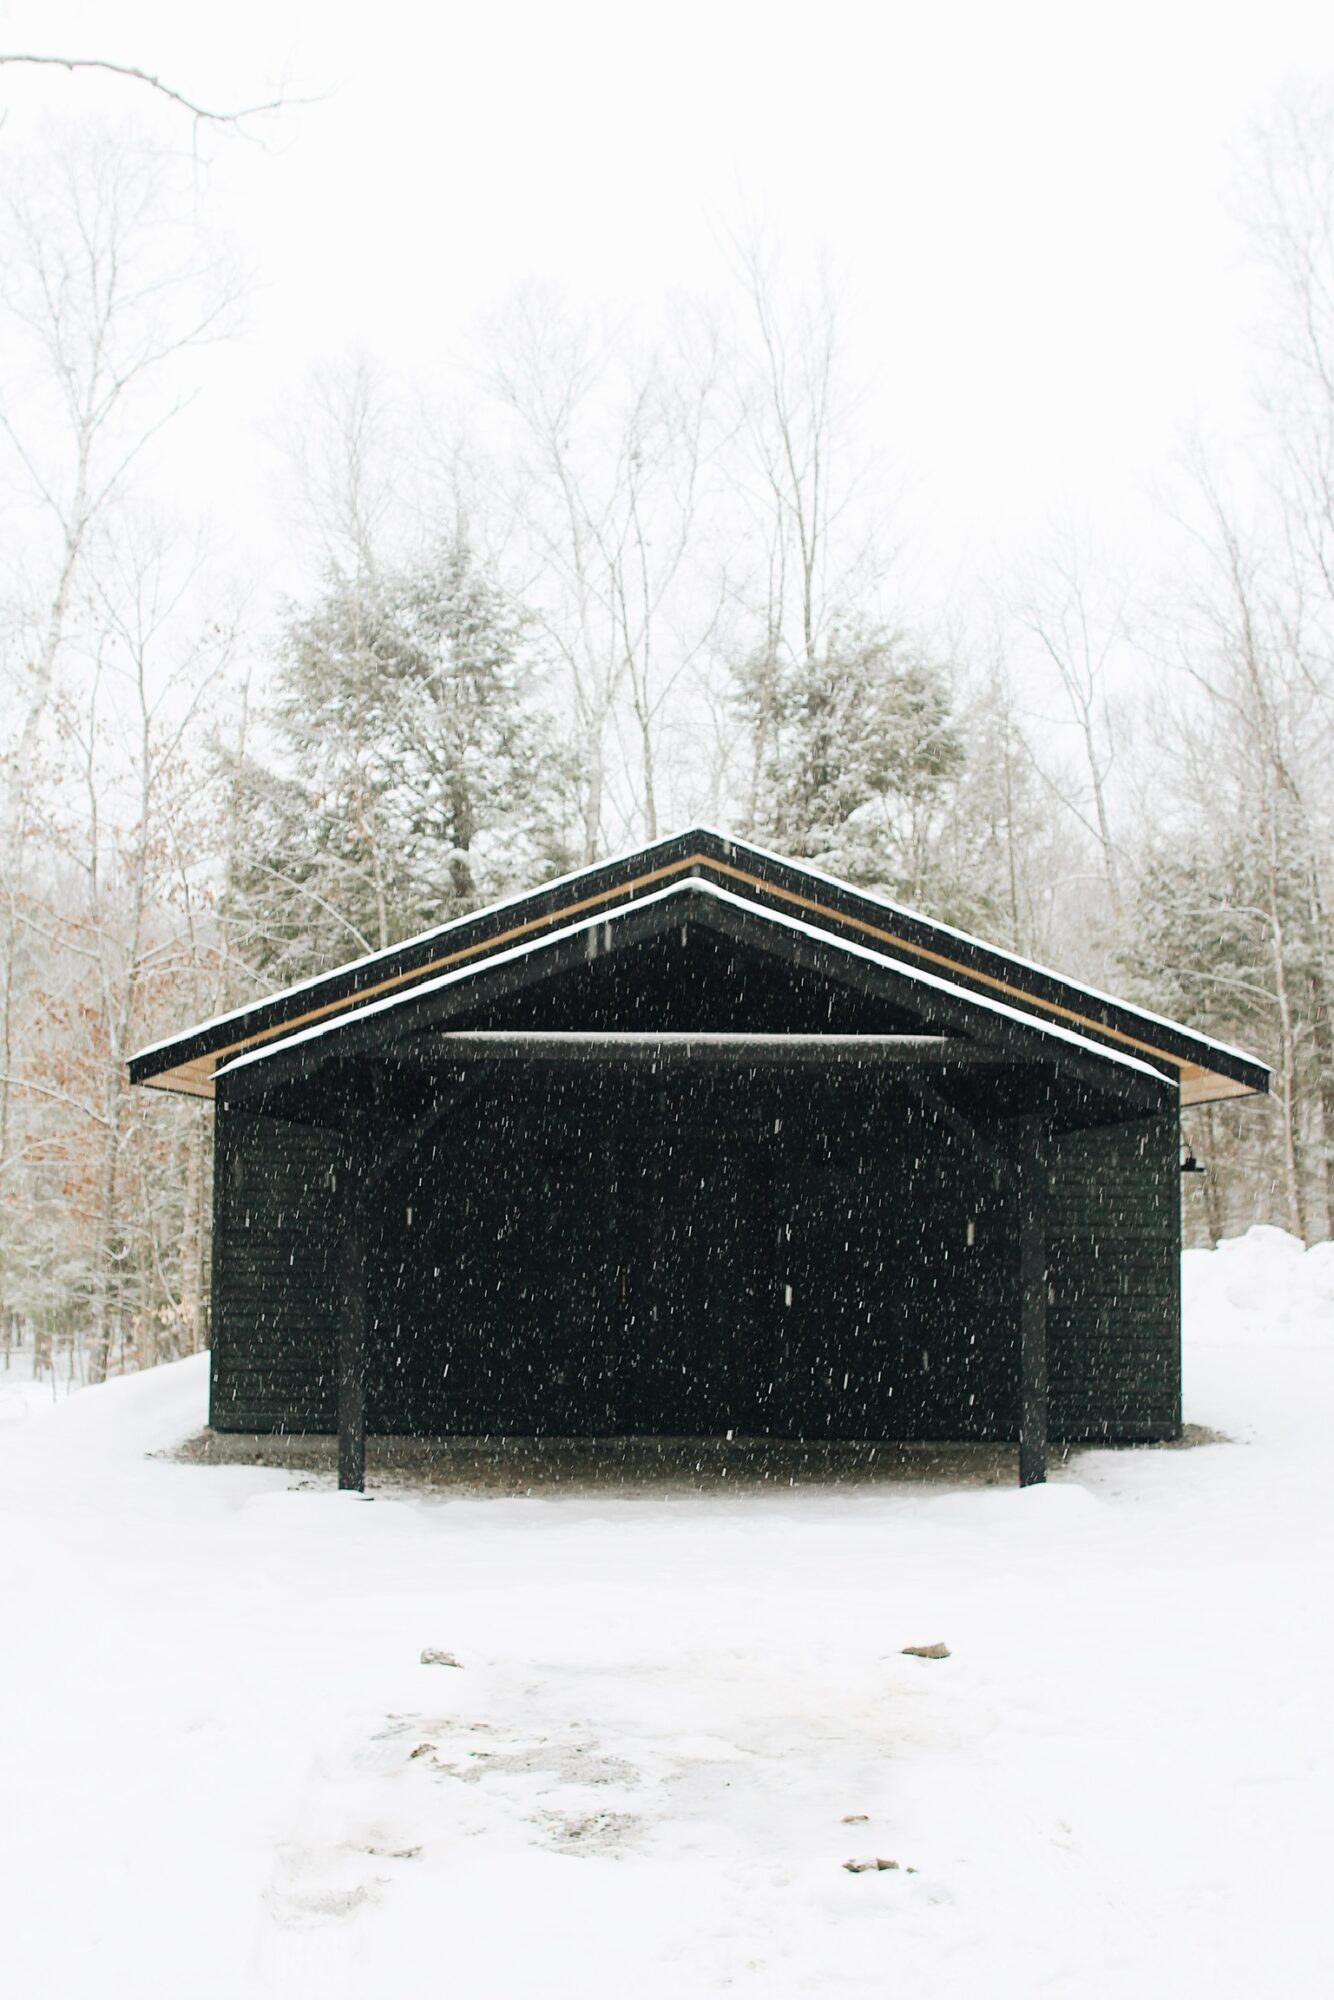
On this southern elevation we built a large portico with three open sides and it’s my favourite element of the building. It’s great for working under in wet weather, loading and unloading supplies from vehicles and so much more.
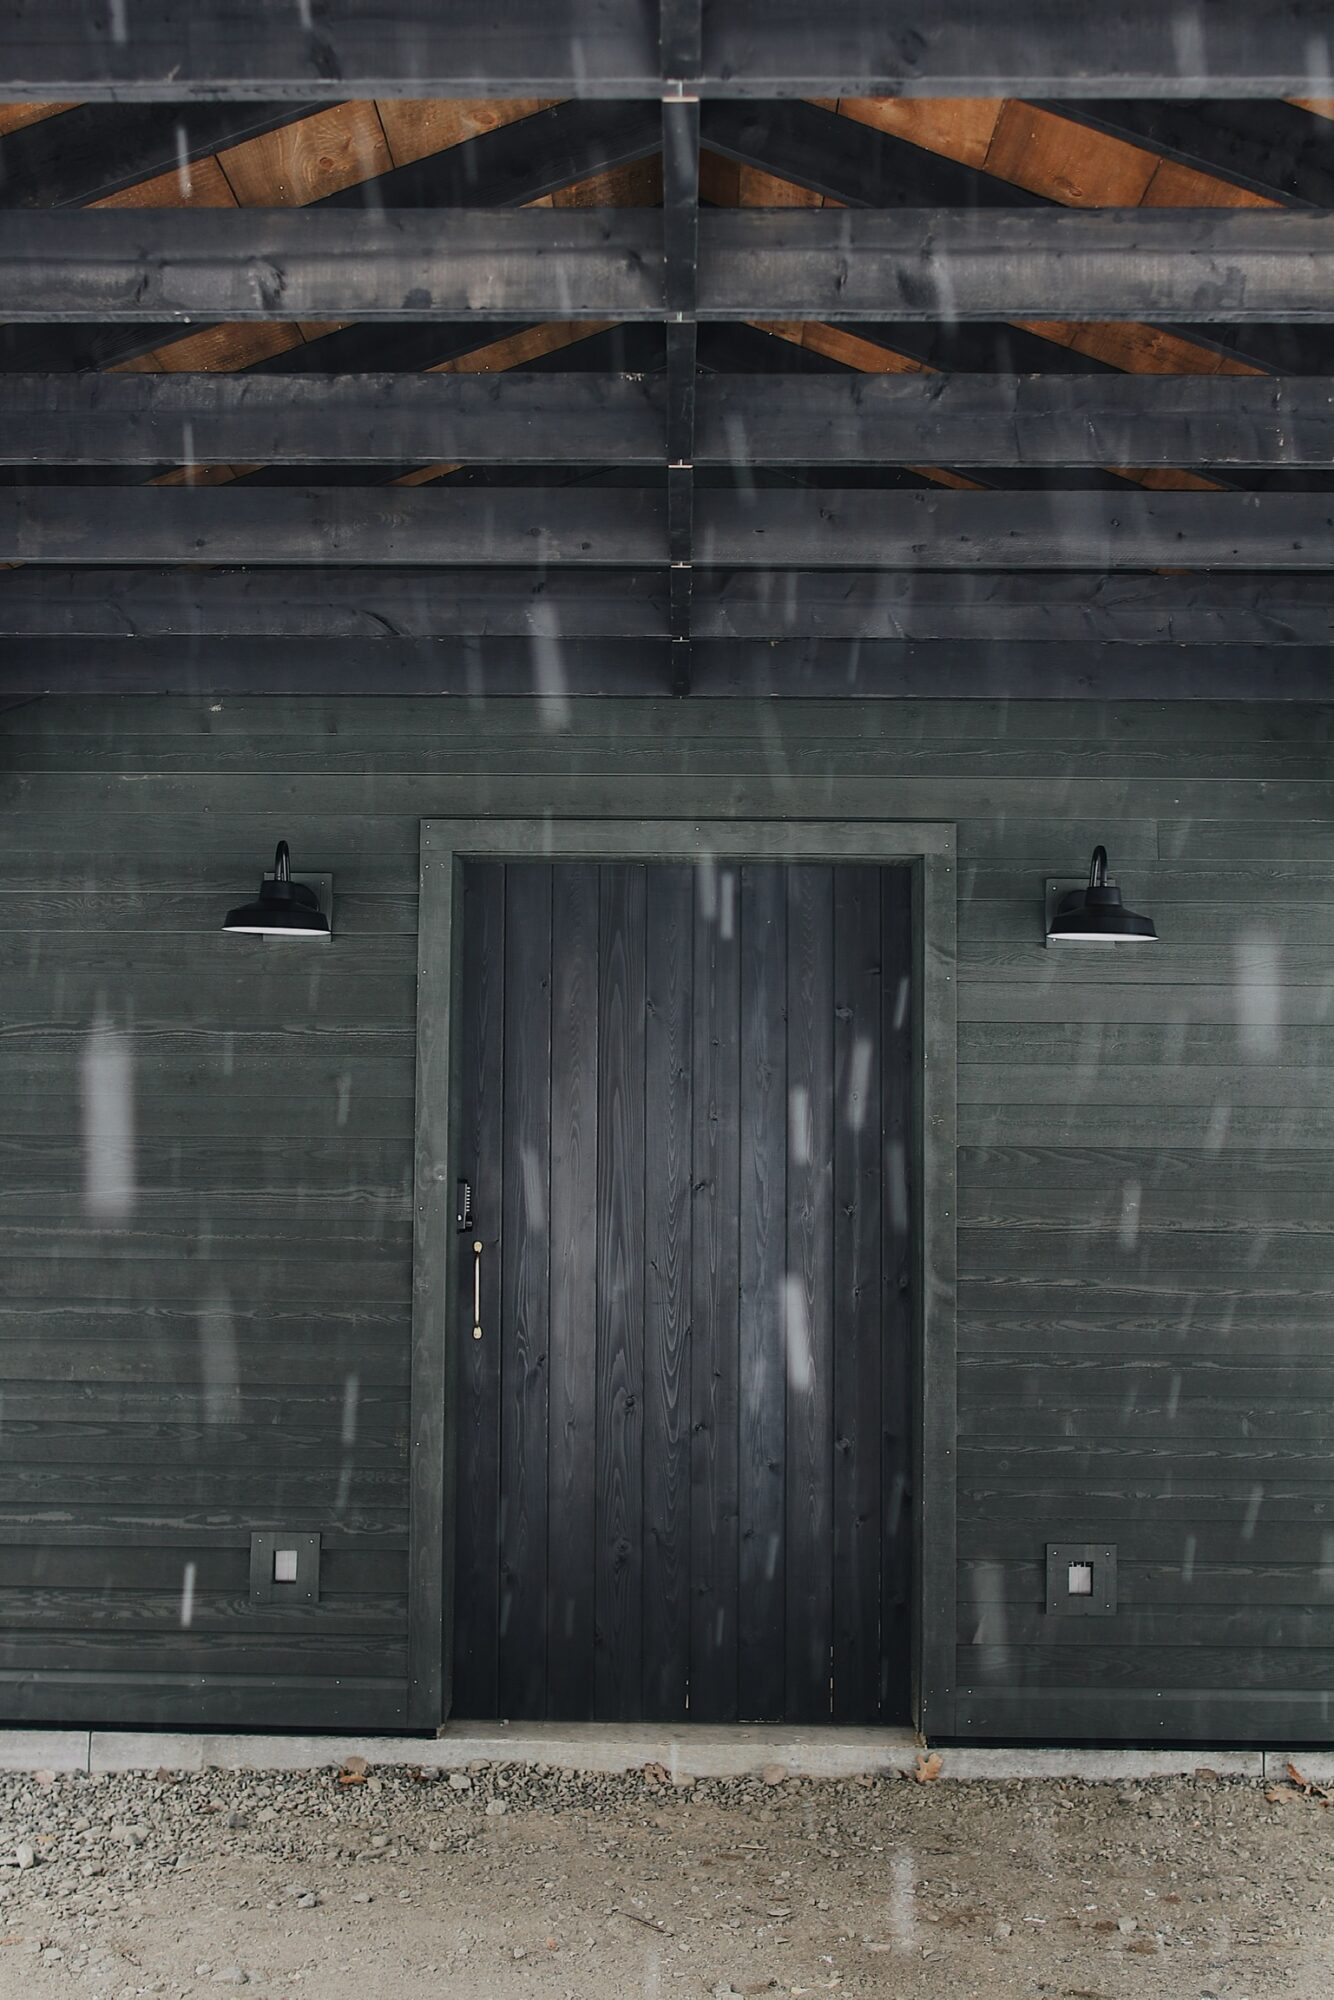
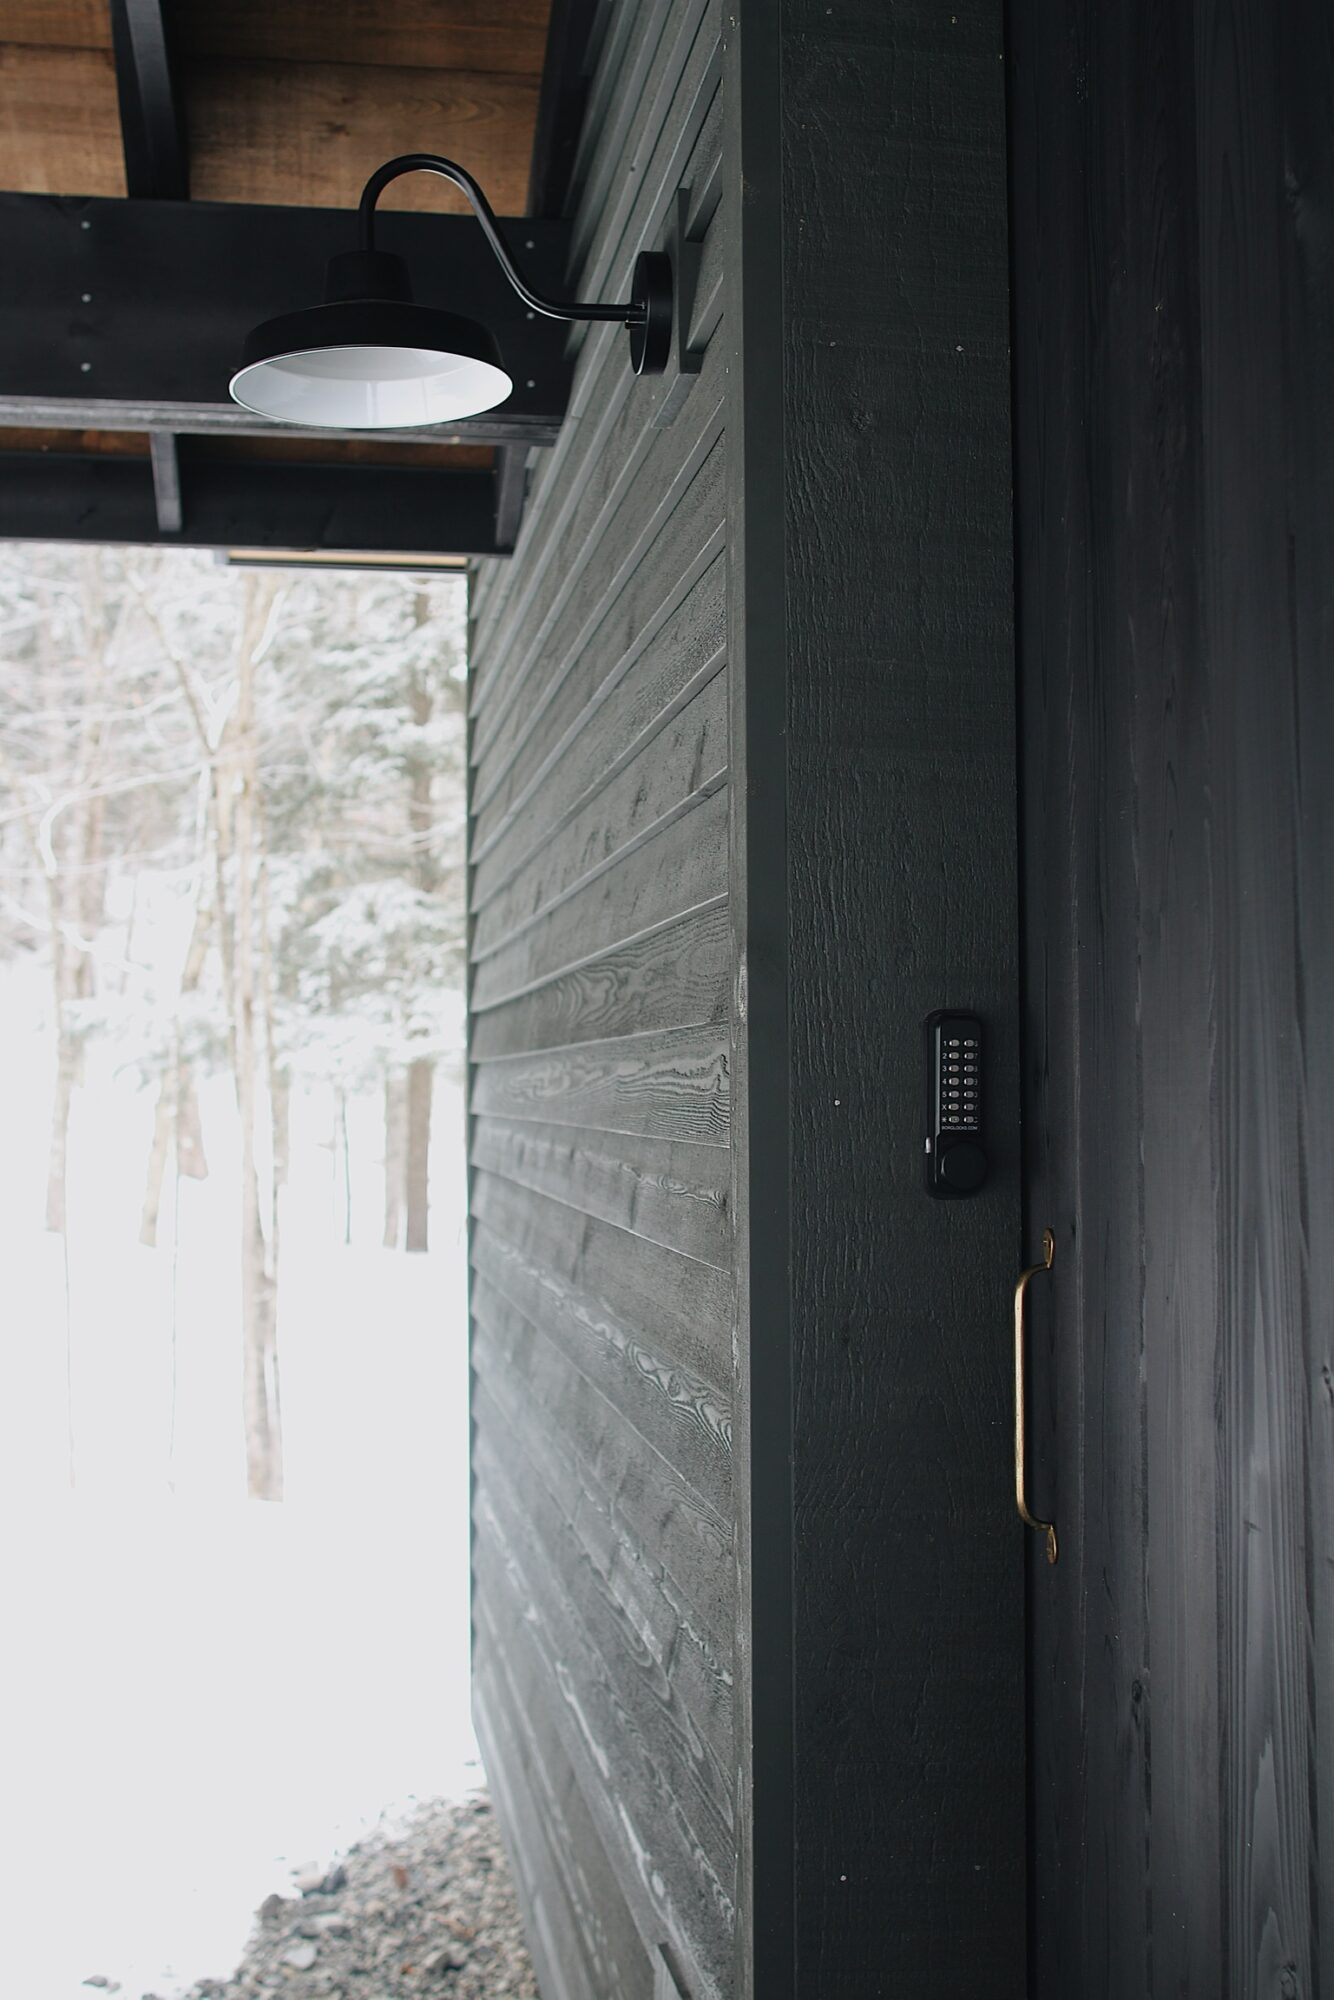
Under the portico there is an entrance to the main building, two light fixtures and two outlets.
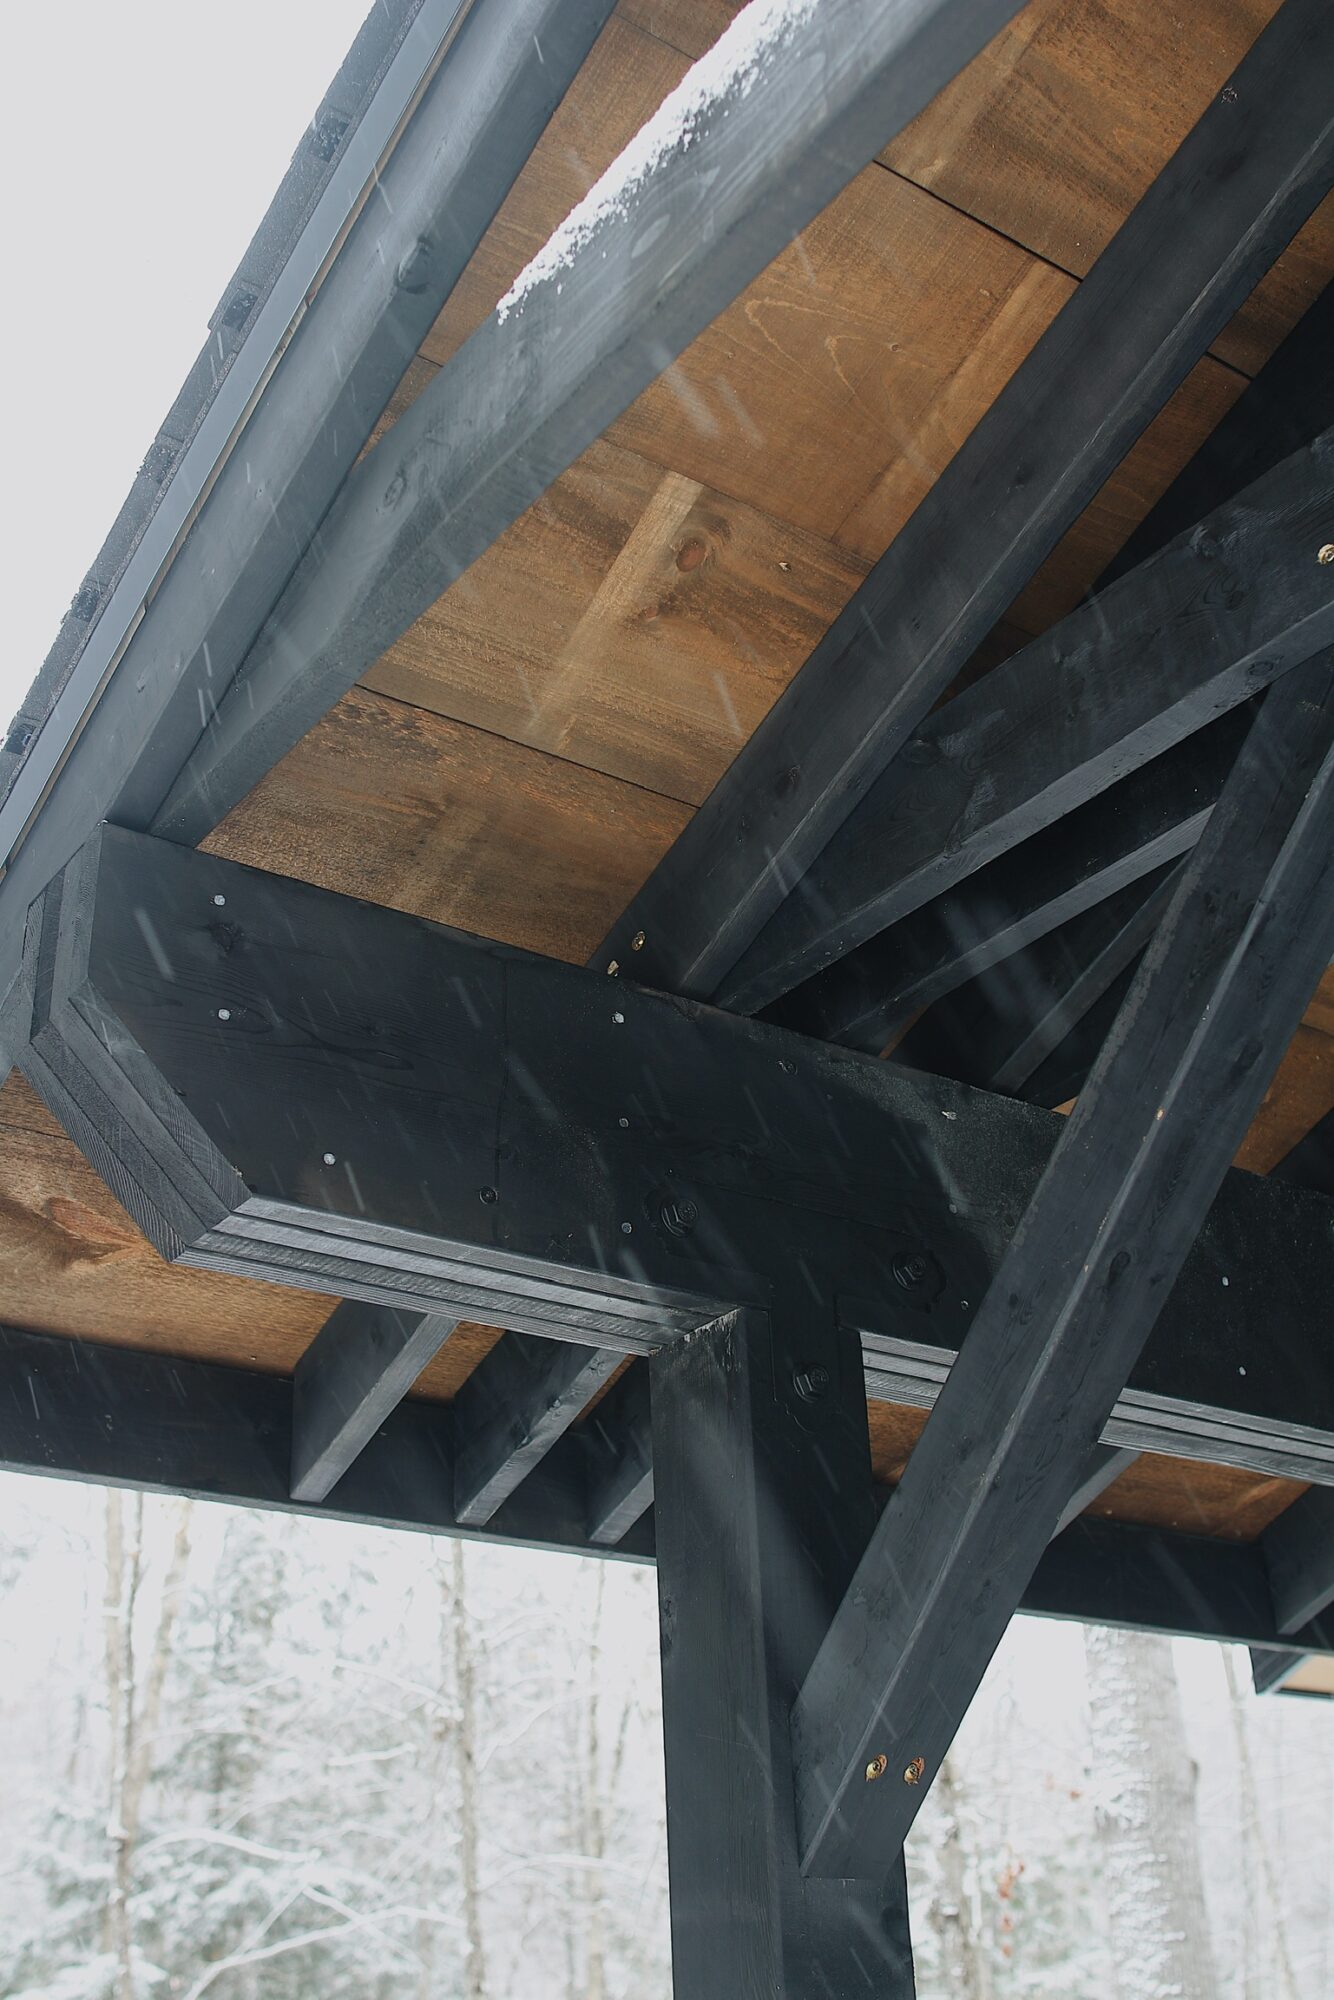
I particularly love how the underside of the portico turned out. We stained the pine sheathing to create a richer brown tone that pairs with the thermally treated pine used on the soffits.
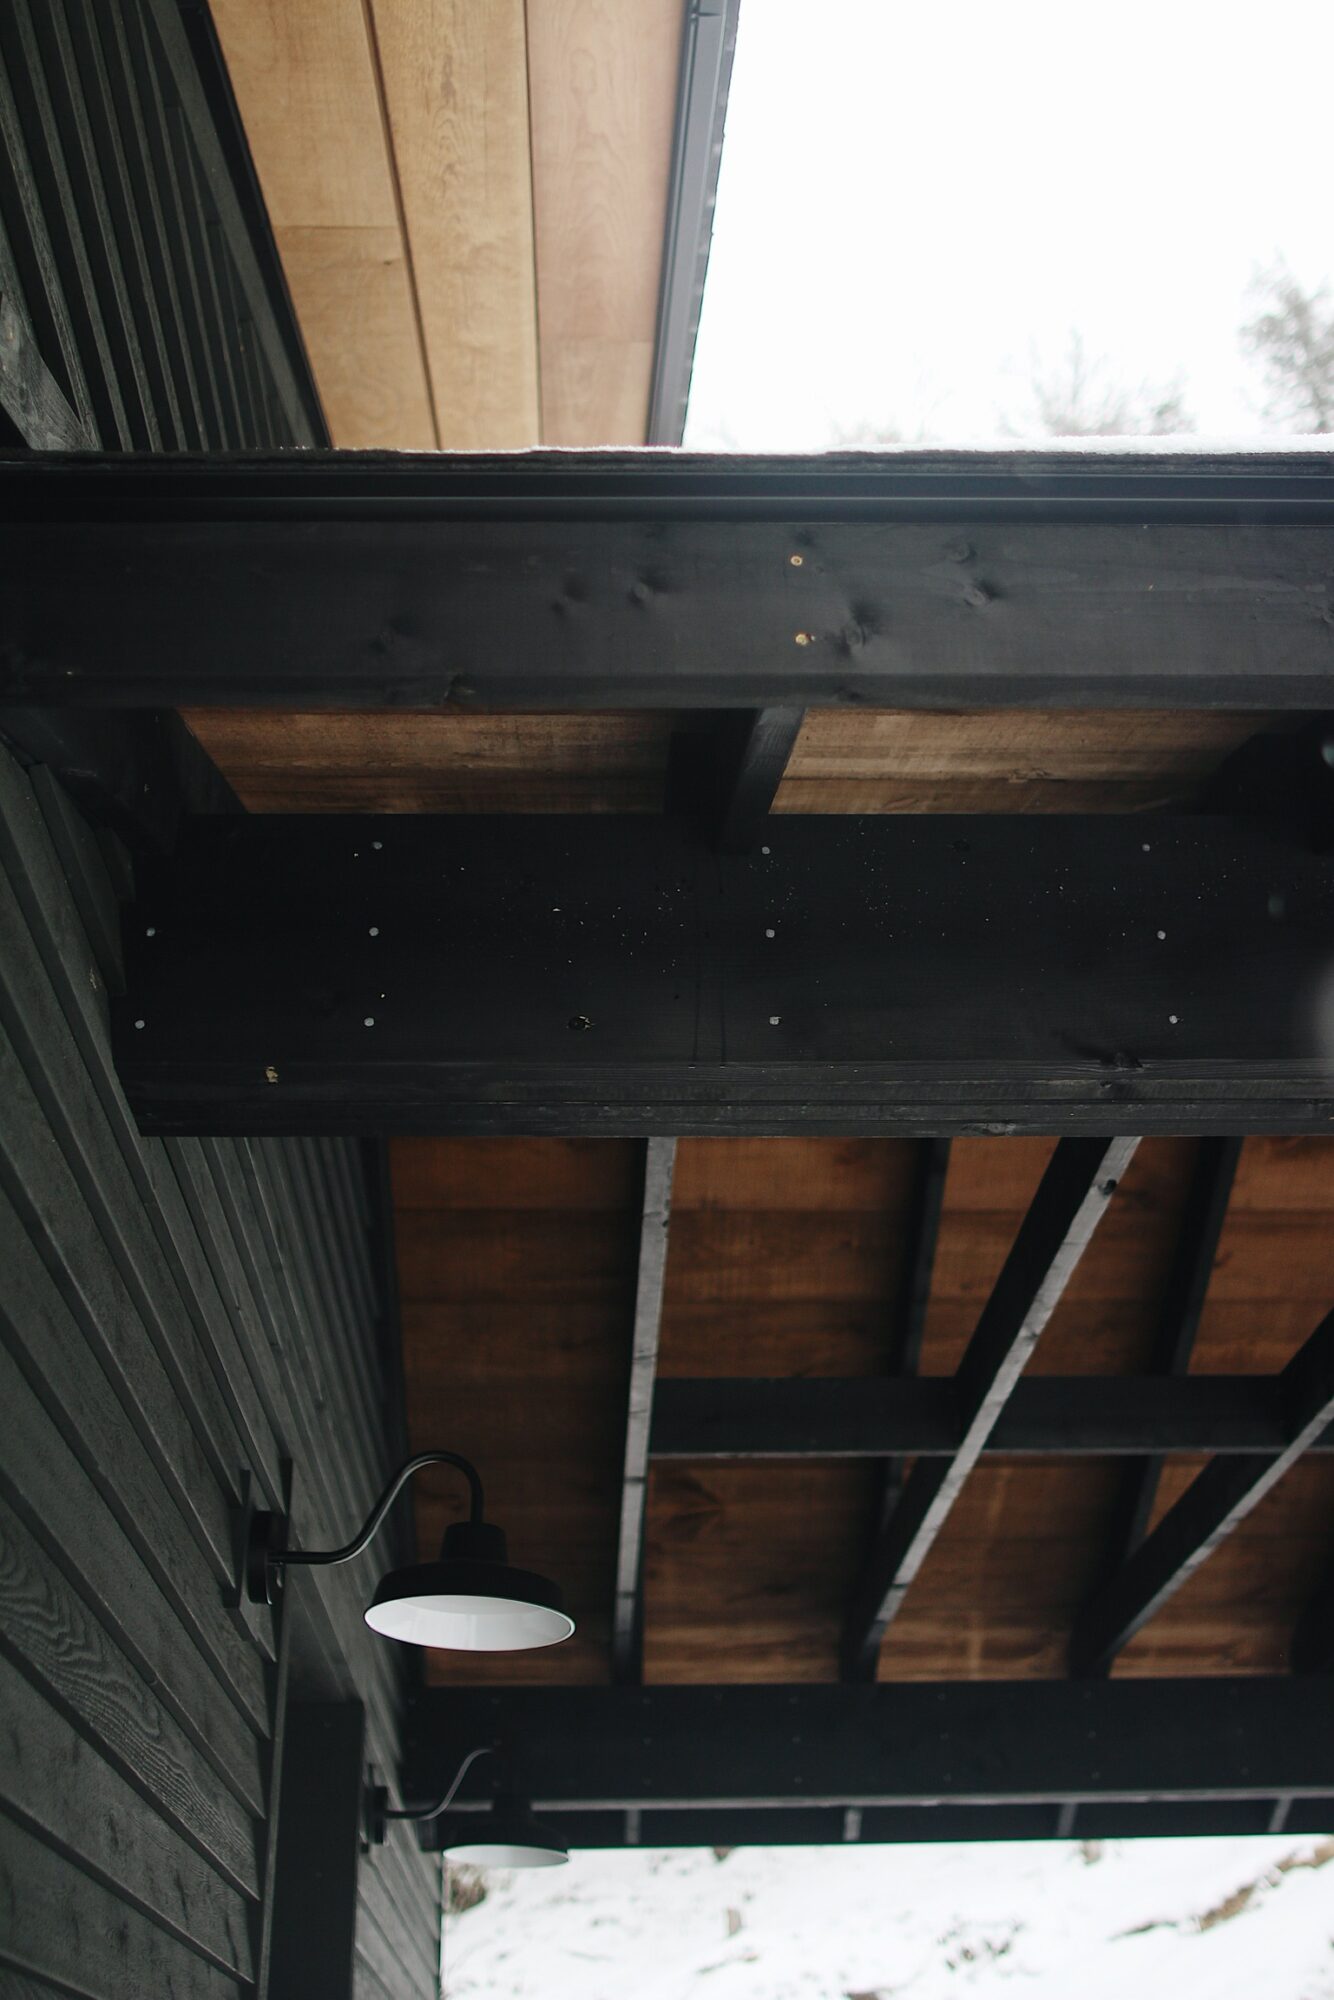
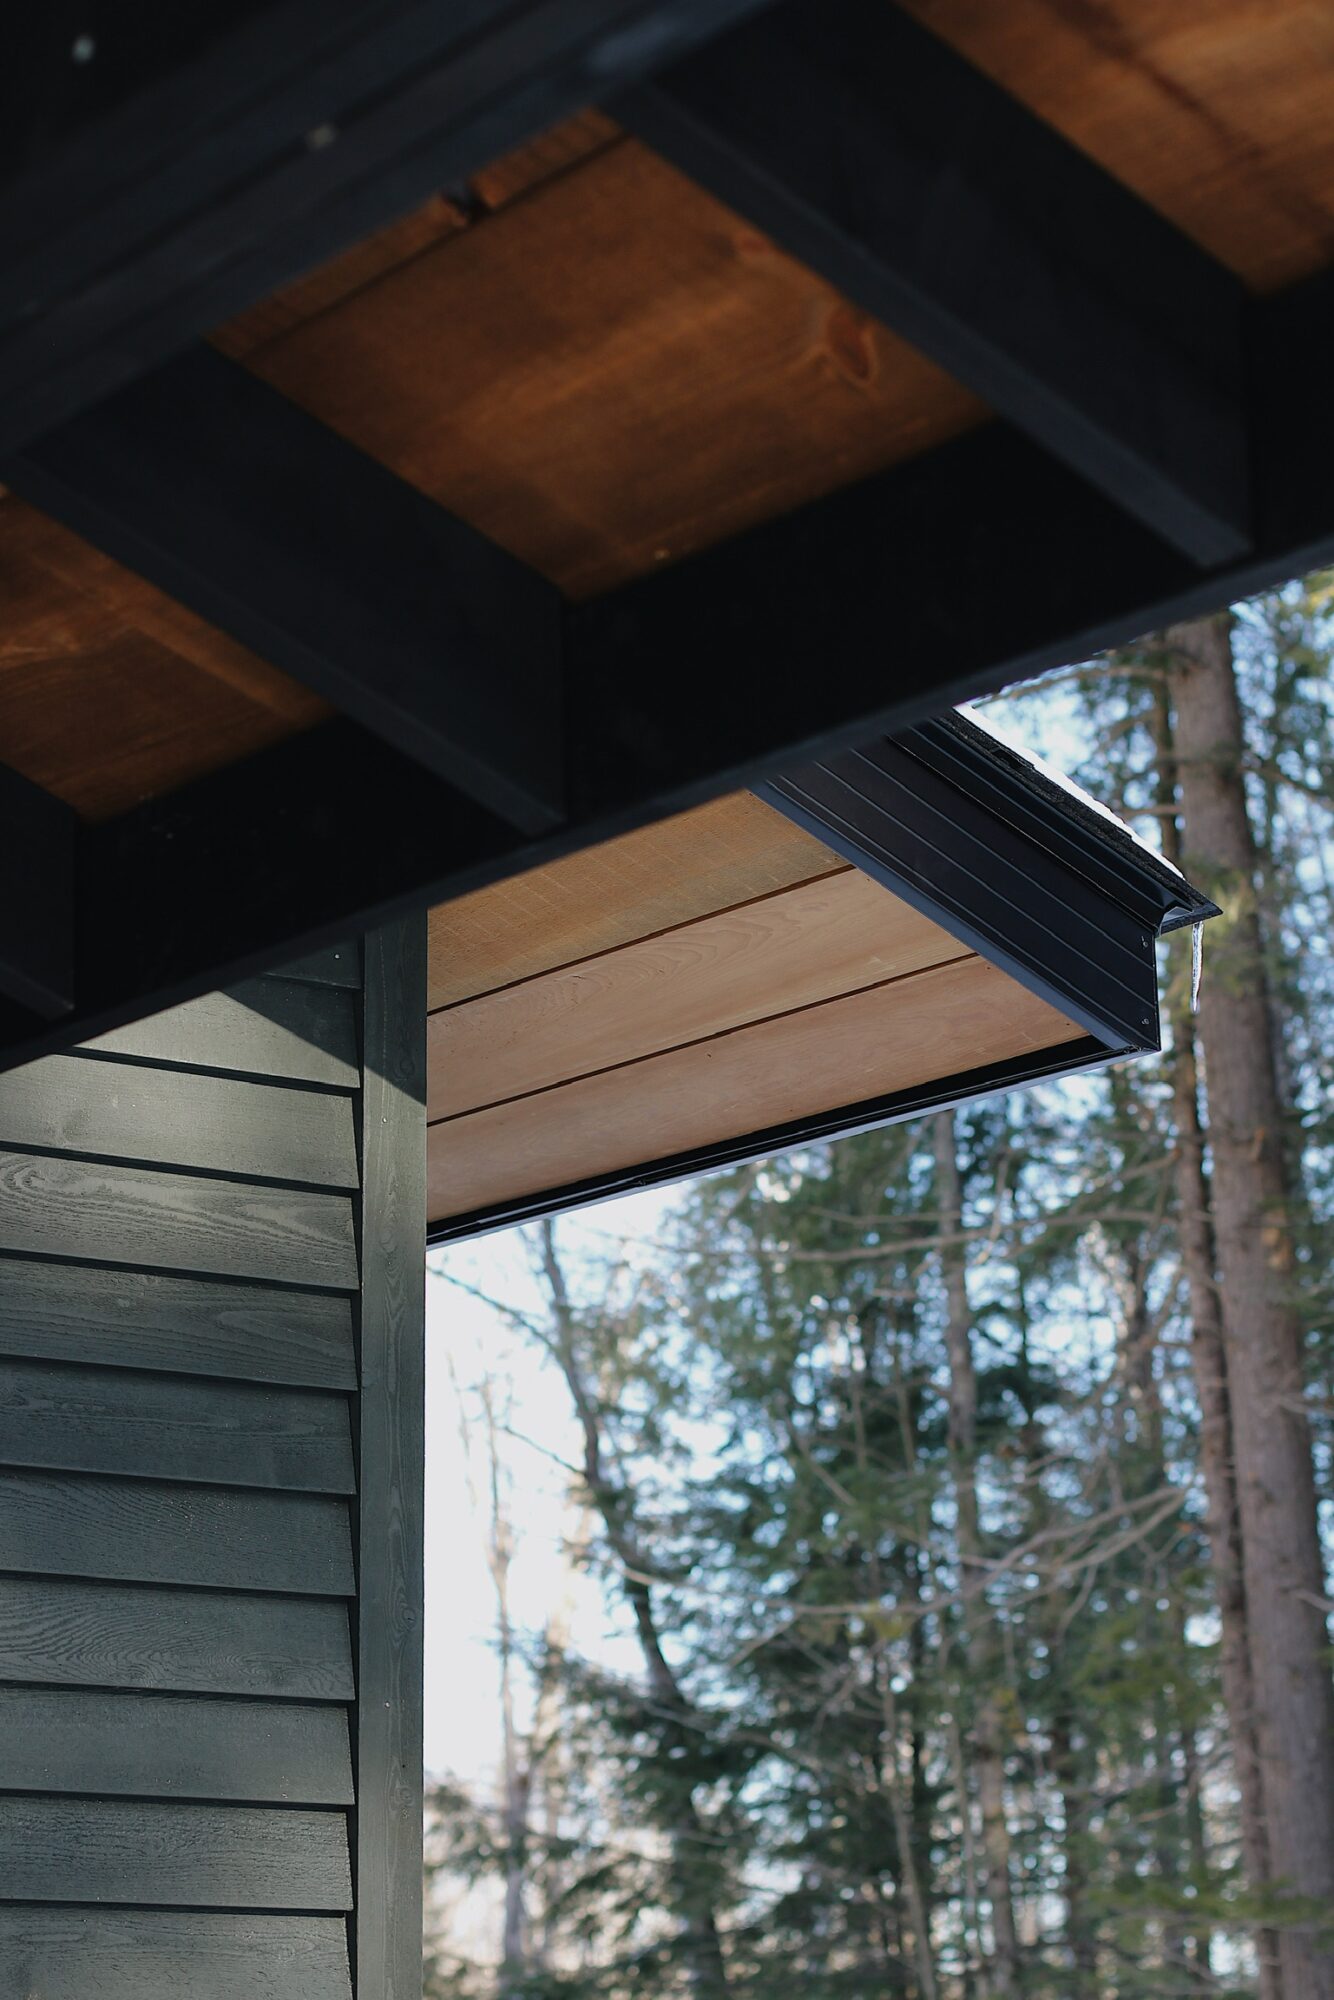
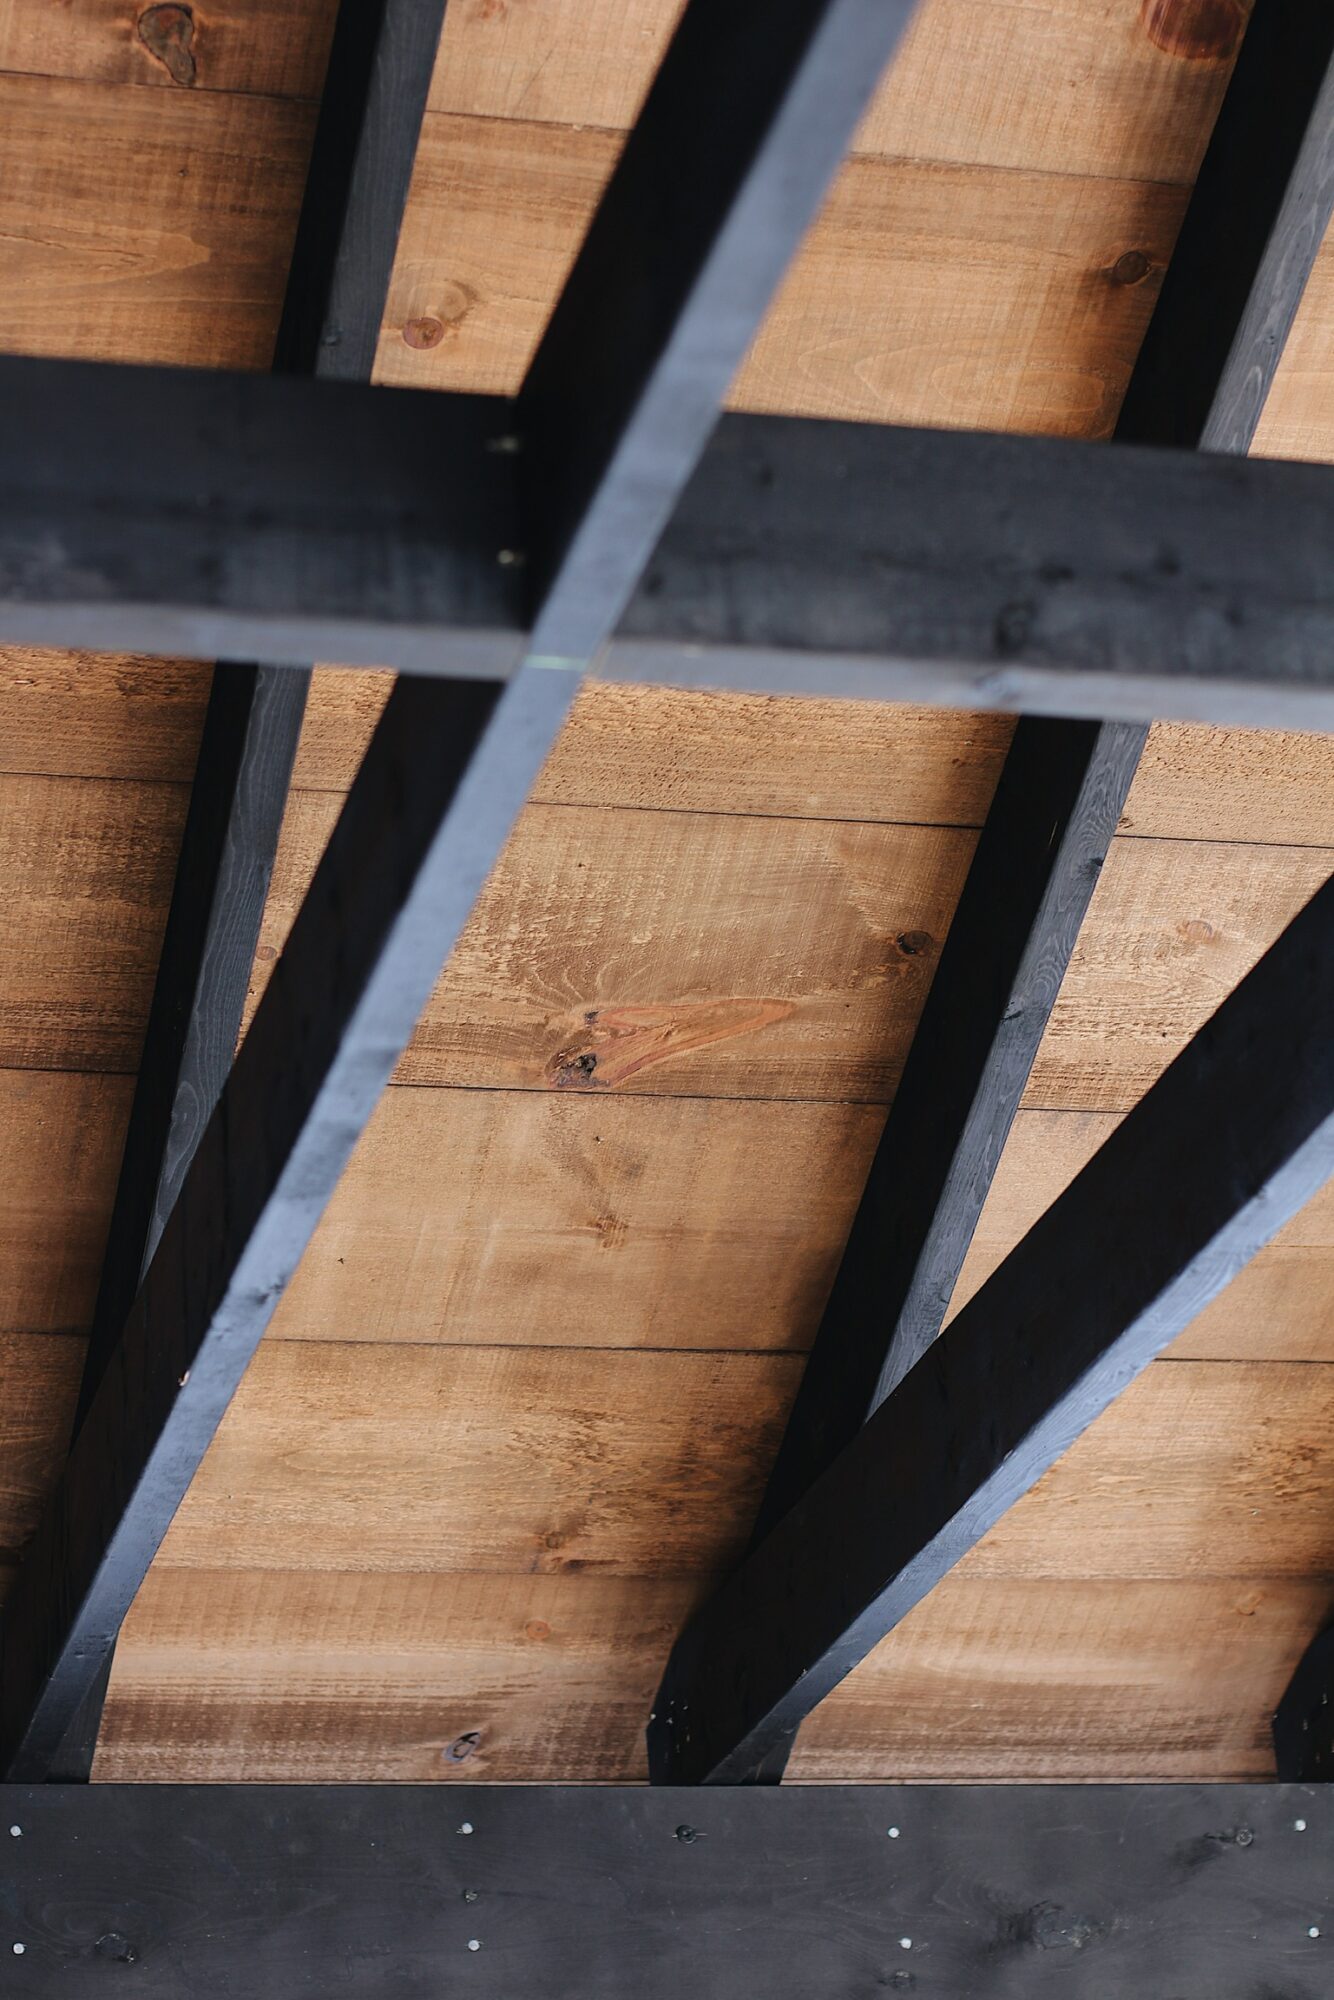
The beams and roof framing were all stained using the same black as the entrance and main doors. This particular stain also helps to protect the wood from weather damage and will help to keep the beams healthy for longer.
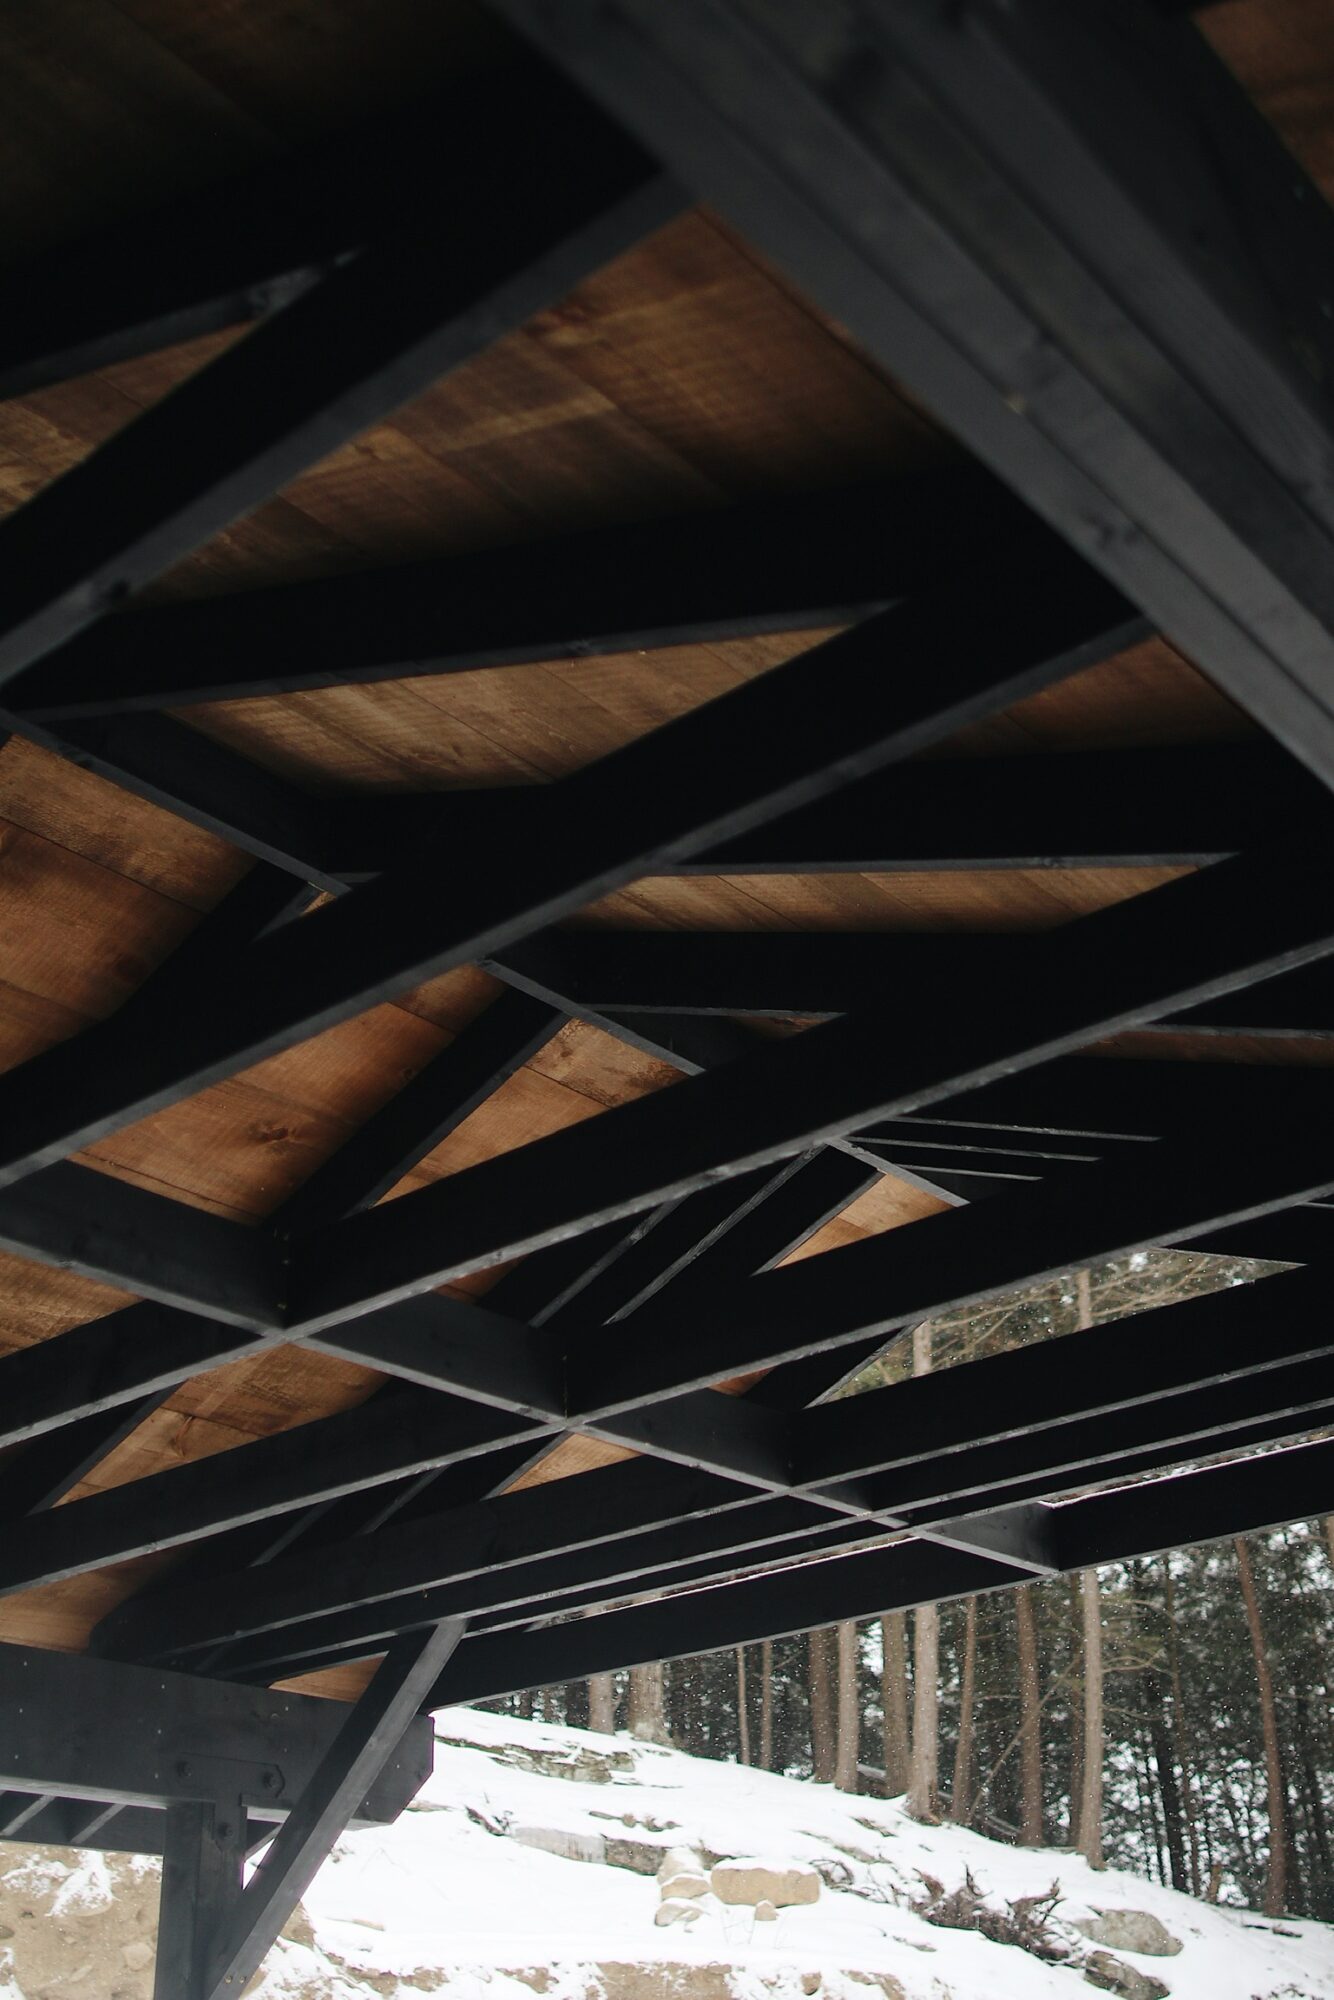
Dave went the extra mile to ensure the galvanized nails were perfectly aligned and carefully carved out a recess for the beam joinery.
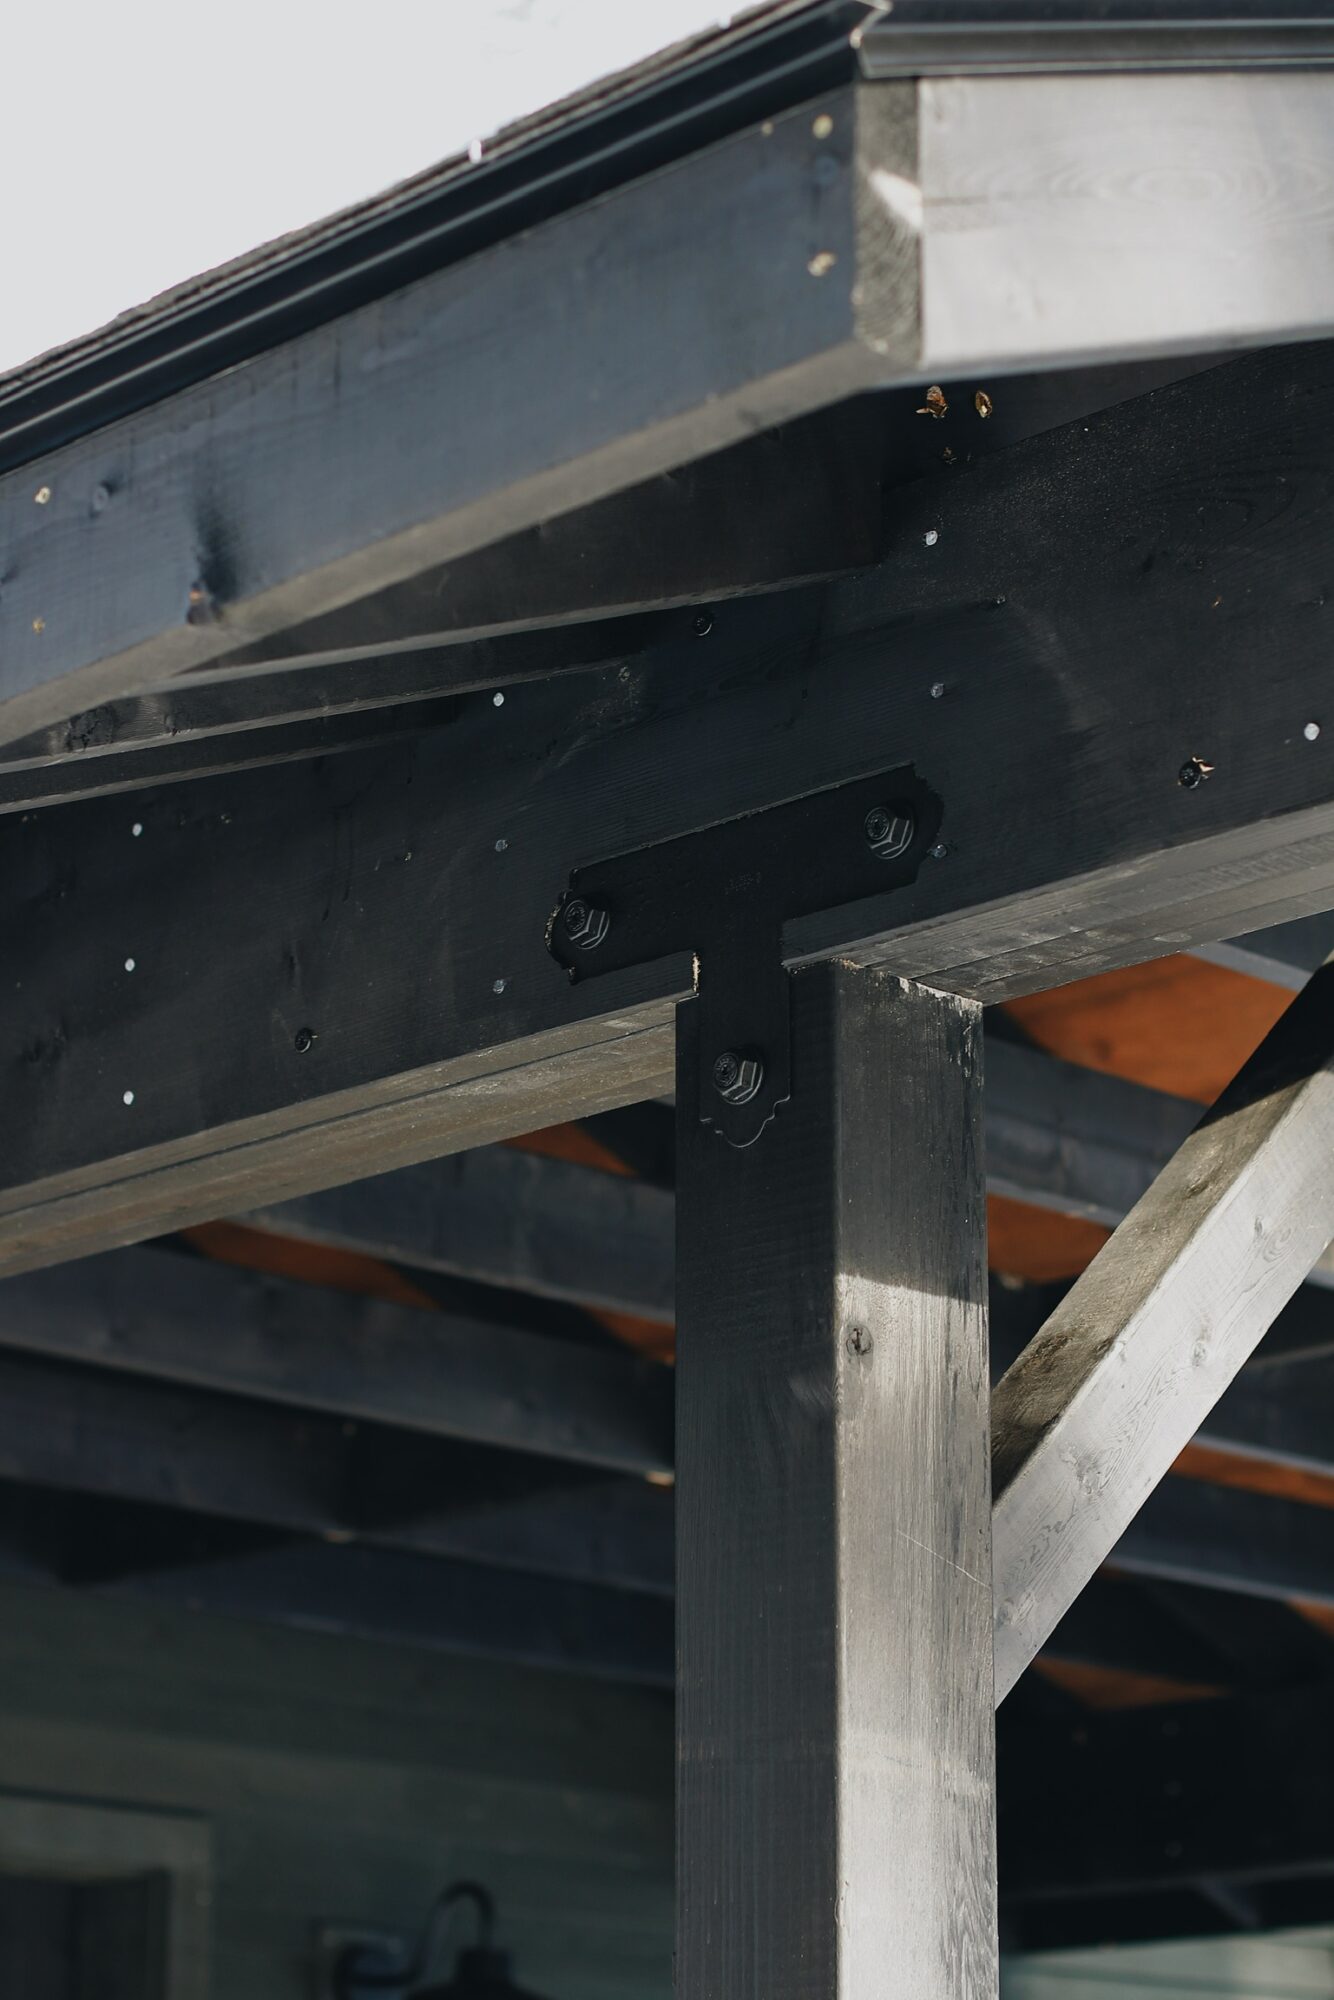
All the beams were pre-stained to ensure total coverage and mess-free installation.
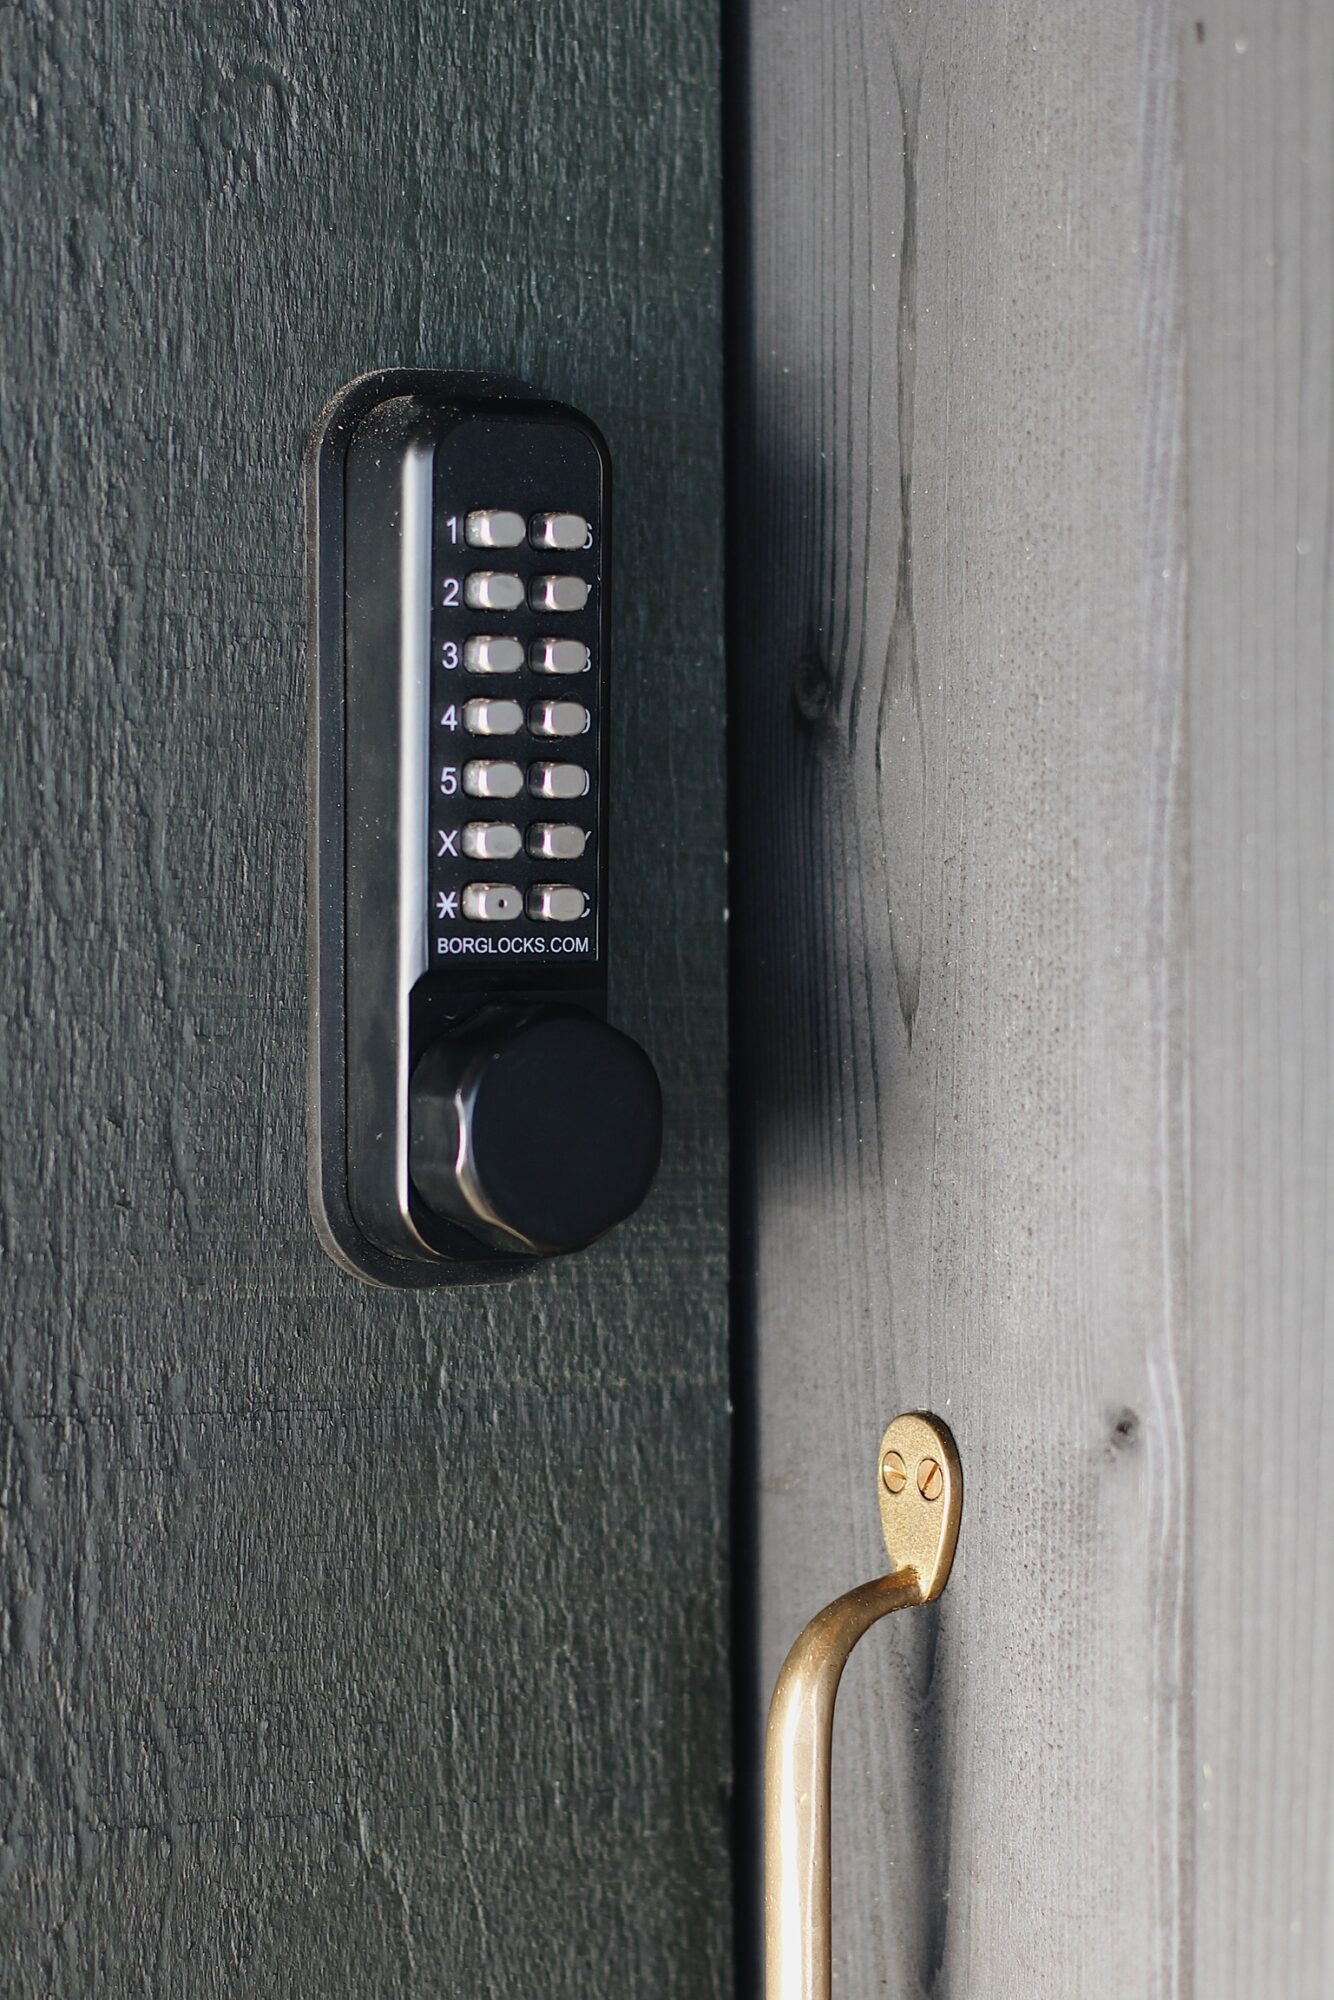
This keypad lock is entirely analogue, meaning no batteries or hardwiring needed. It’s such a joy to use.
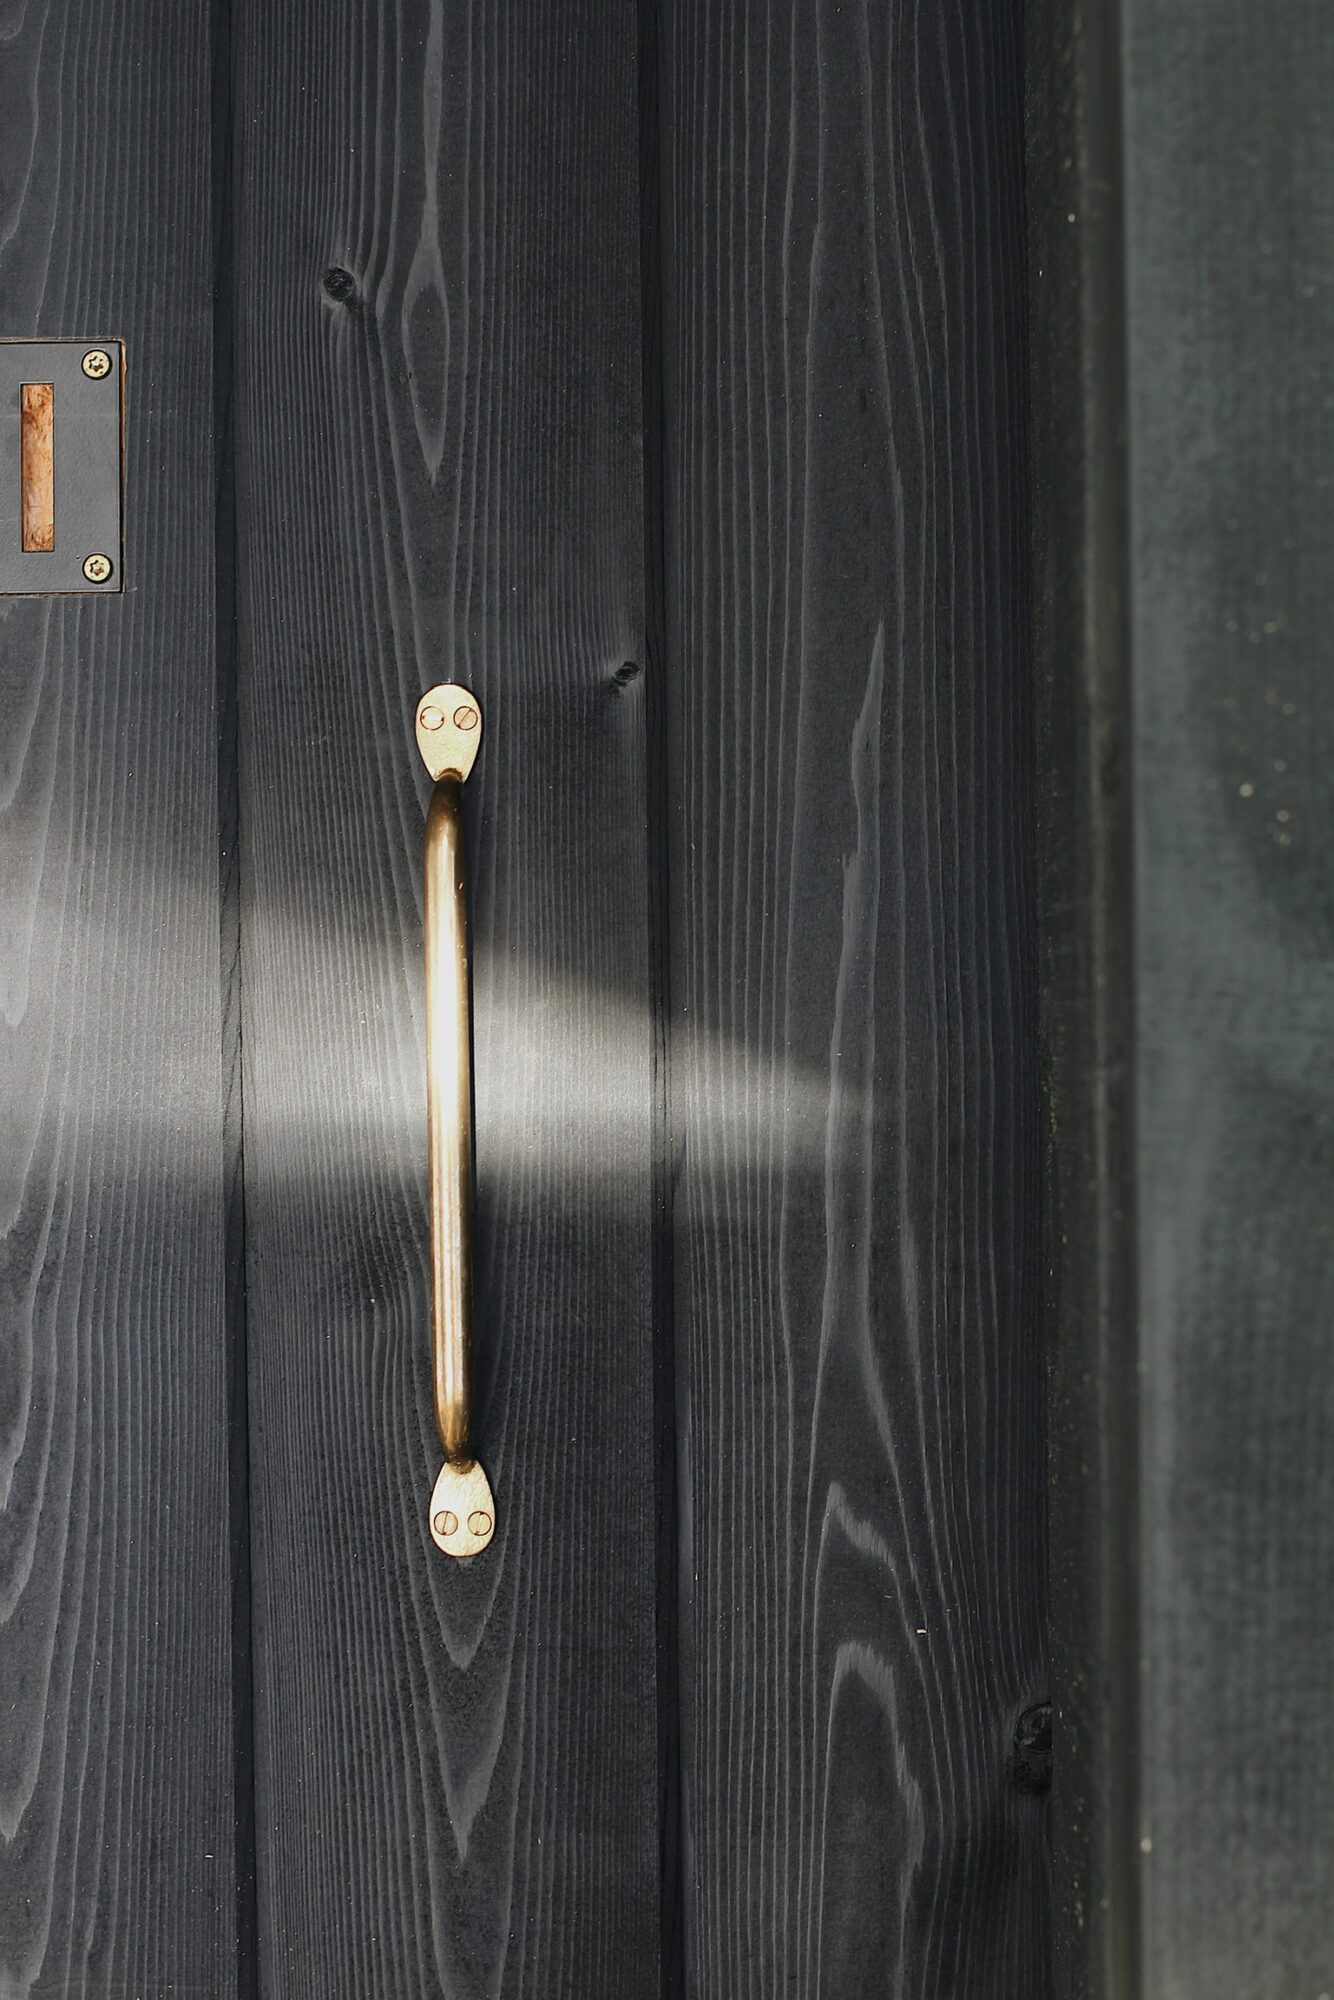
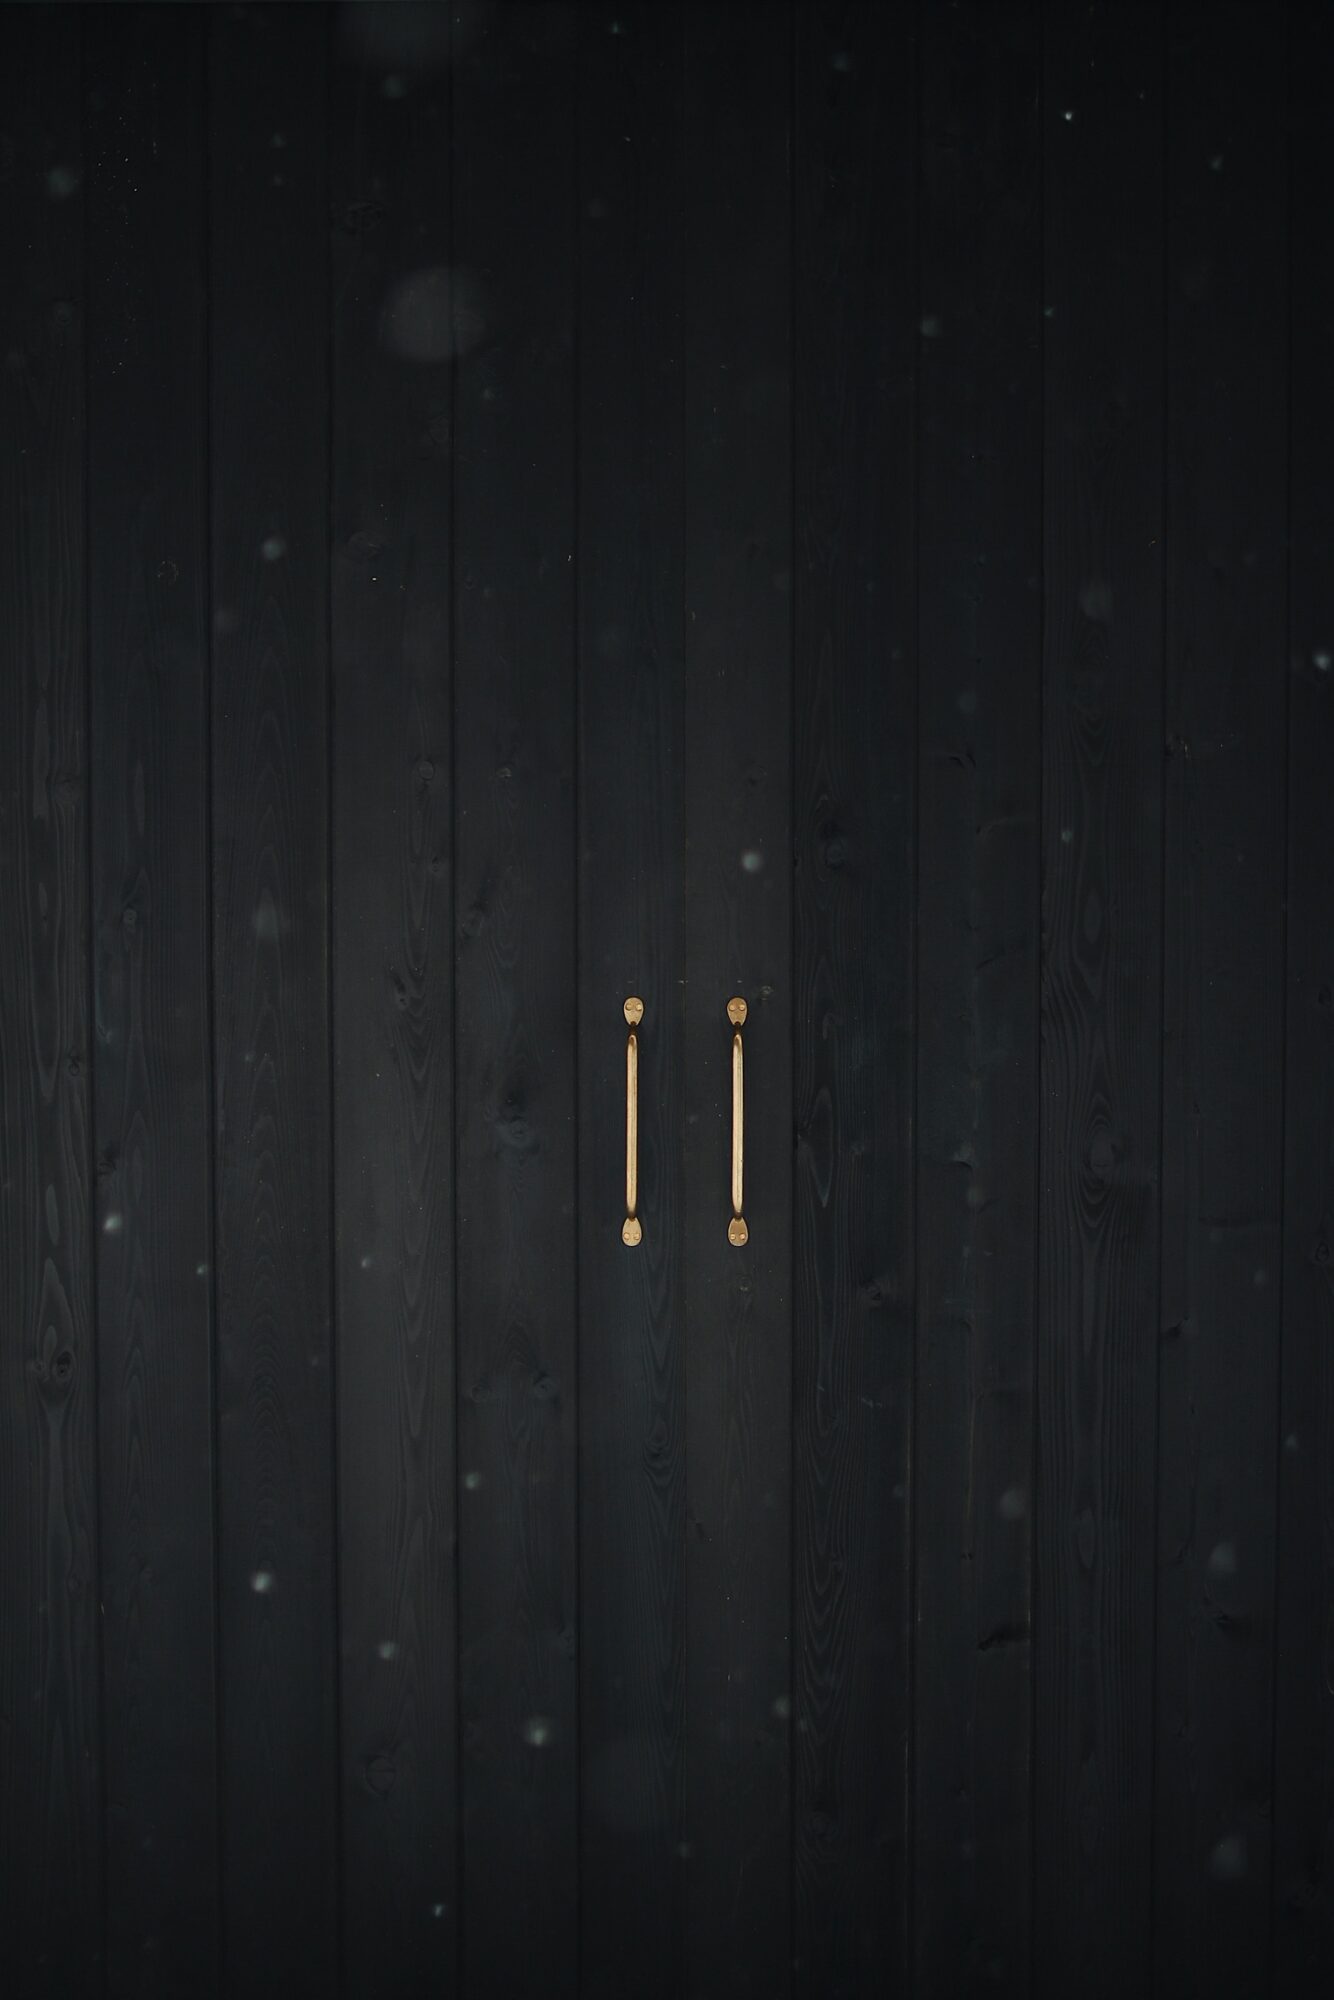
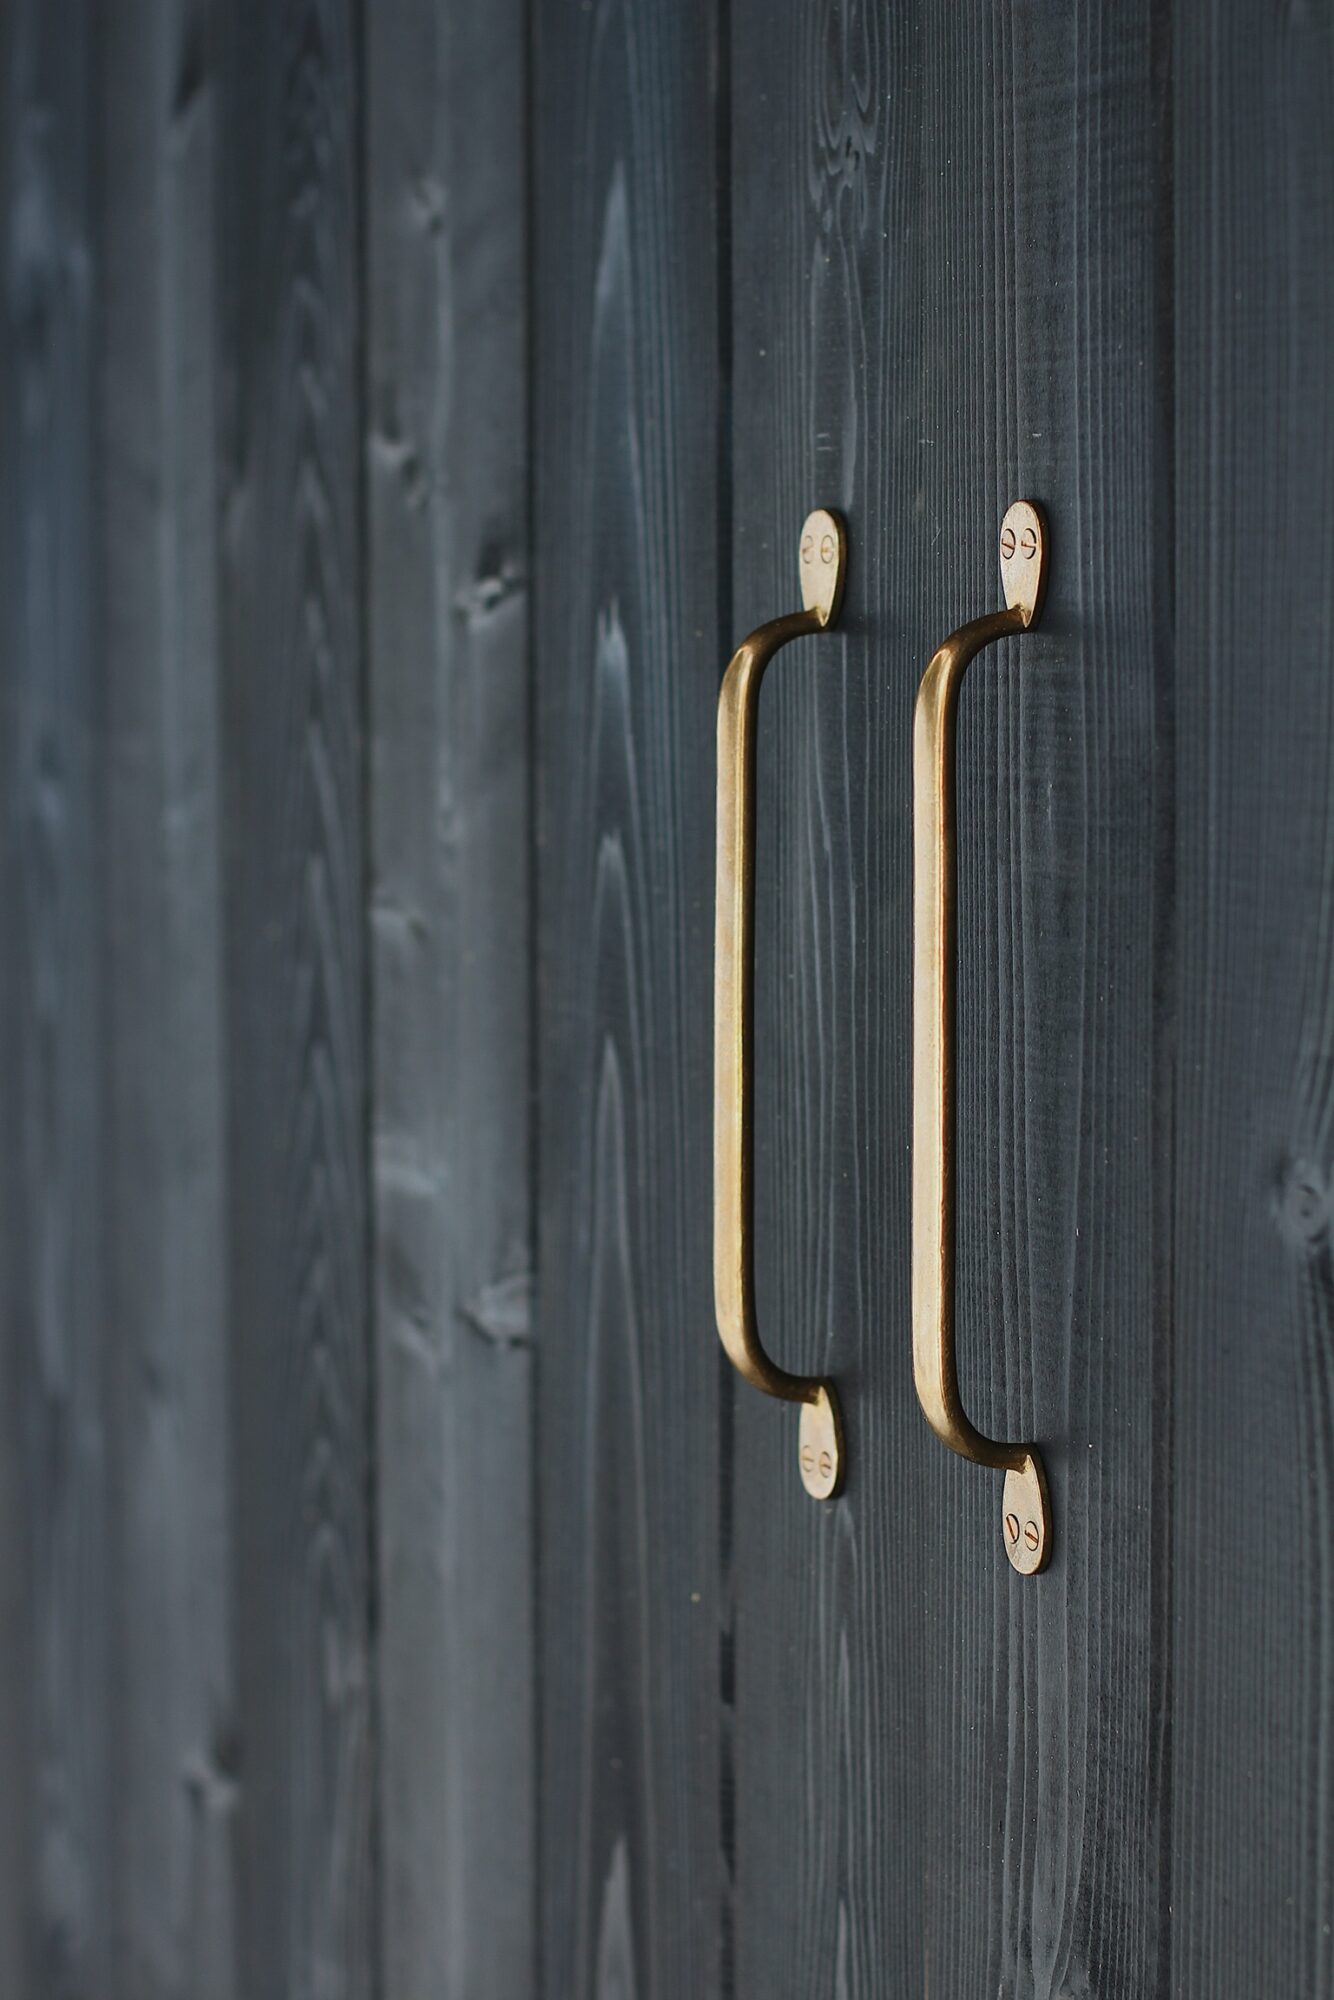
In our experience finishing hardware, like these brass pulls from deVOL, can make all the difference. They’re the main element of interaction with the building and it was important to us that they be of a high quality. Especially given the analogue nature of the garage doors.
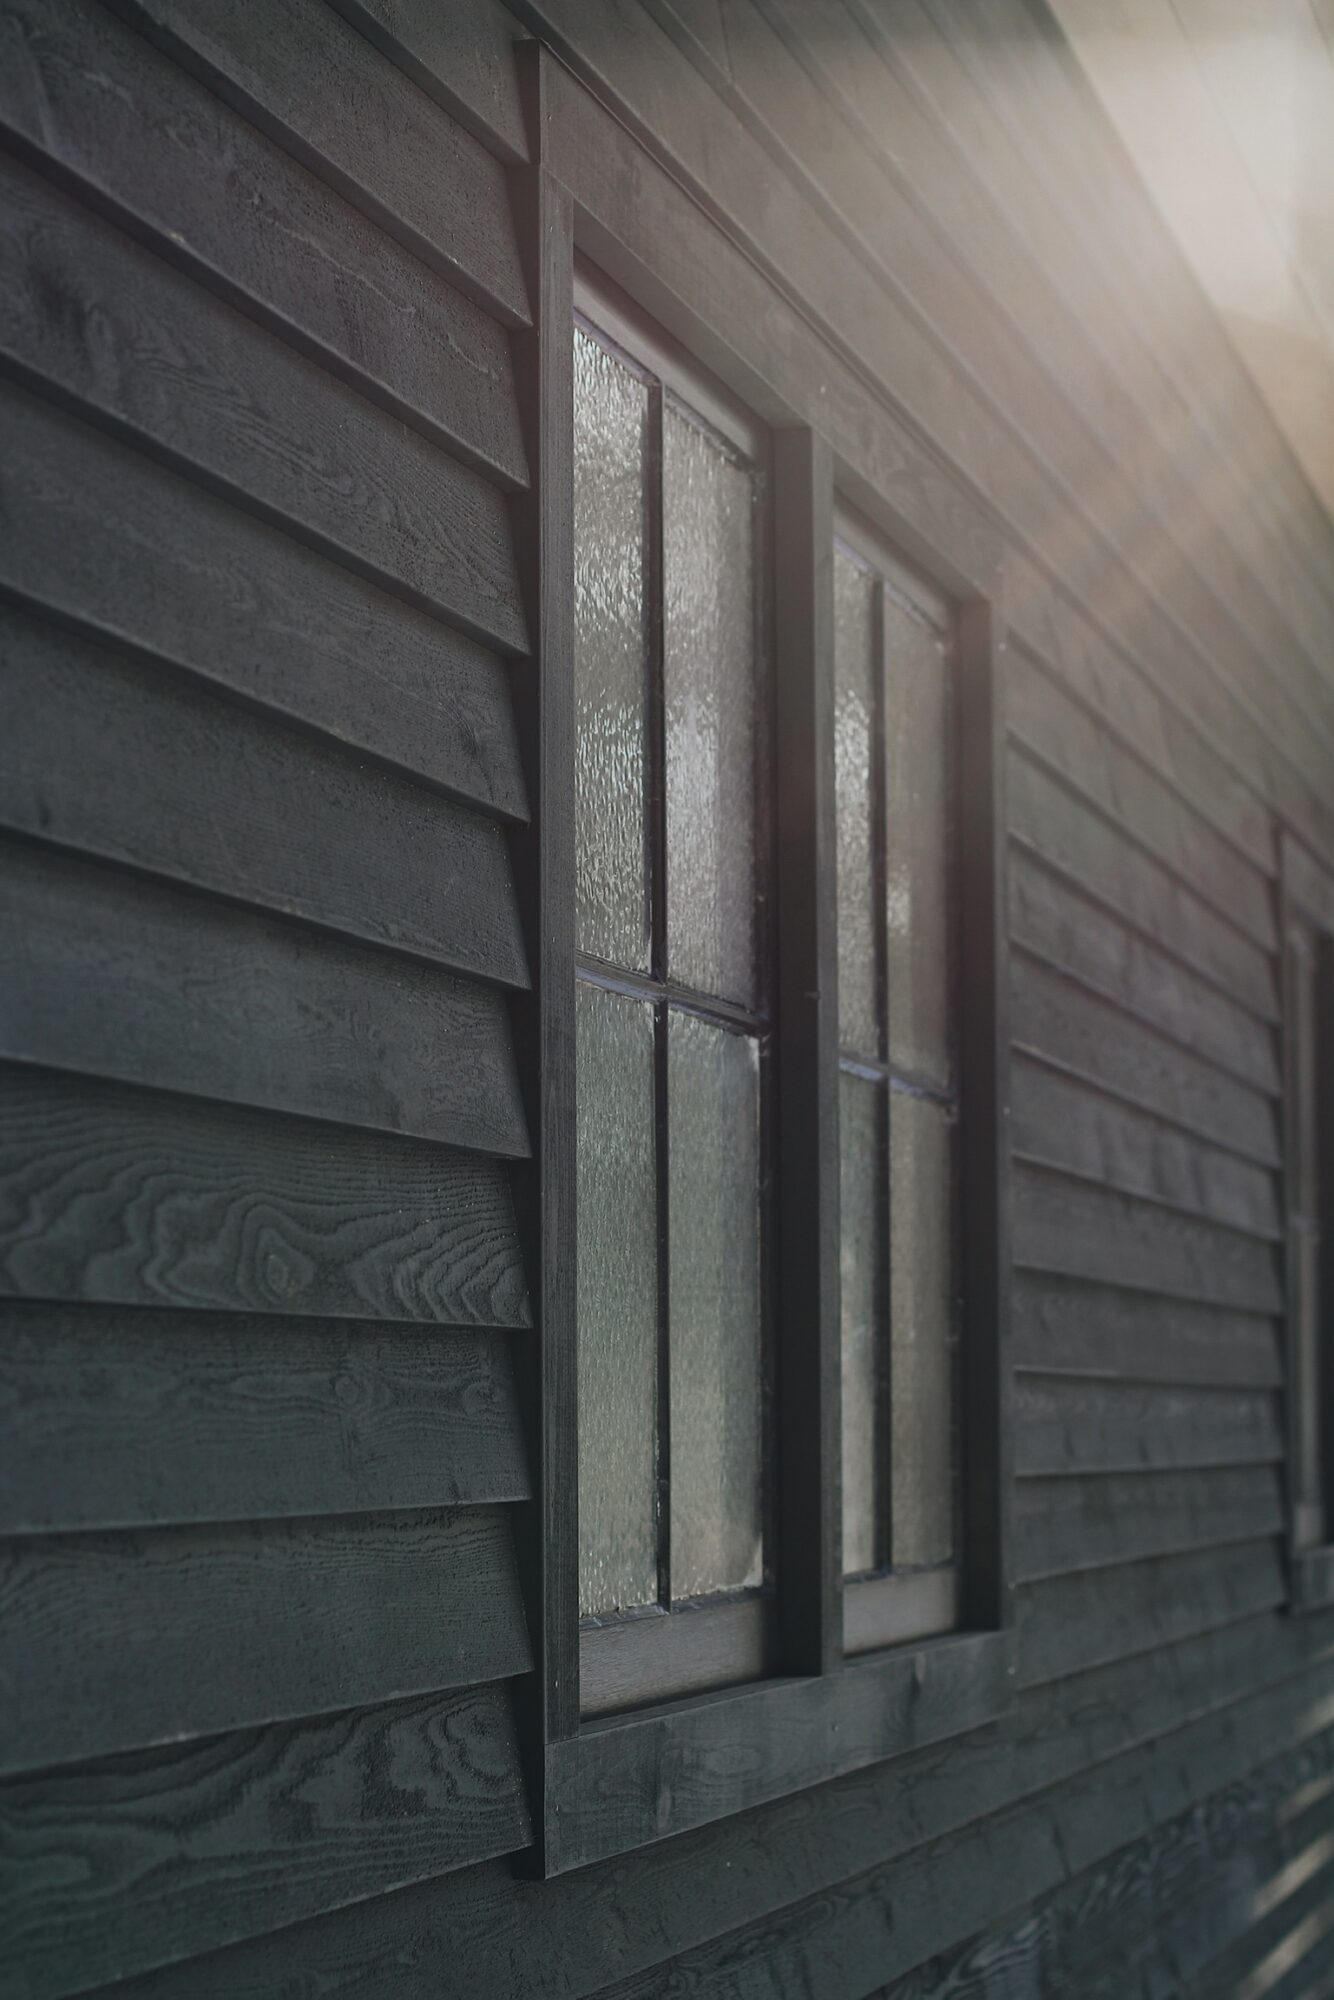
Moving around to the back of the building, which is west facing, we have a set of 6 classic 4-pane windows. These were salvaged from an old workshop, then repainted and glazed. Each set of two lines up with a corresponding garage door opening on the opposite elevation.
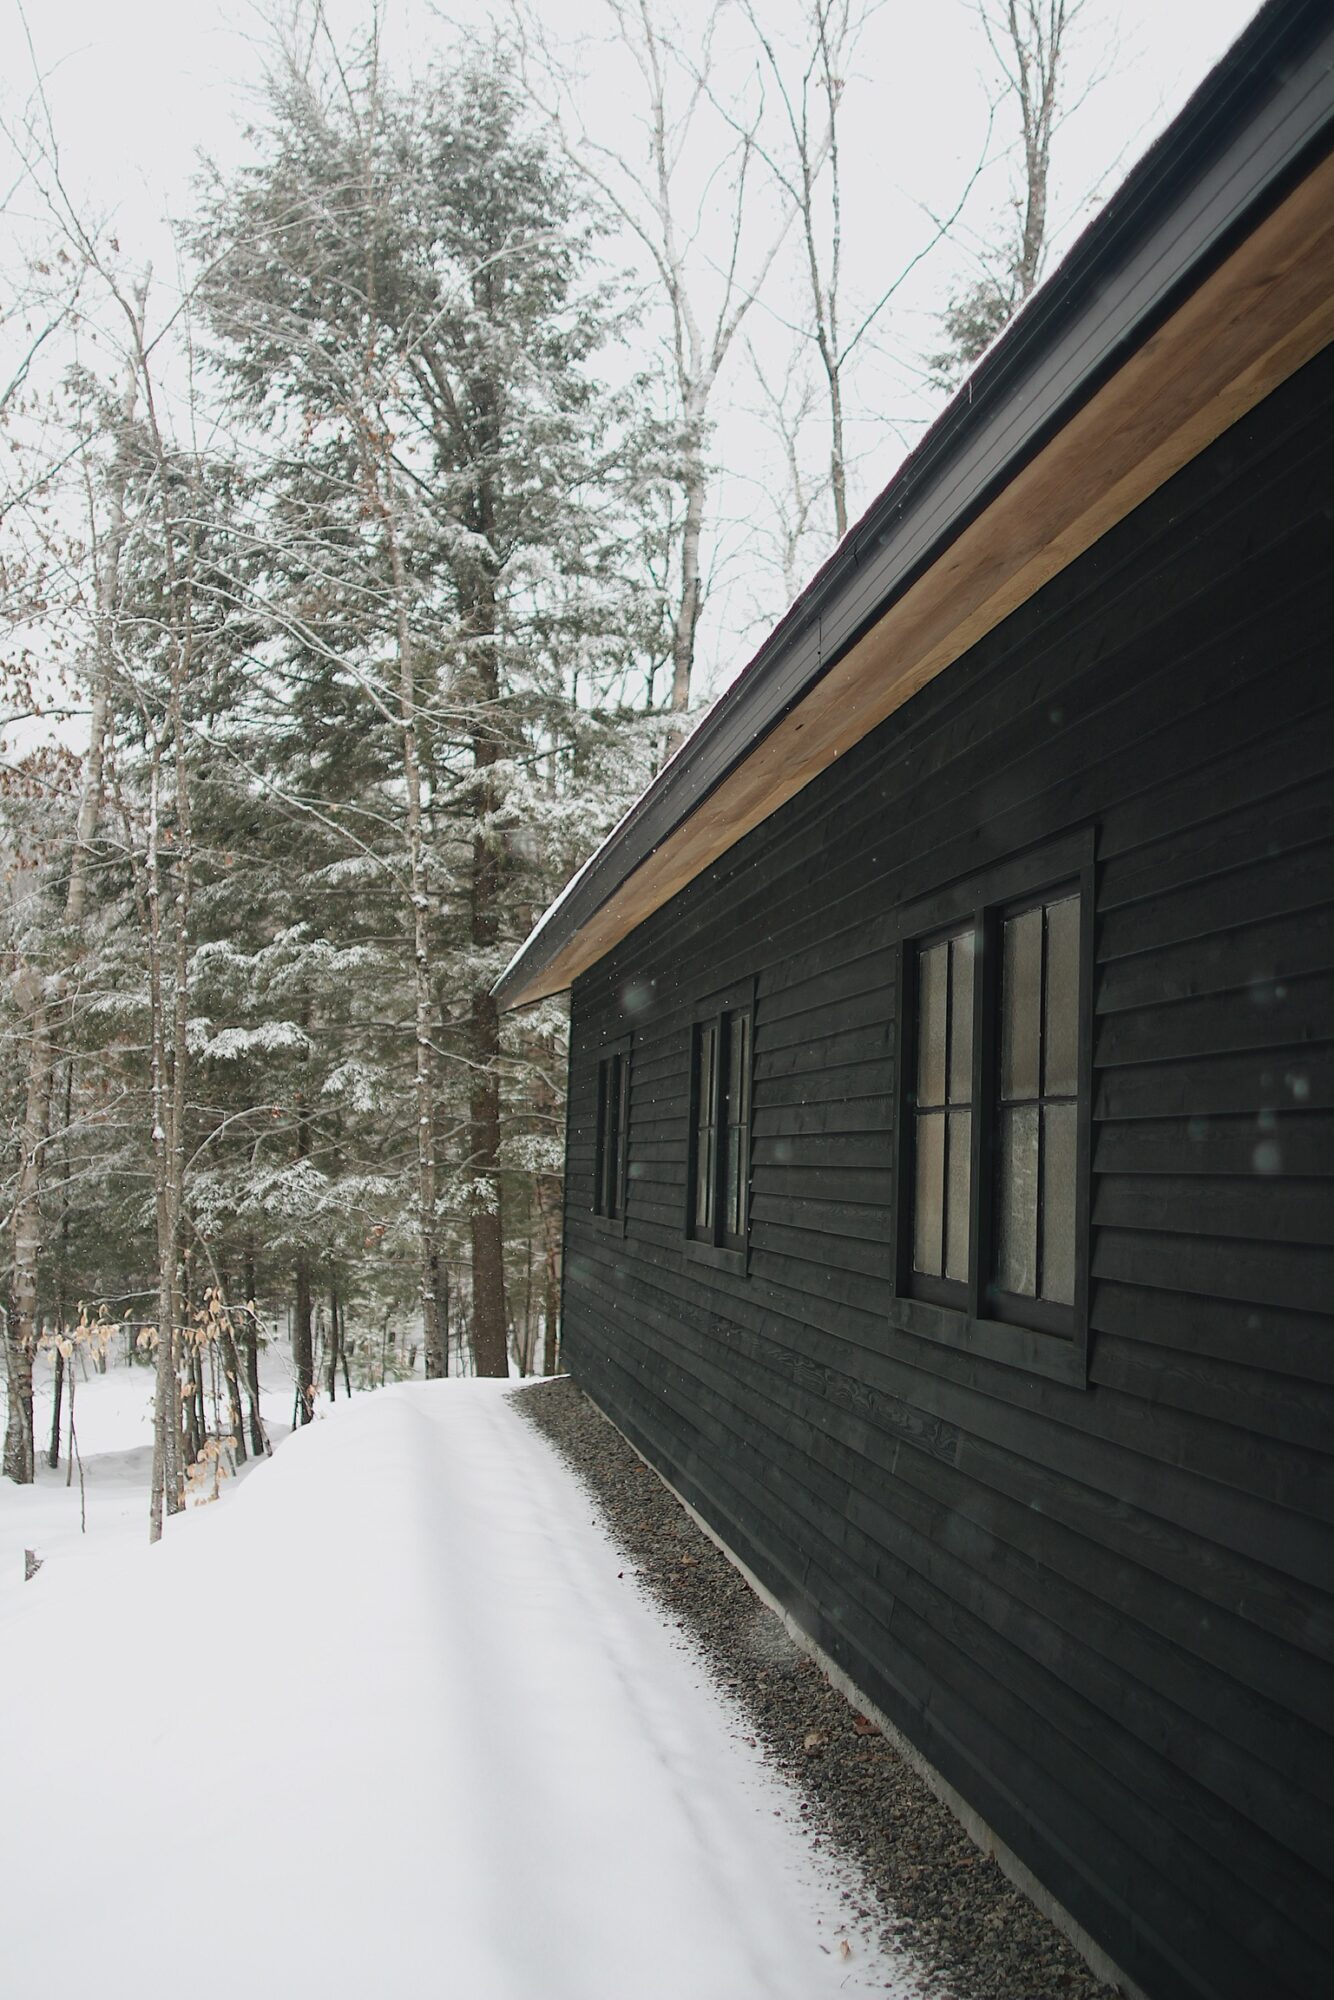
Vintage textured glass obscures the visibility into the space without blocking sunlight.
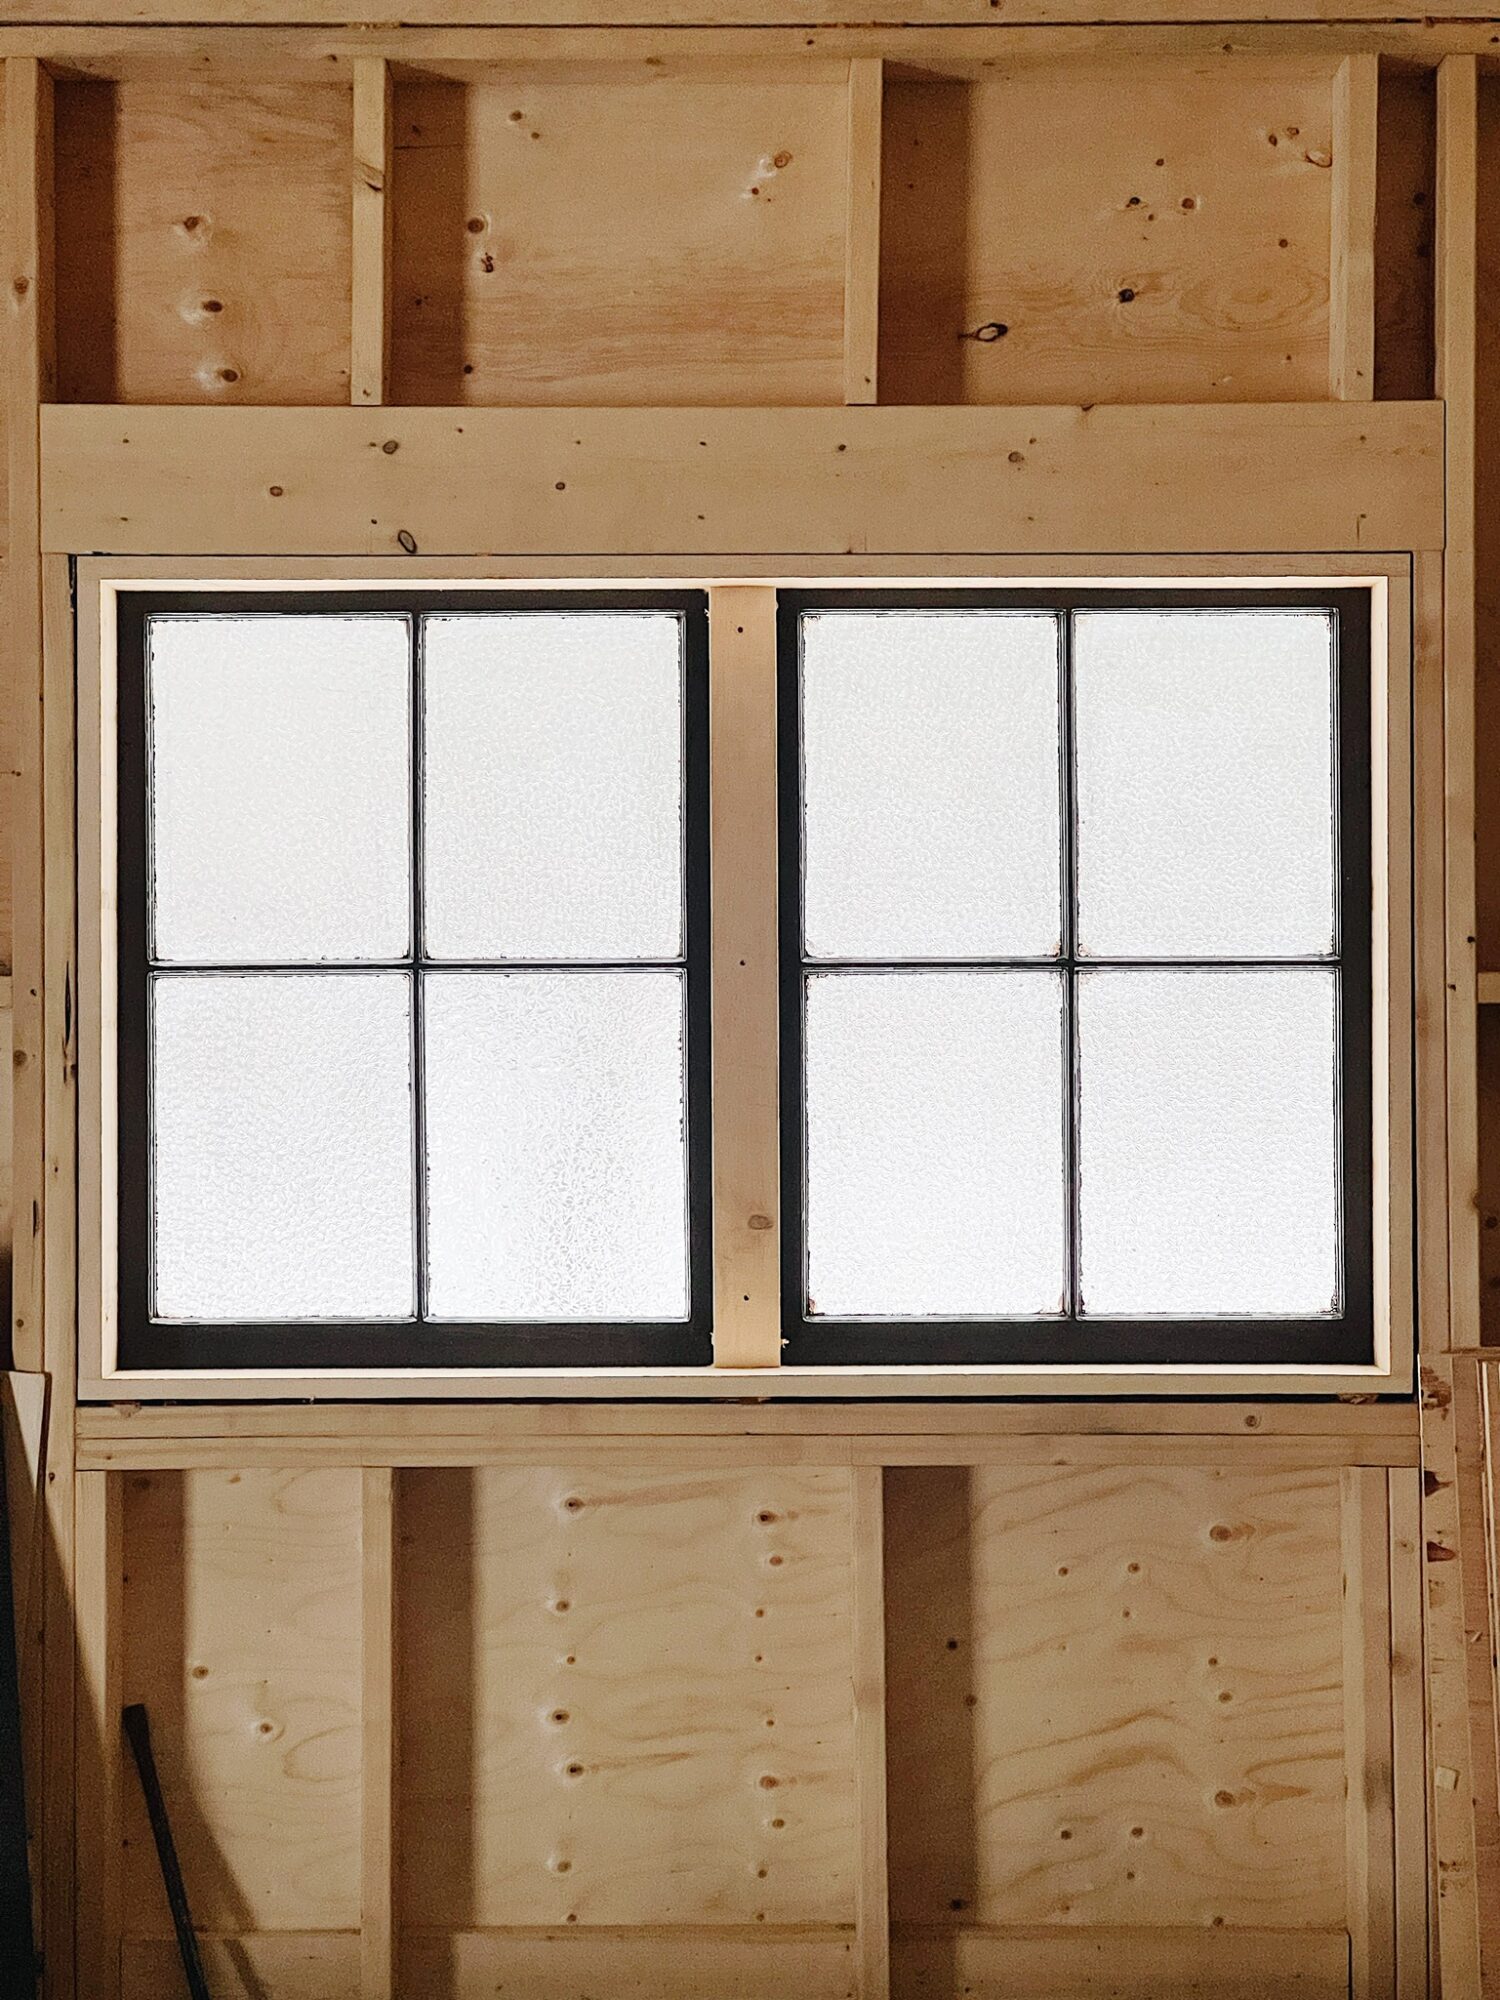
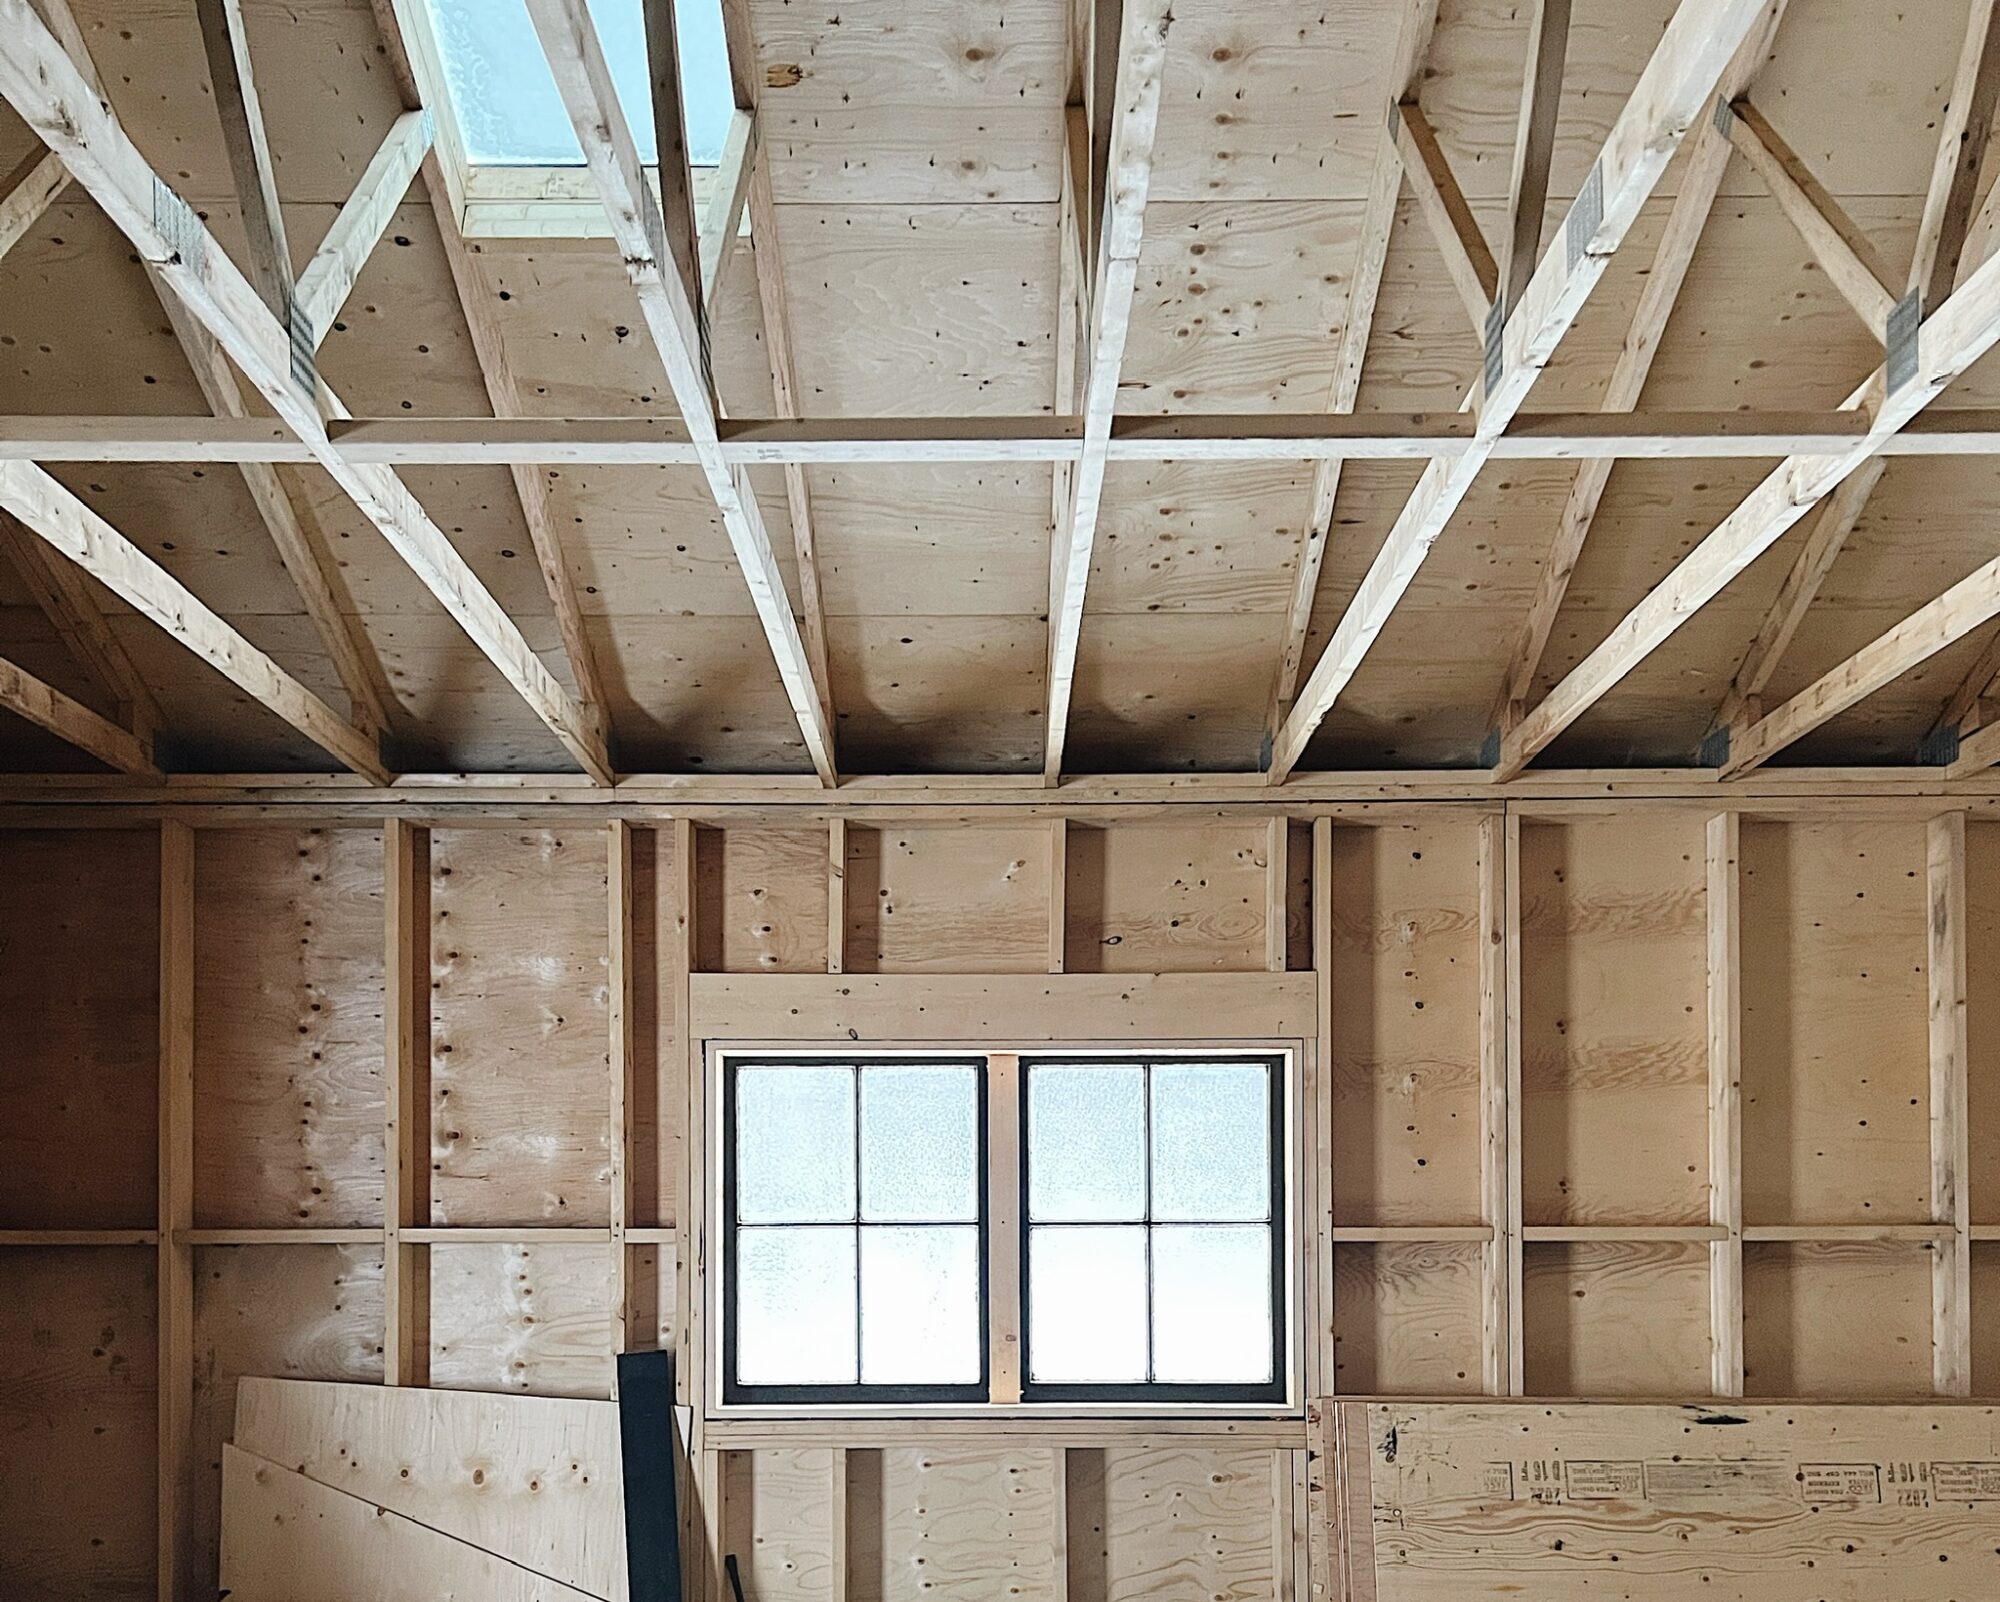
Thanks to a few skylights and the large bay door openings, lots of natural light floods the space.
Now we’ll head around to the eastern elevation of the building, where the three garage bay openings are.
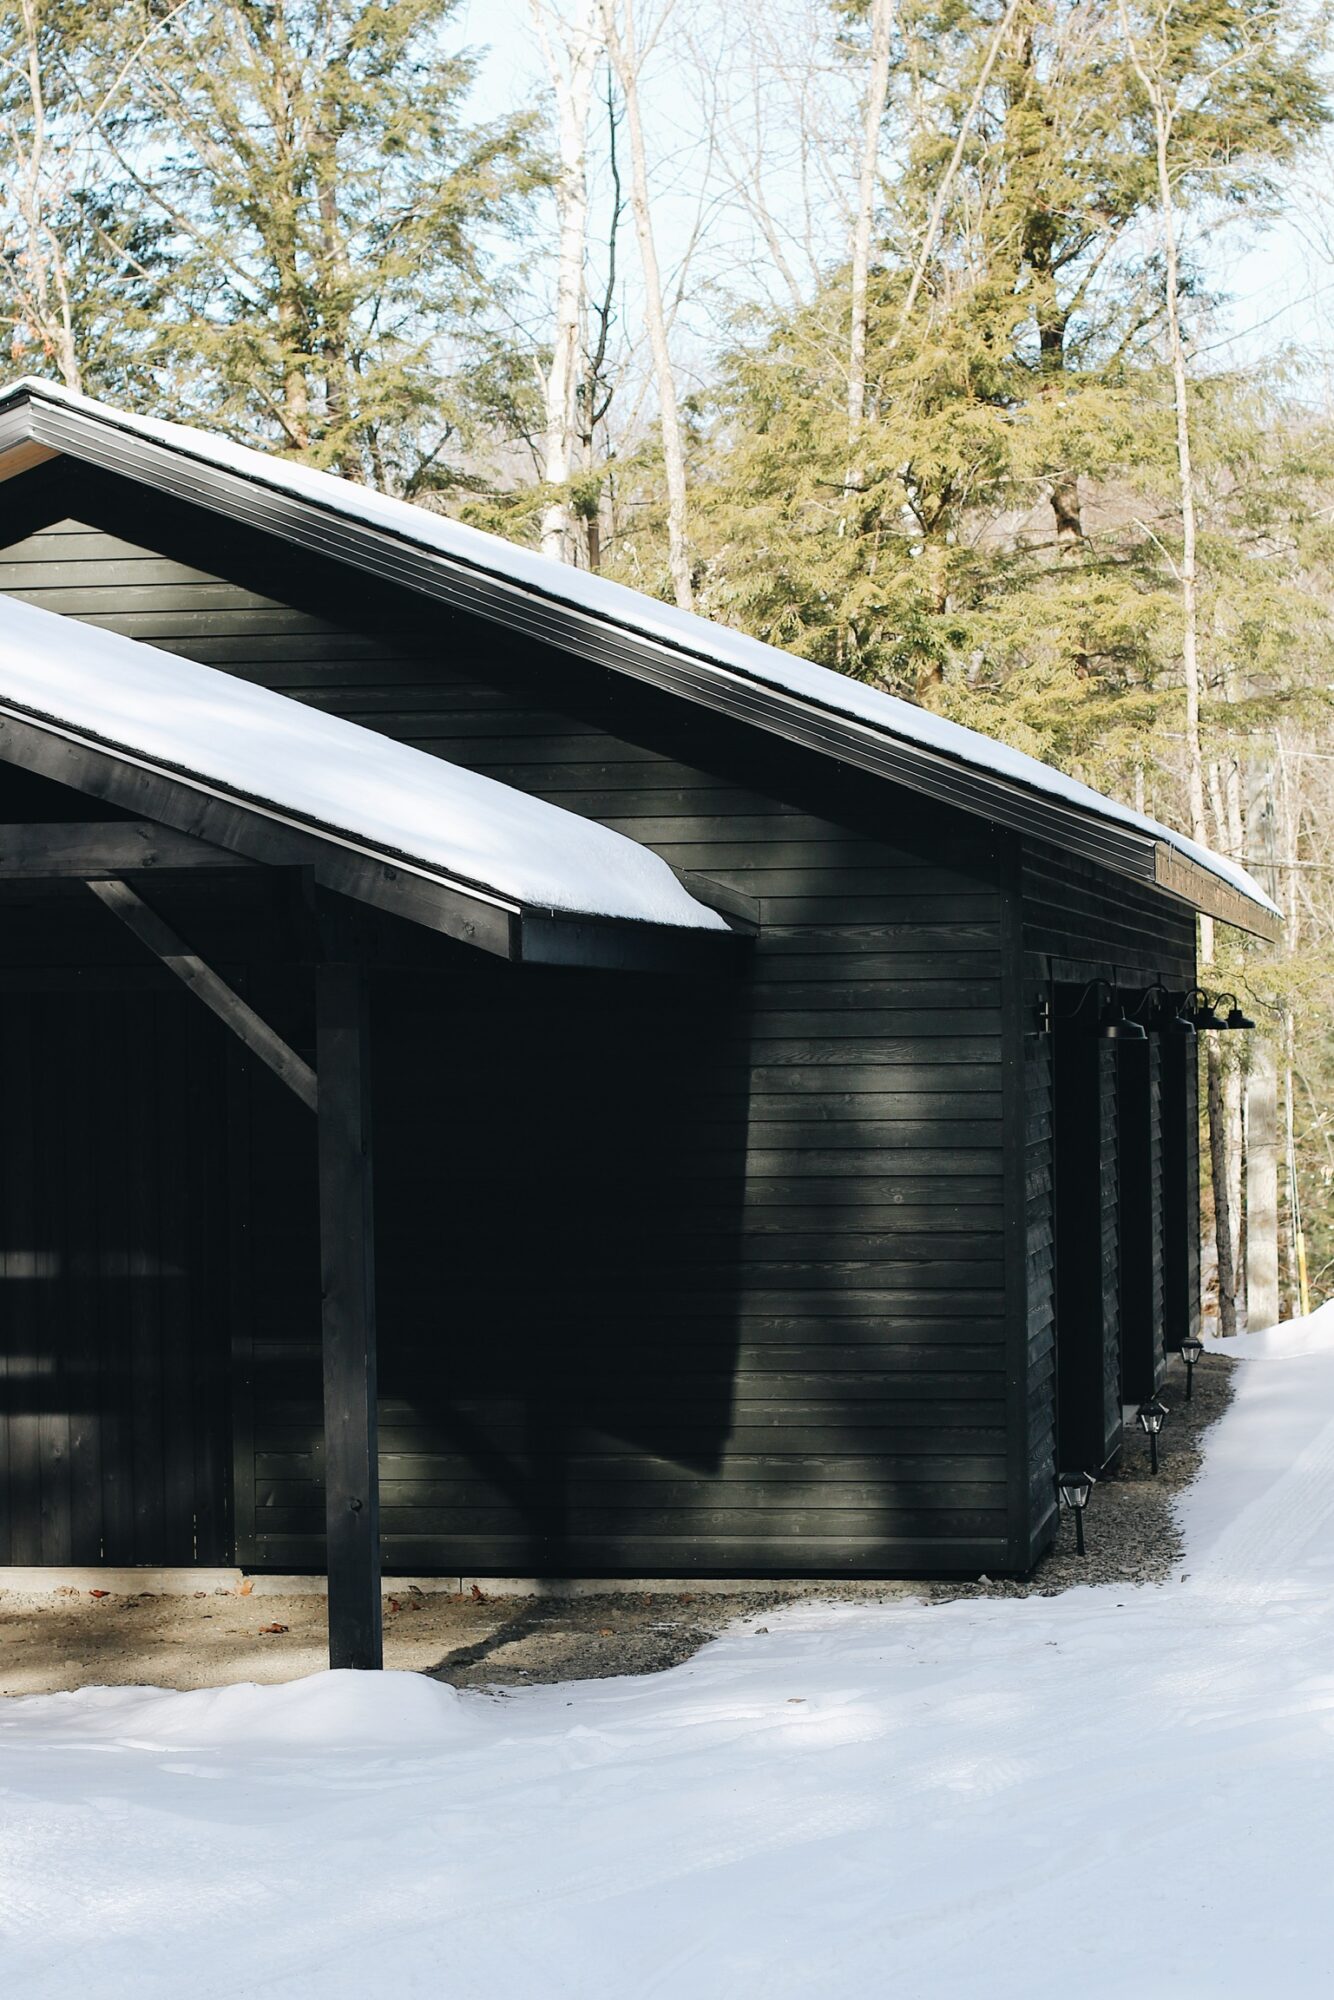
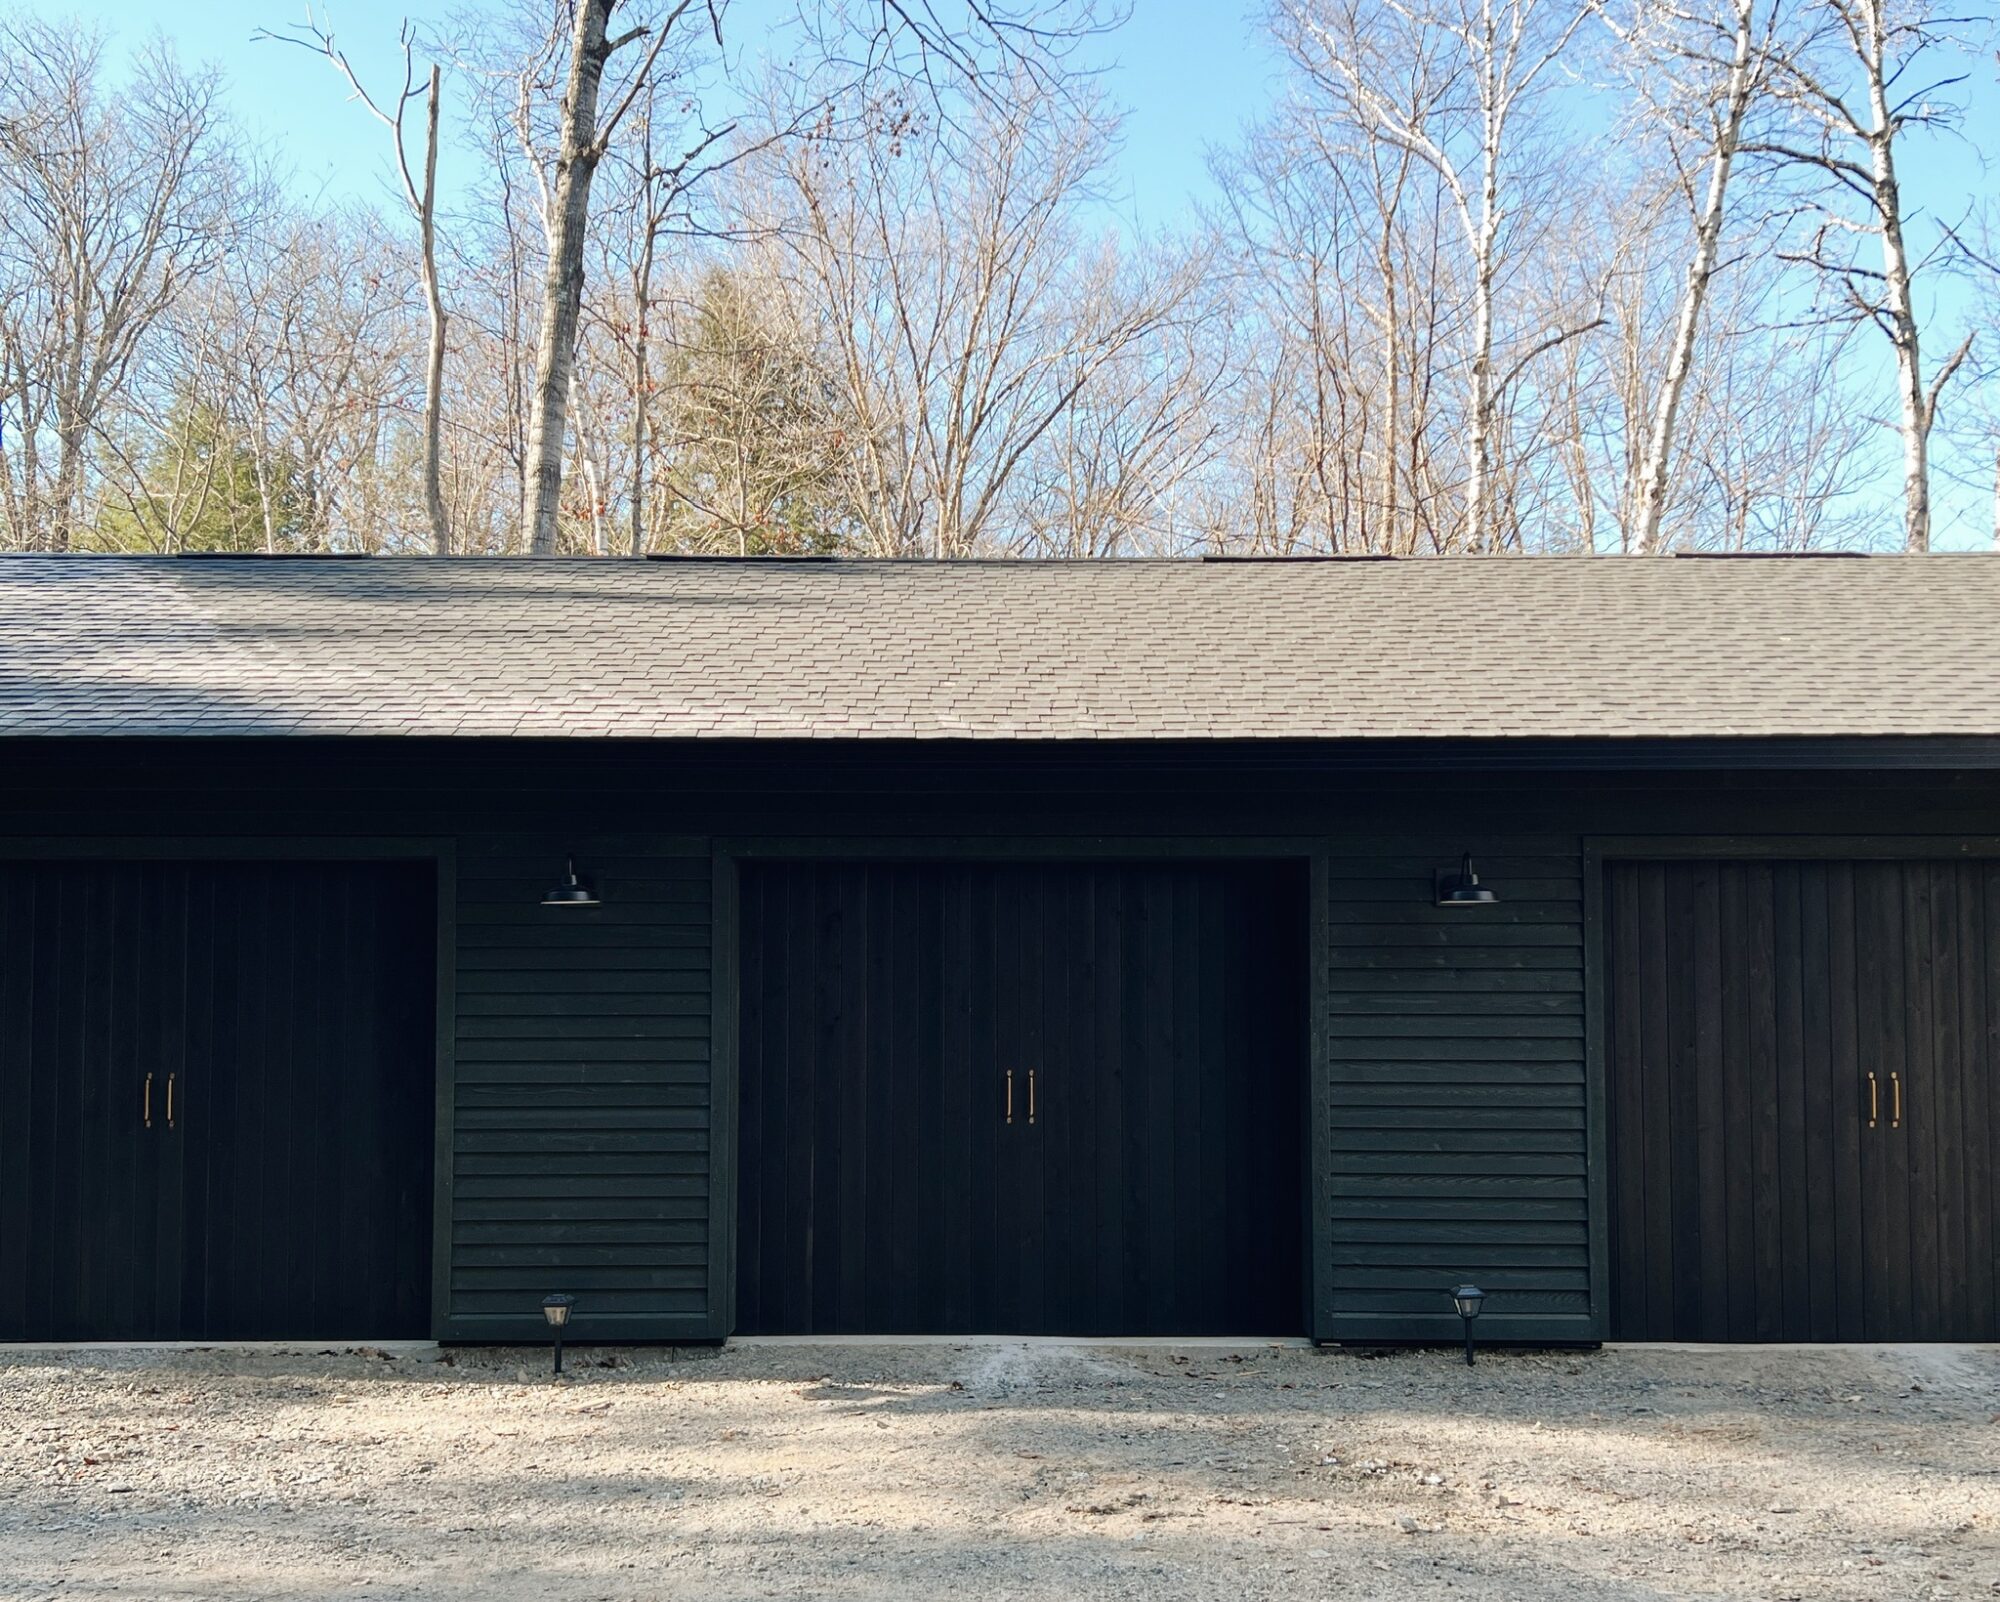
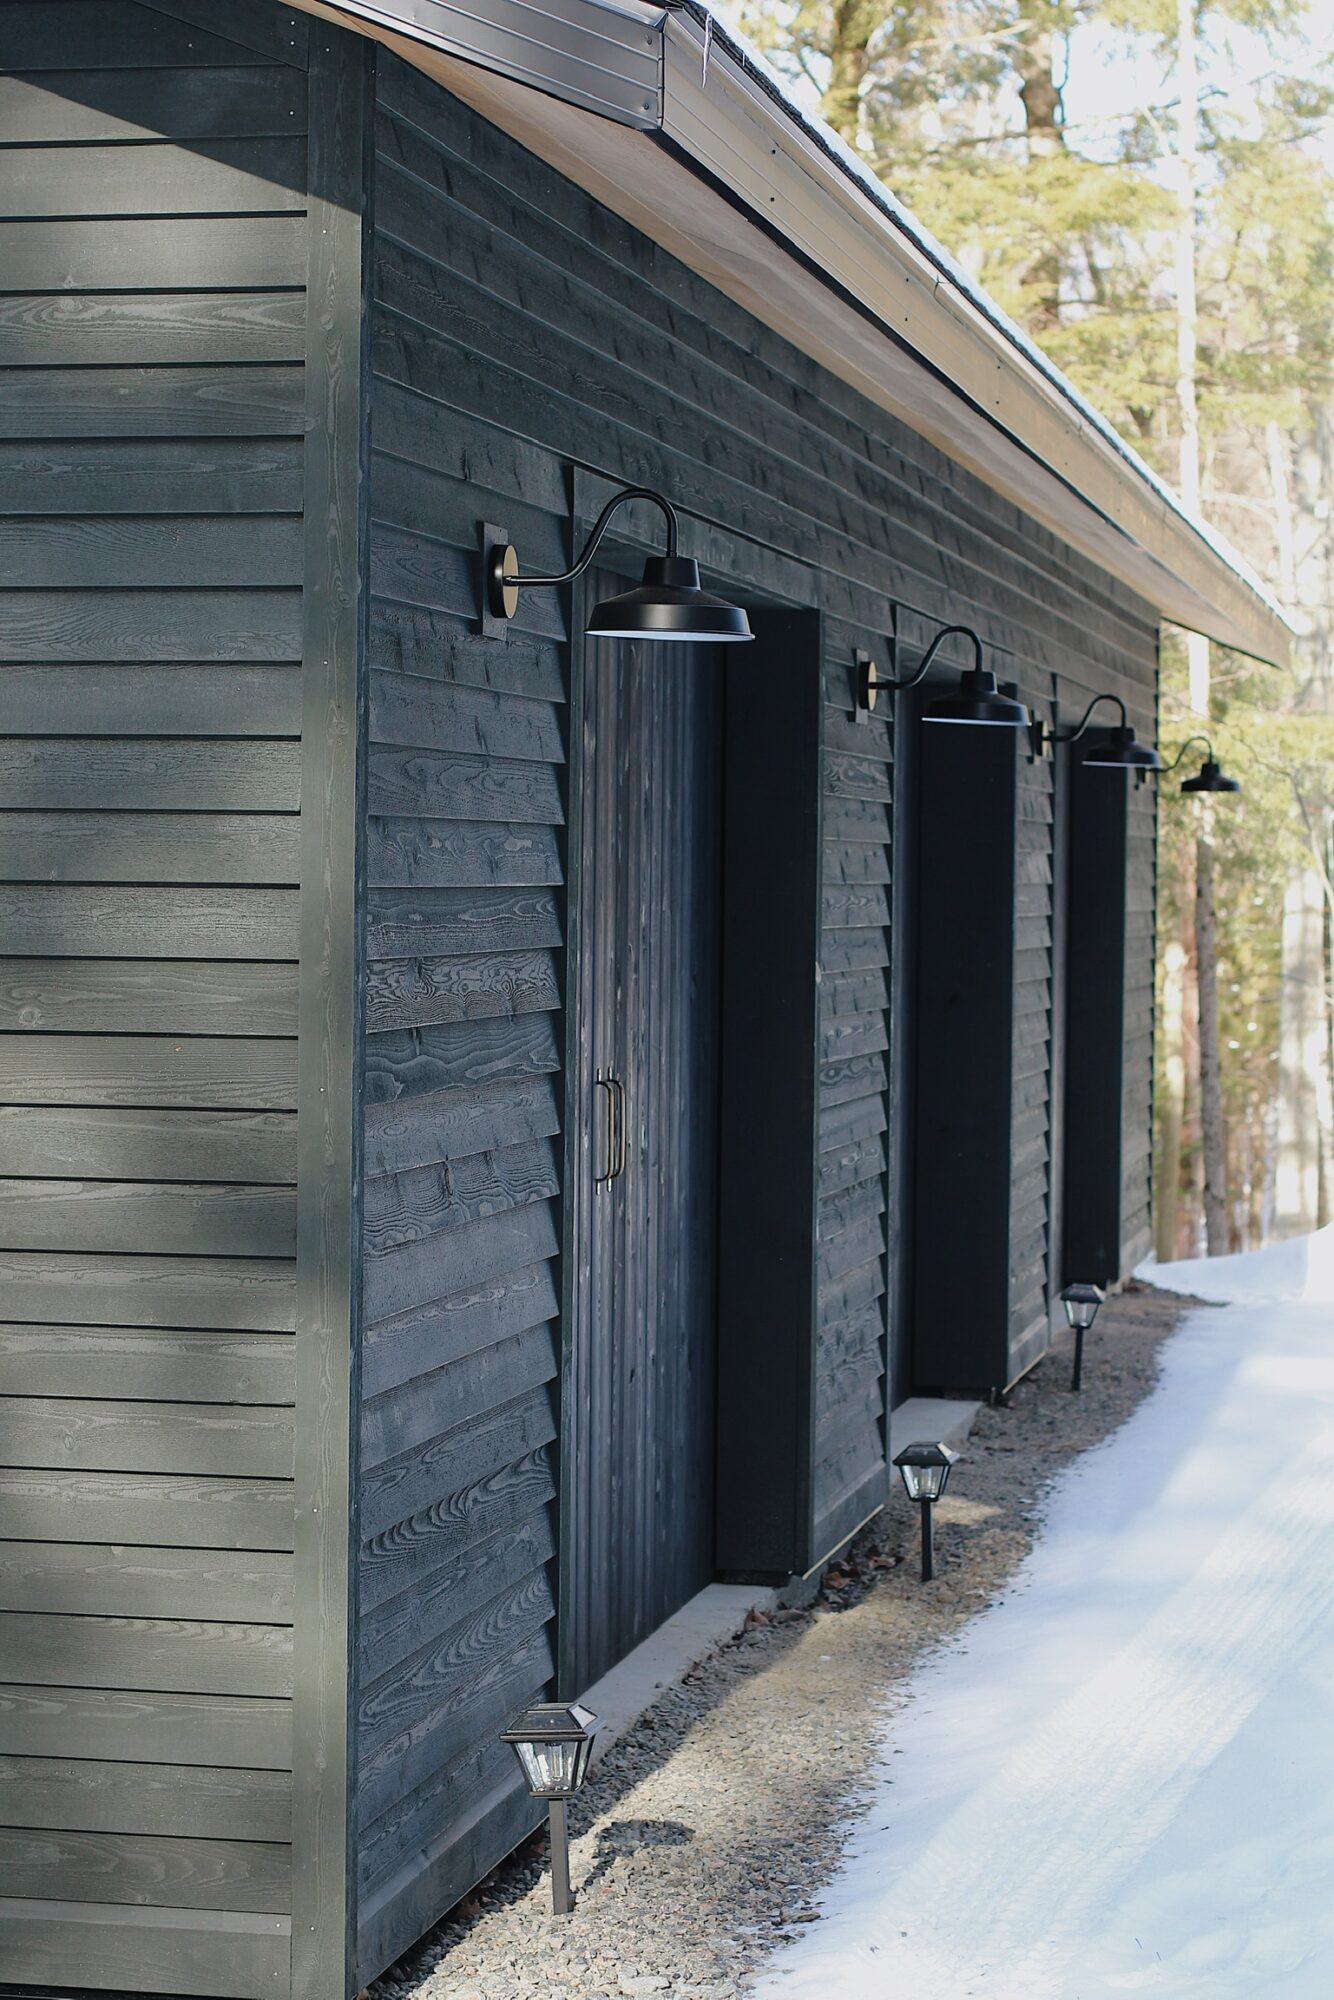
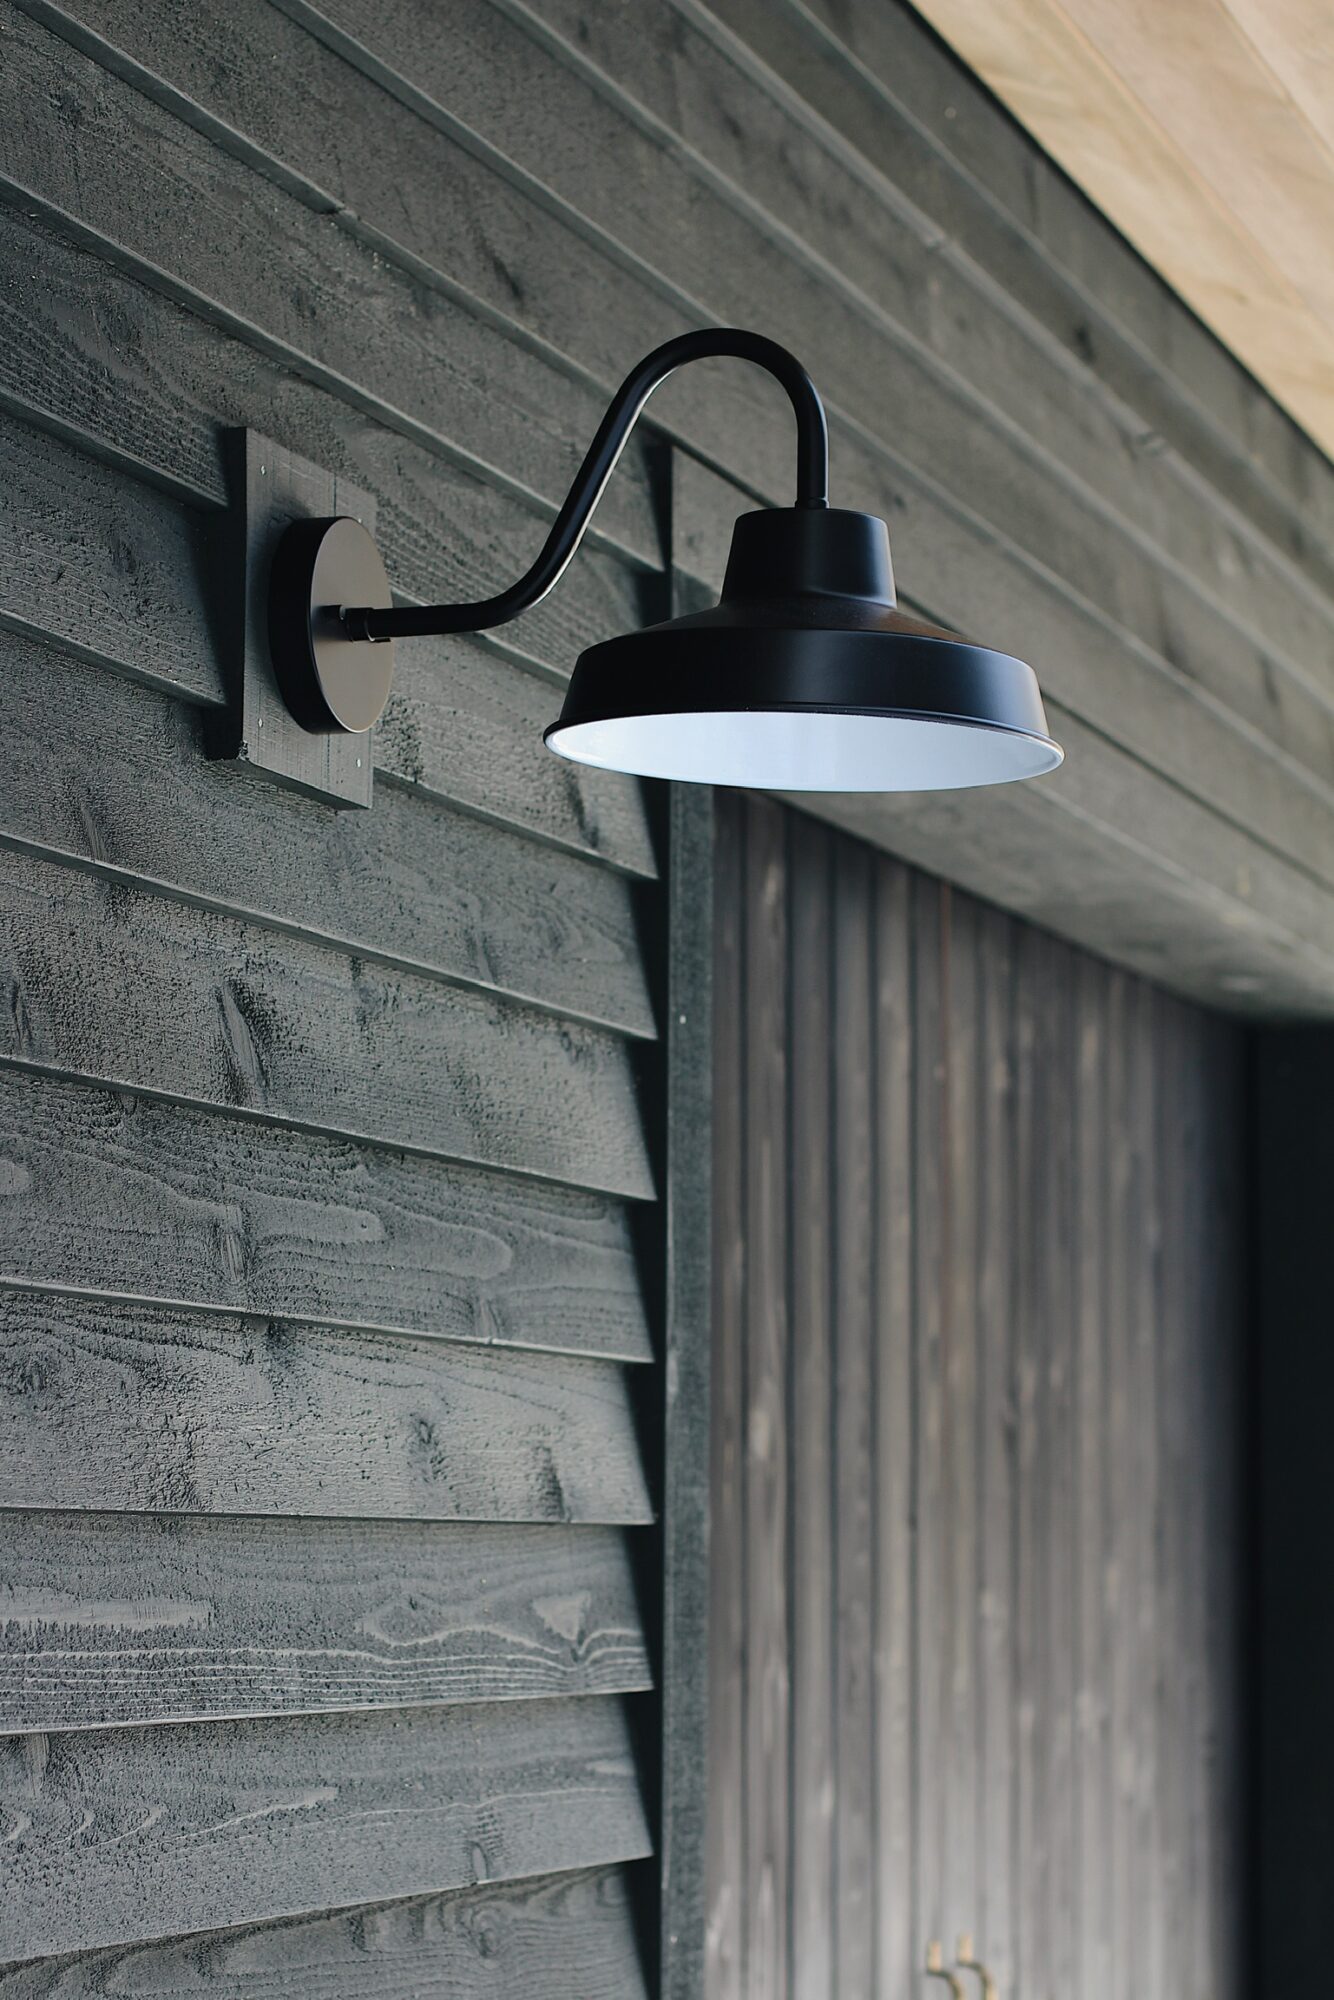
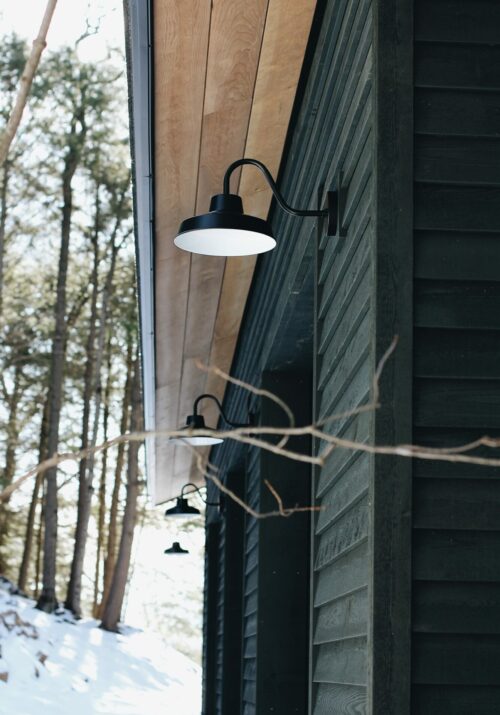
On either side of each bay there is a gooseneck light fixture on the wall and a solar powered lantern at ground level. The lights were a budget-friendly find from Home Depot and will be connected once the power supply is installed this spring.
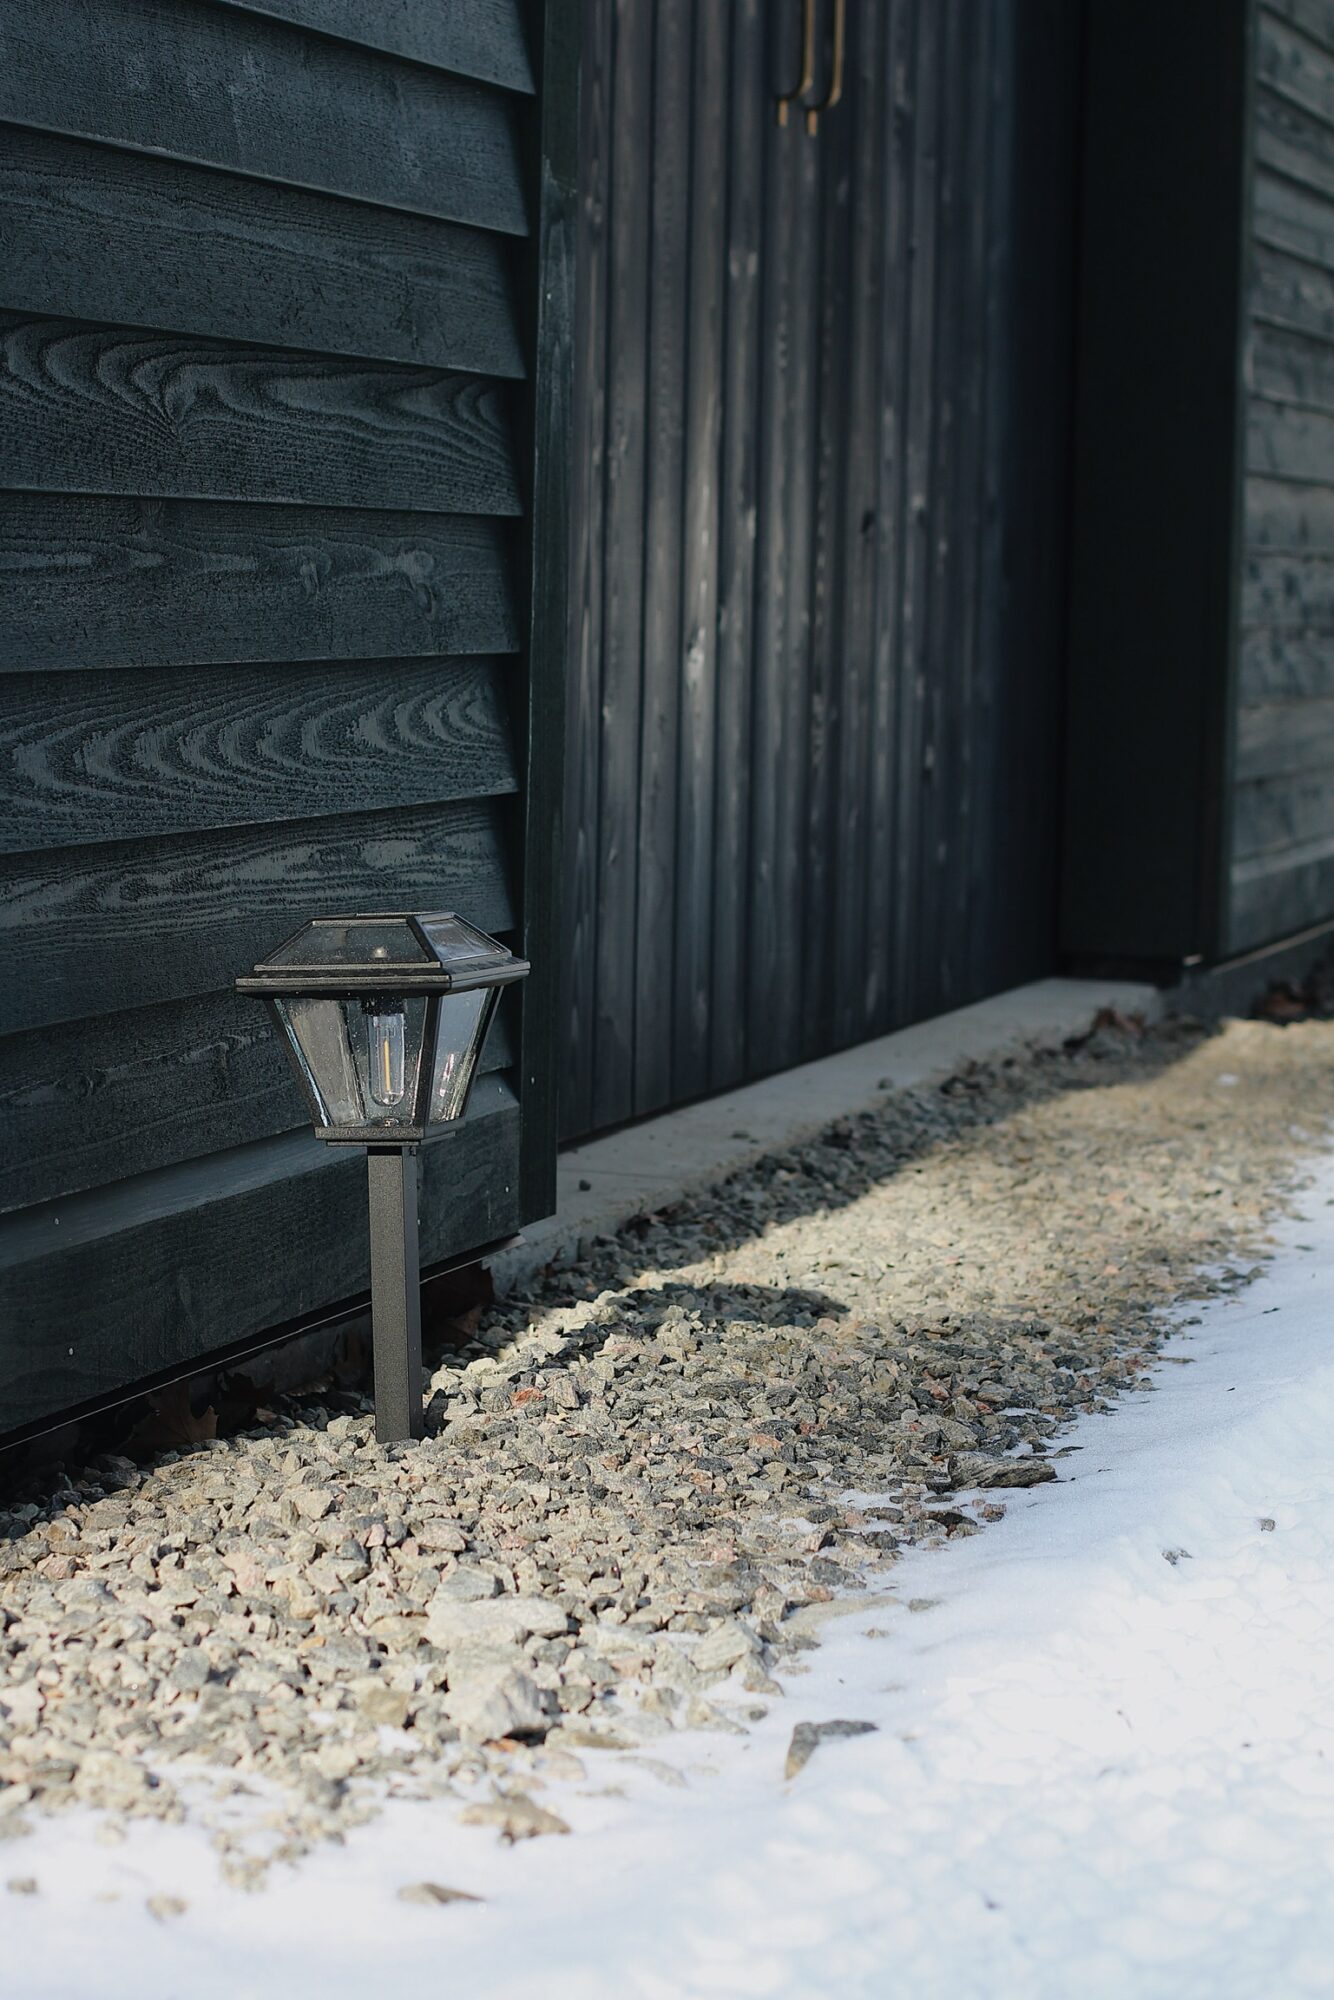
Each bay has a double barn door mounted on interior gliders so they’re super smooth and easy to operate manually.
Finally, we will take a look at the north elevation, which features a gable window salvaged from the main cottage.
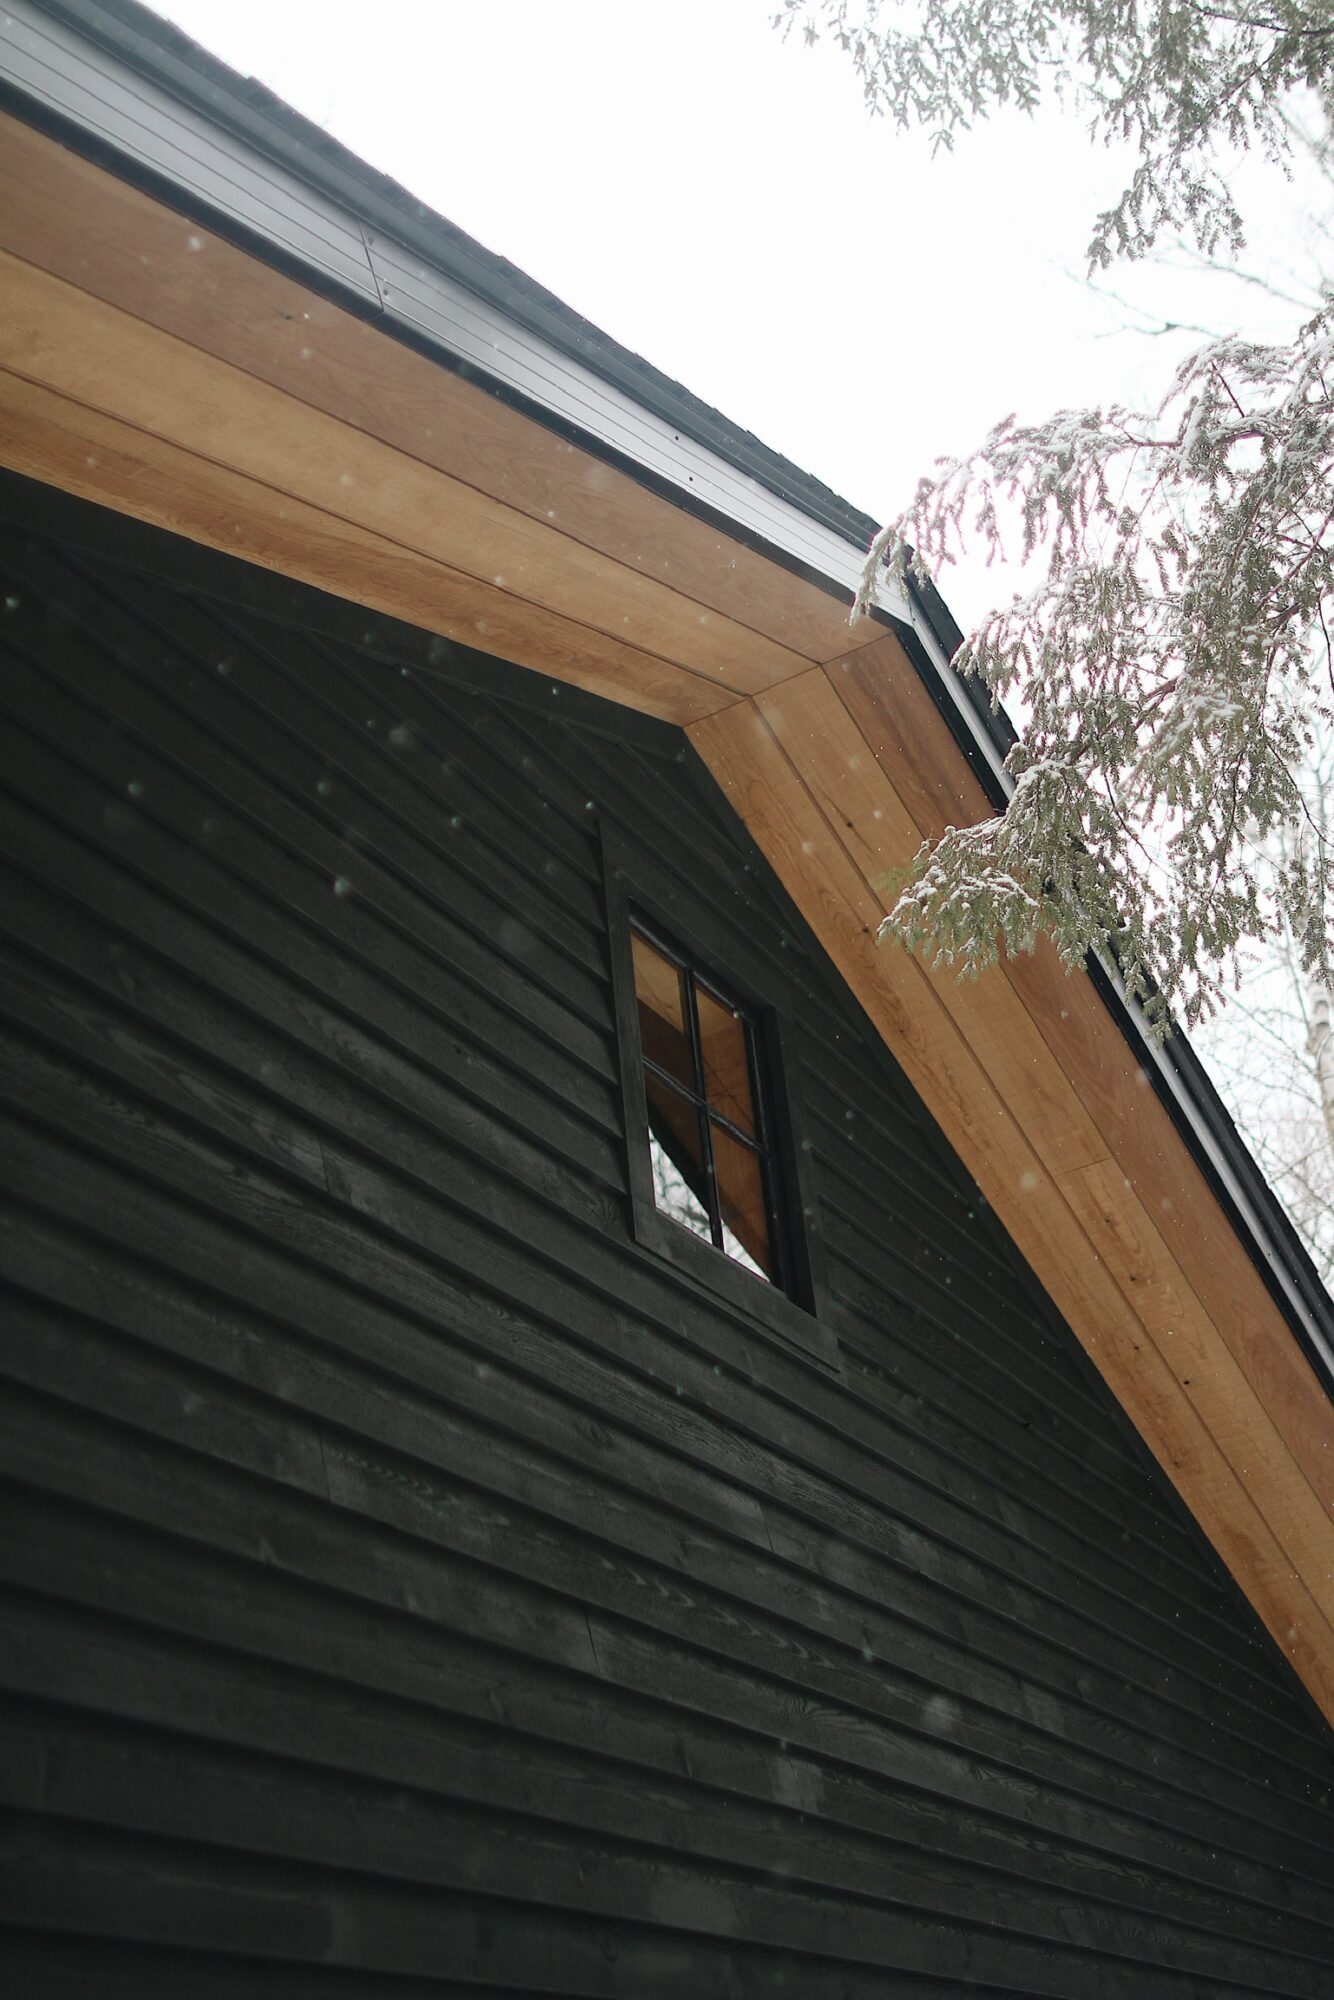
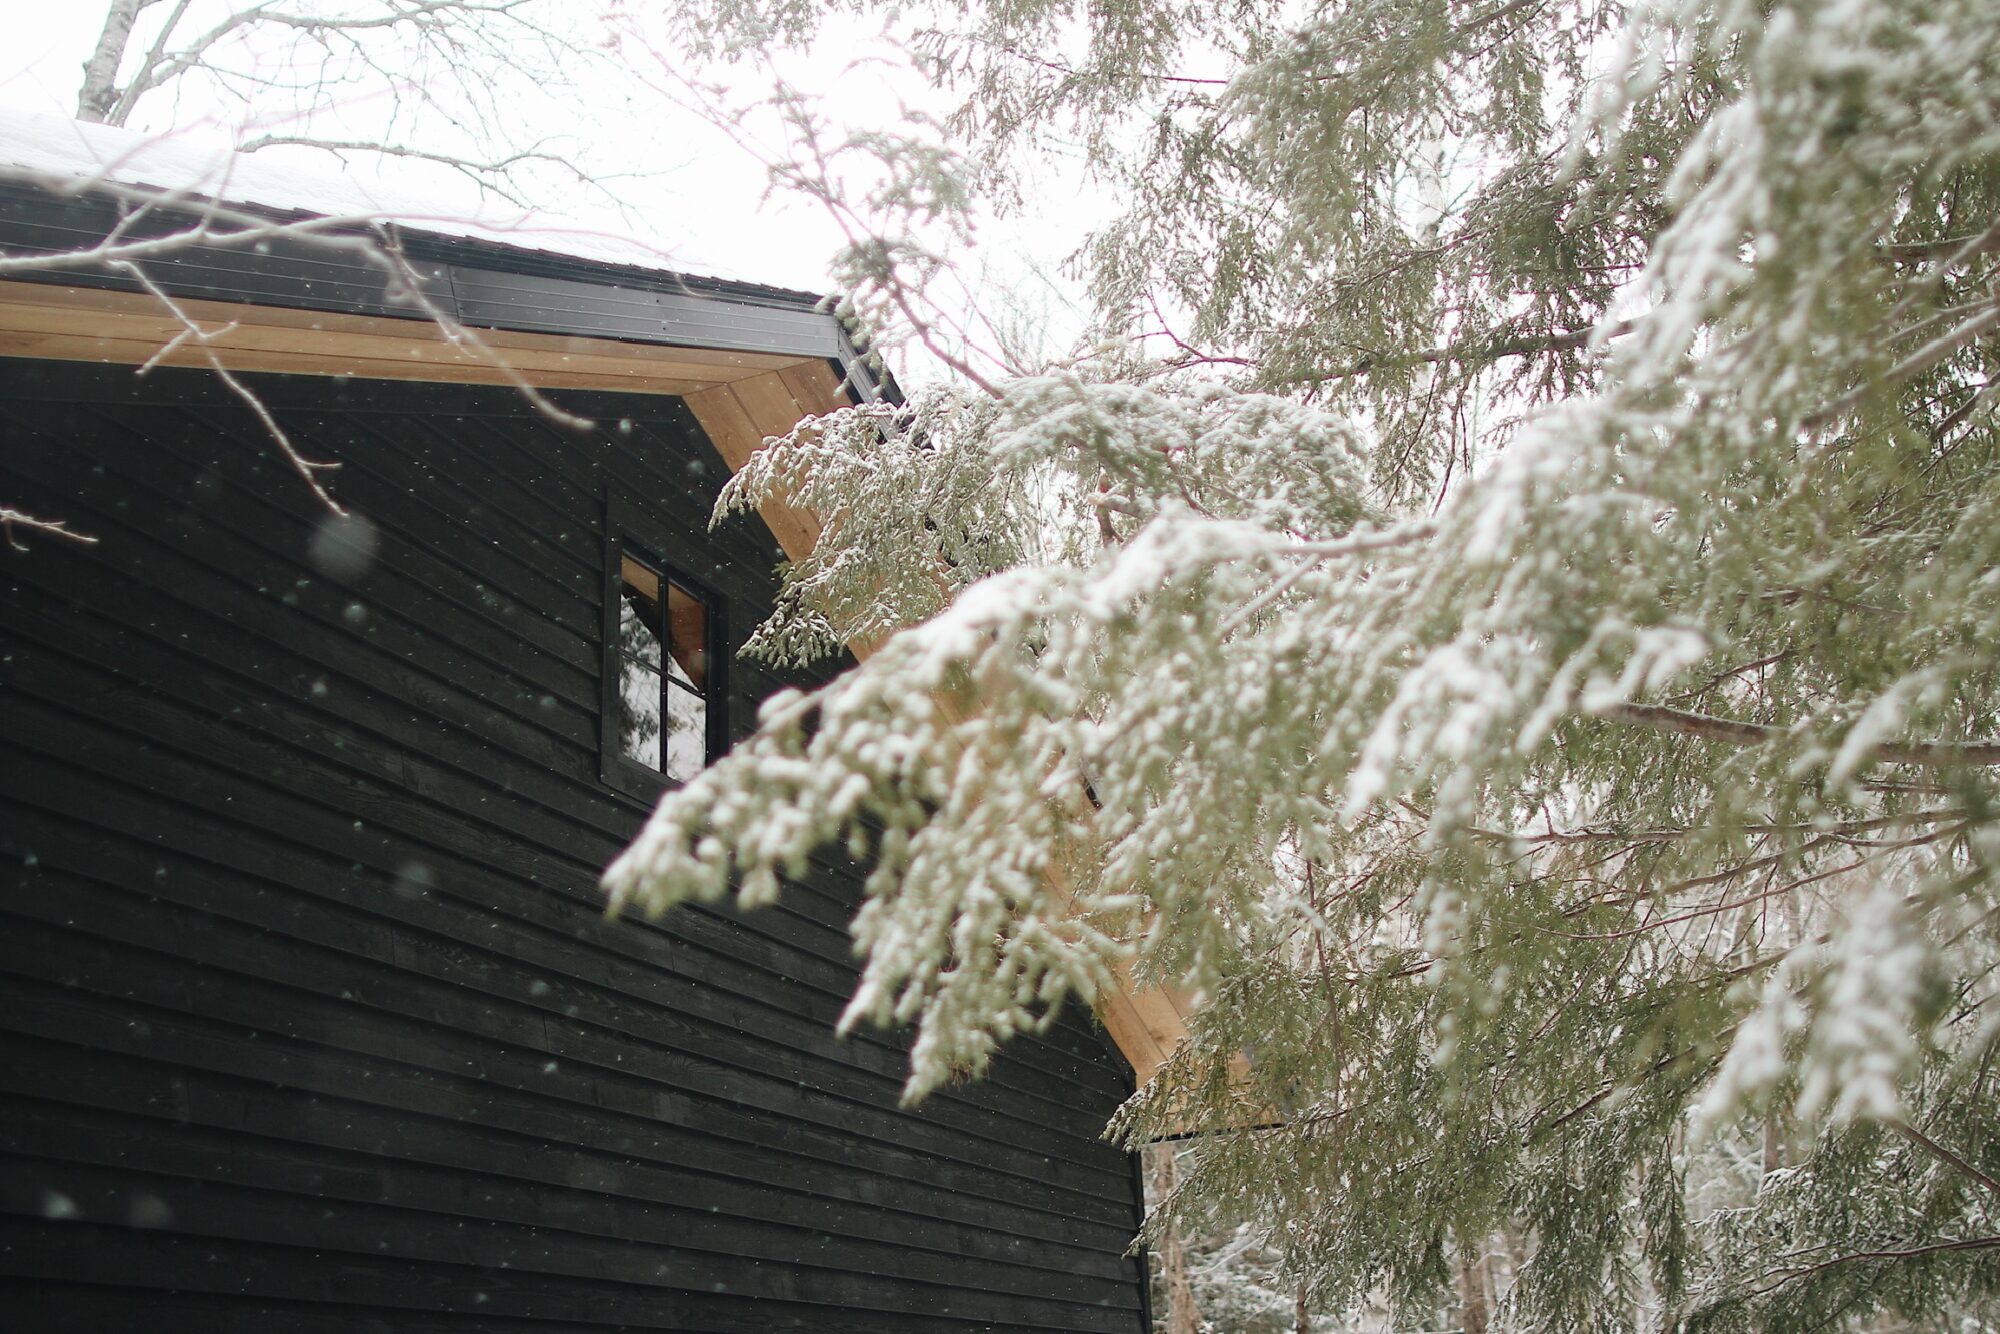
This elevation faces the road and shows off thermally treated pine soffits. We were lucky to find just enough of this beautiful material in the surplus section at our local timber mill.
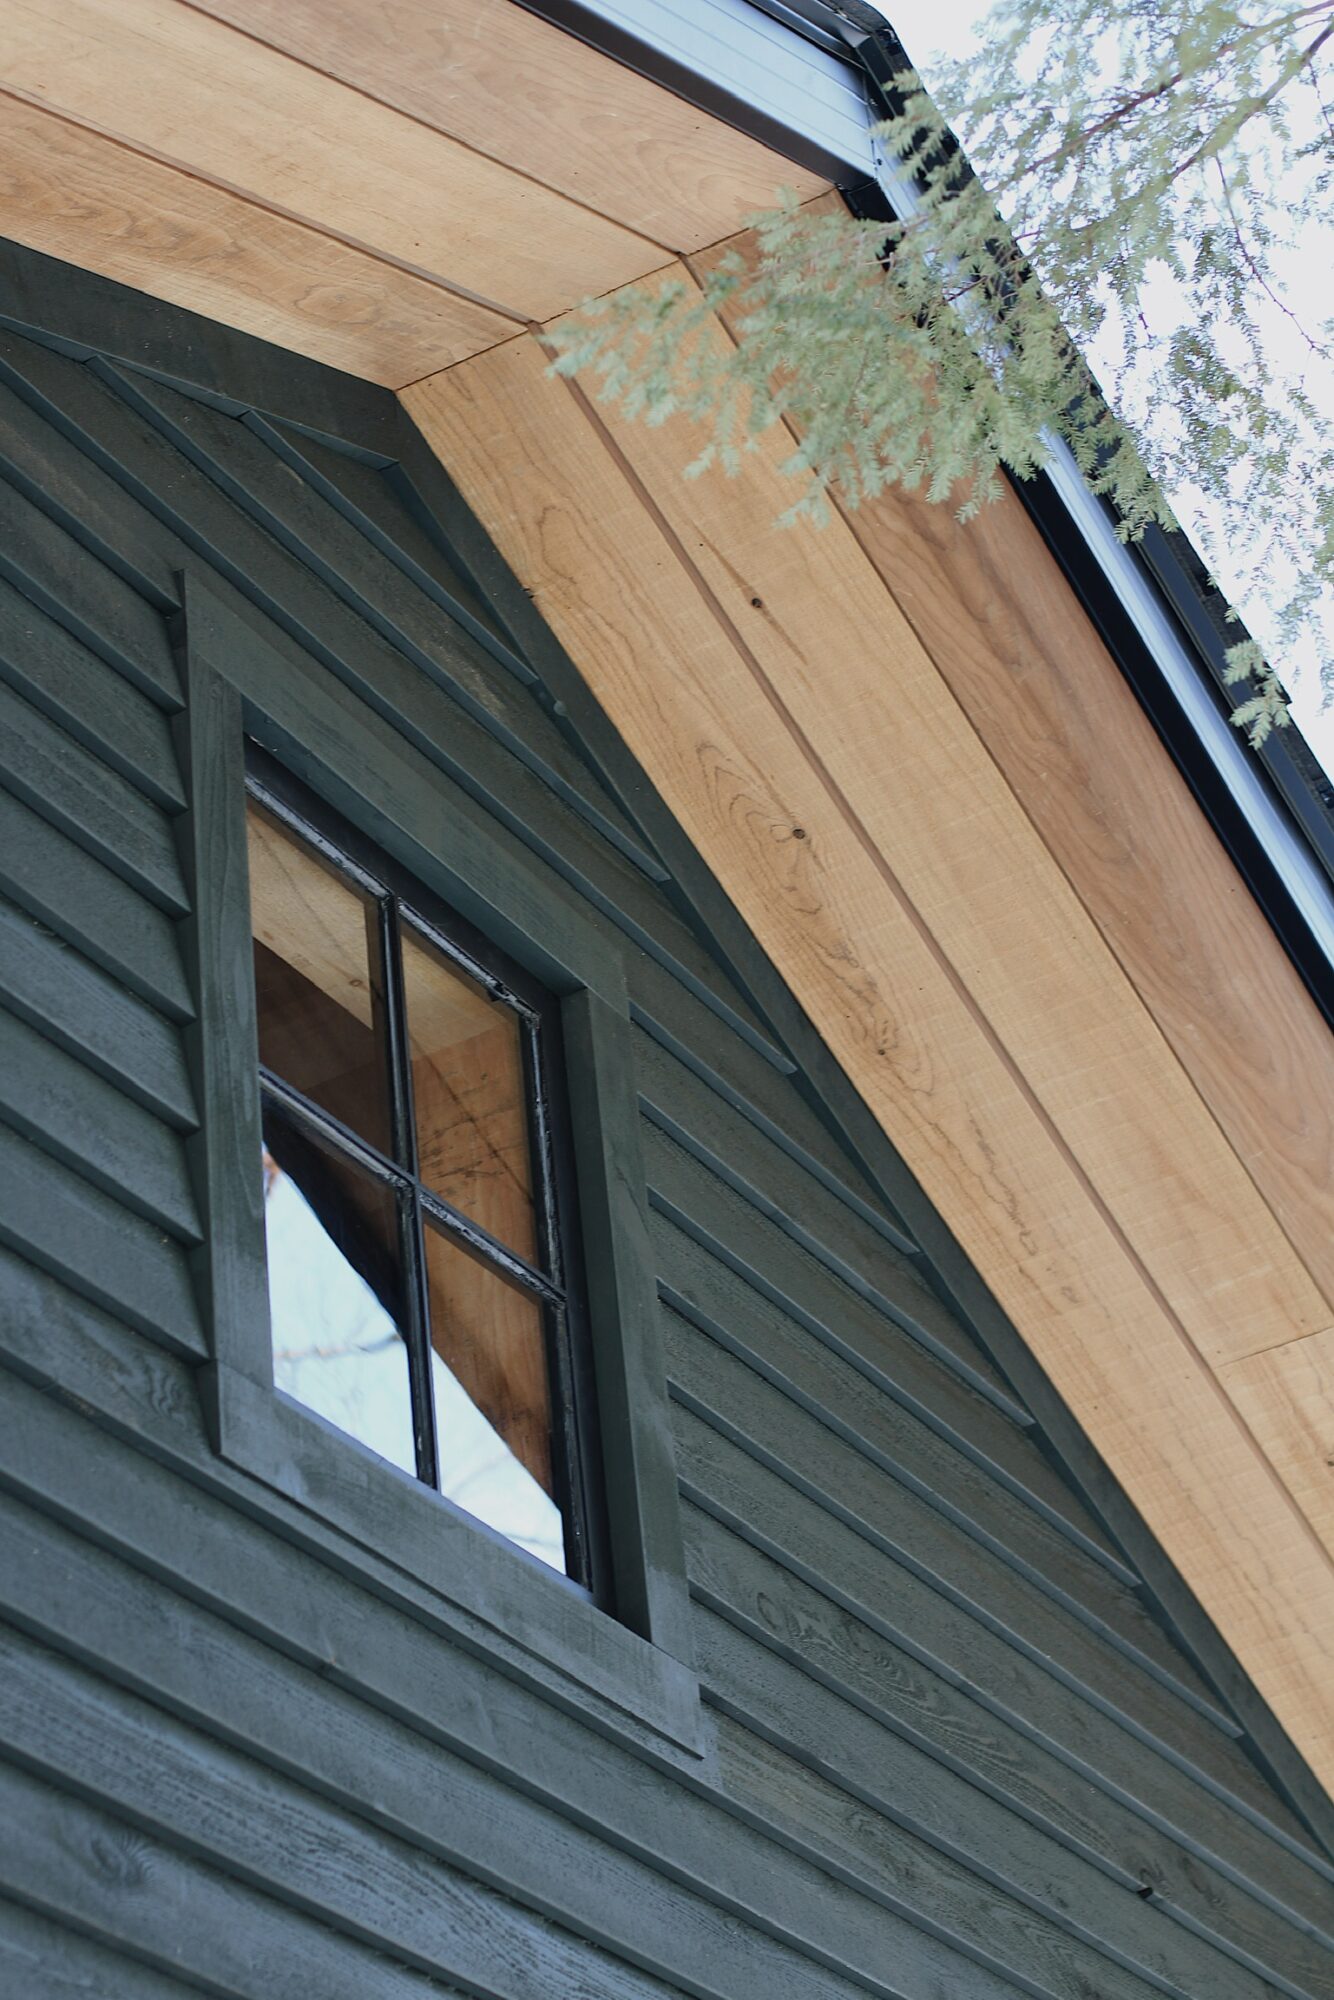
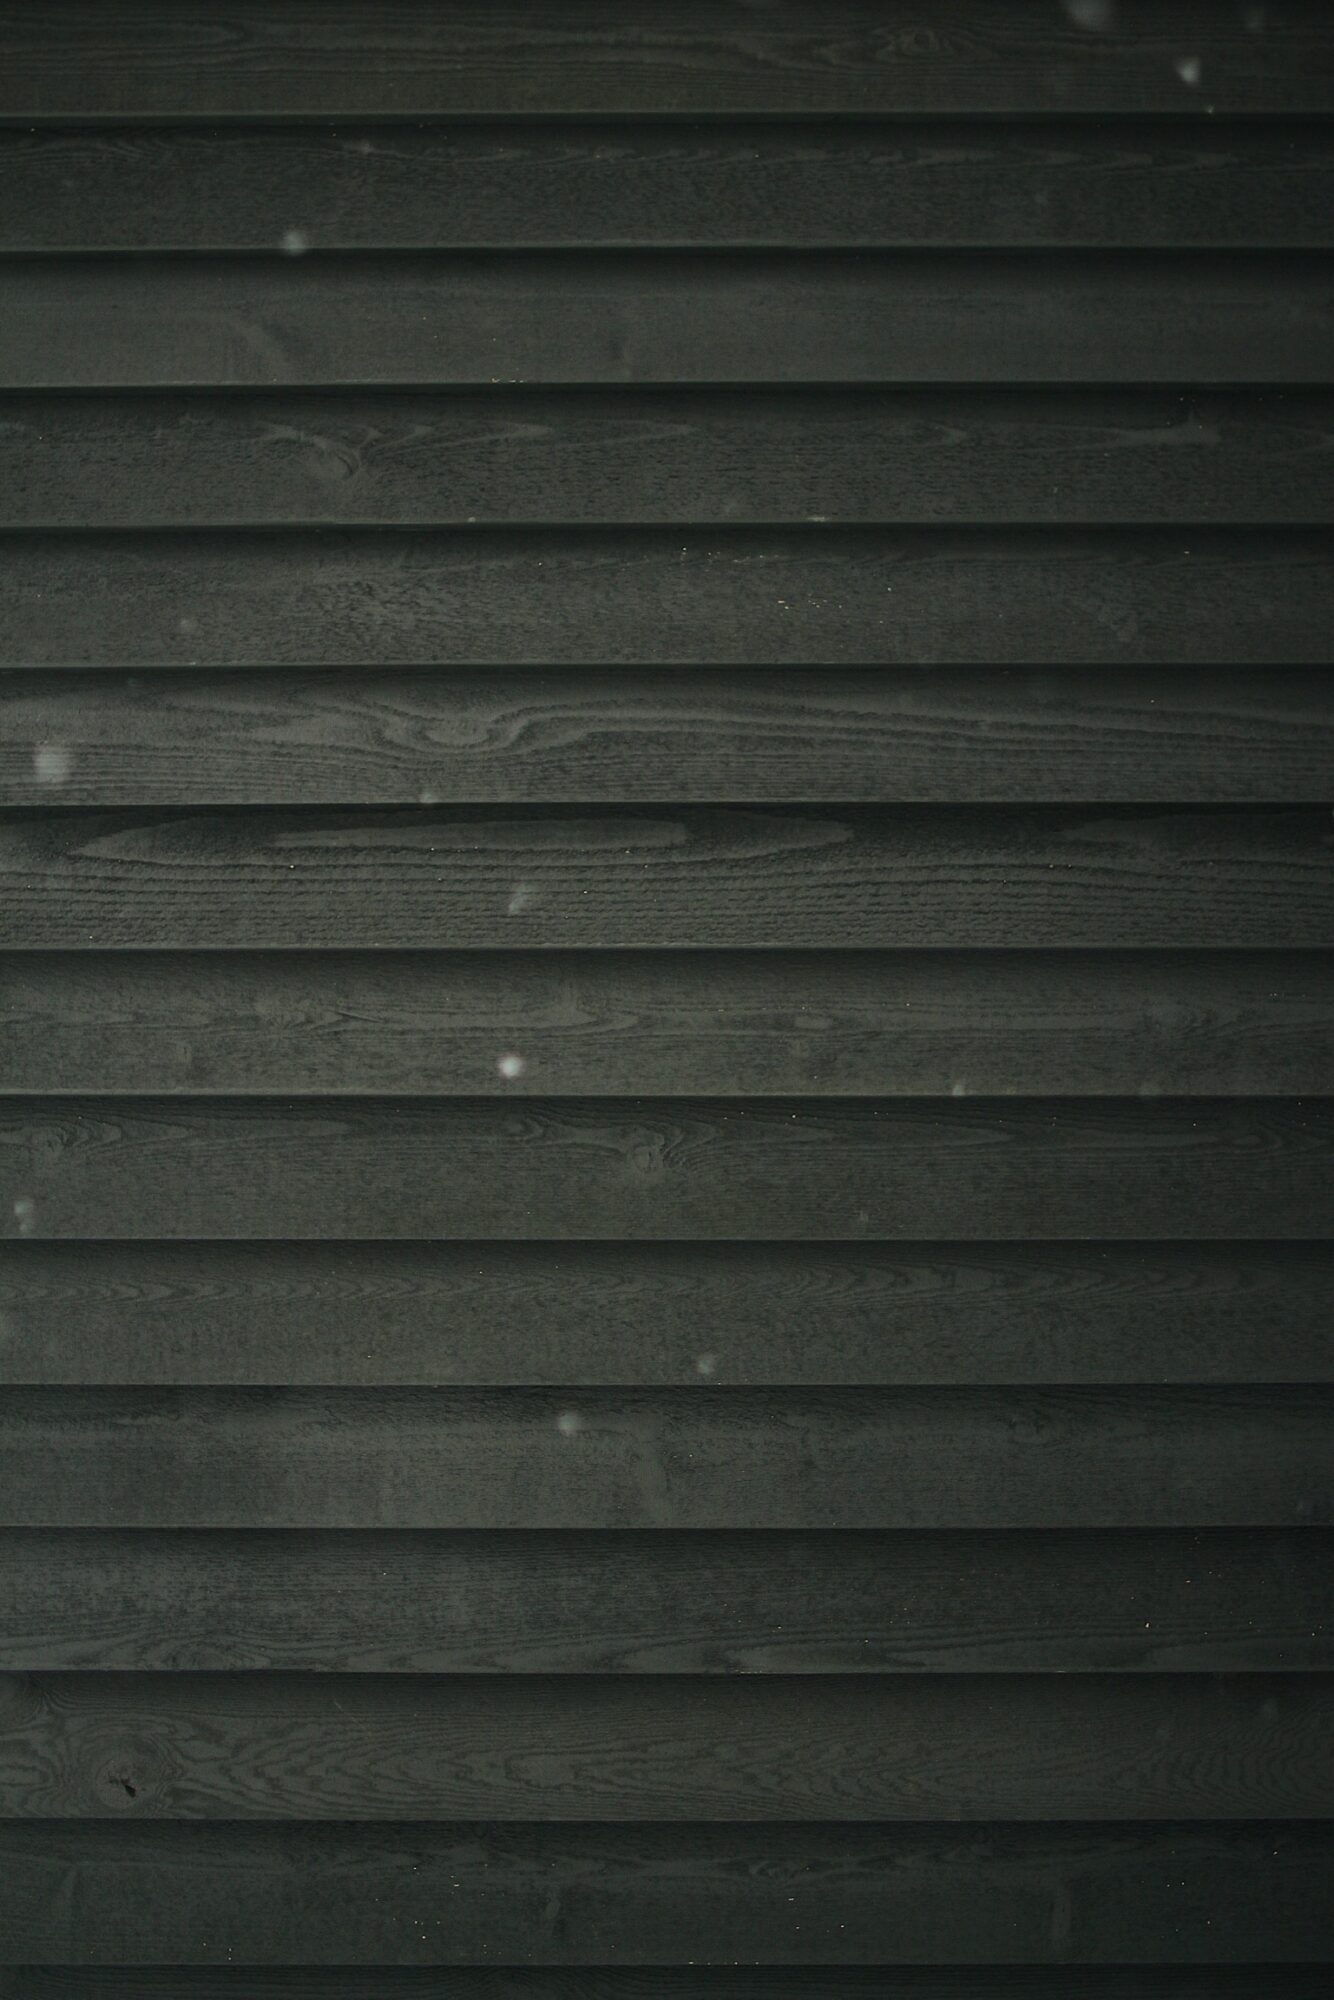
The final detail to note is of course the hand painted western red cedar bevel siding. Finding the perfect deep dark green was a lengthy process. We ended up going with Waller Green by Benjamin Moore because it was the perfect chameleon colour. It ranges from warm and mossy in the bright sun, to muted and earthy on a cloudy day, to deep and smokey in the evenings. It’s friendlier than black but still has a stoic sophistication that we believe will age beautifully.
And that dear reader, concludes the exterior tour of The Steep Hill Garage!
Thank you for tuning in and joining me!
I hope this helps to convey the direction our vision is taking for this special place and the care that is going into each and every choice we make.
If you didn’t catch PART 1 – THE BUILDING PHASE, be sure to check it out because this pretty final result it really just 10% of the process!








Wow, what an awesome project and it is SOooO well done. You guys will enjoy looking at this and using this garage every day!
What a wonderful garage, it looks great in the snow. Enjoy it!
So so so lovely. I didn’t realize you have so much land. Where is the garage relative to the house, the road, etc.?
Thanks for tuning in Devon! The property is sort of a long rectangle shape. The garage is at the top left corner and the house is closer to the bottom left with a winding path that goes down a steep hill (hence the name lol) and connects them. We get our cardio in walking up and down!
Waller Green! Splendid colour choice. Congratulations on a stunning design/build.
Totally relatable and logical closet upgrades. Great post all in all.
Thanks so much for reading KTJ! I’m glad you like the colour as much as we do! Have a great weekend.