


The time has ALMOST come to share the finished Steep Hill Cottage garage!
I realize you’re probably not used to visiting Style Bee for garage content but I promise this one is very stylish. It’s also kind of a big deal because aside from a few days of help with roofing and heavy lifting, Dave and I built this three bay beast entirely ourselves.
This space is the culmination of many years of imagining, months of planning and many MANY hours of painting, framing, roofing, siding, installing and finishing. I just couldn’t bring myself to skip to the finished result knowing how much time and literal blood, sweat and tears had gone into it.
Read on for a look at some key stages in the development before the full reveal goes live tomorrow!
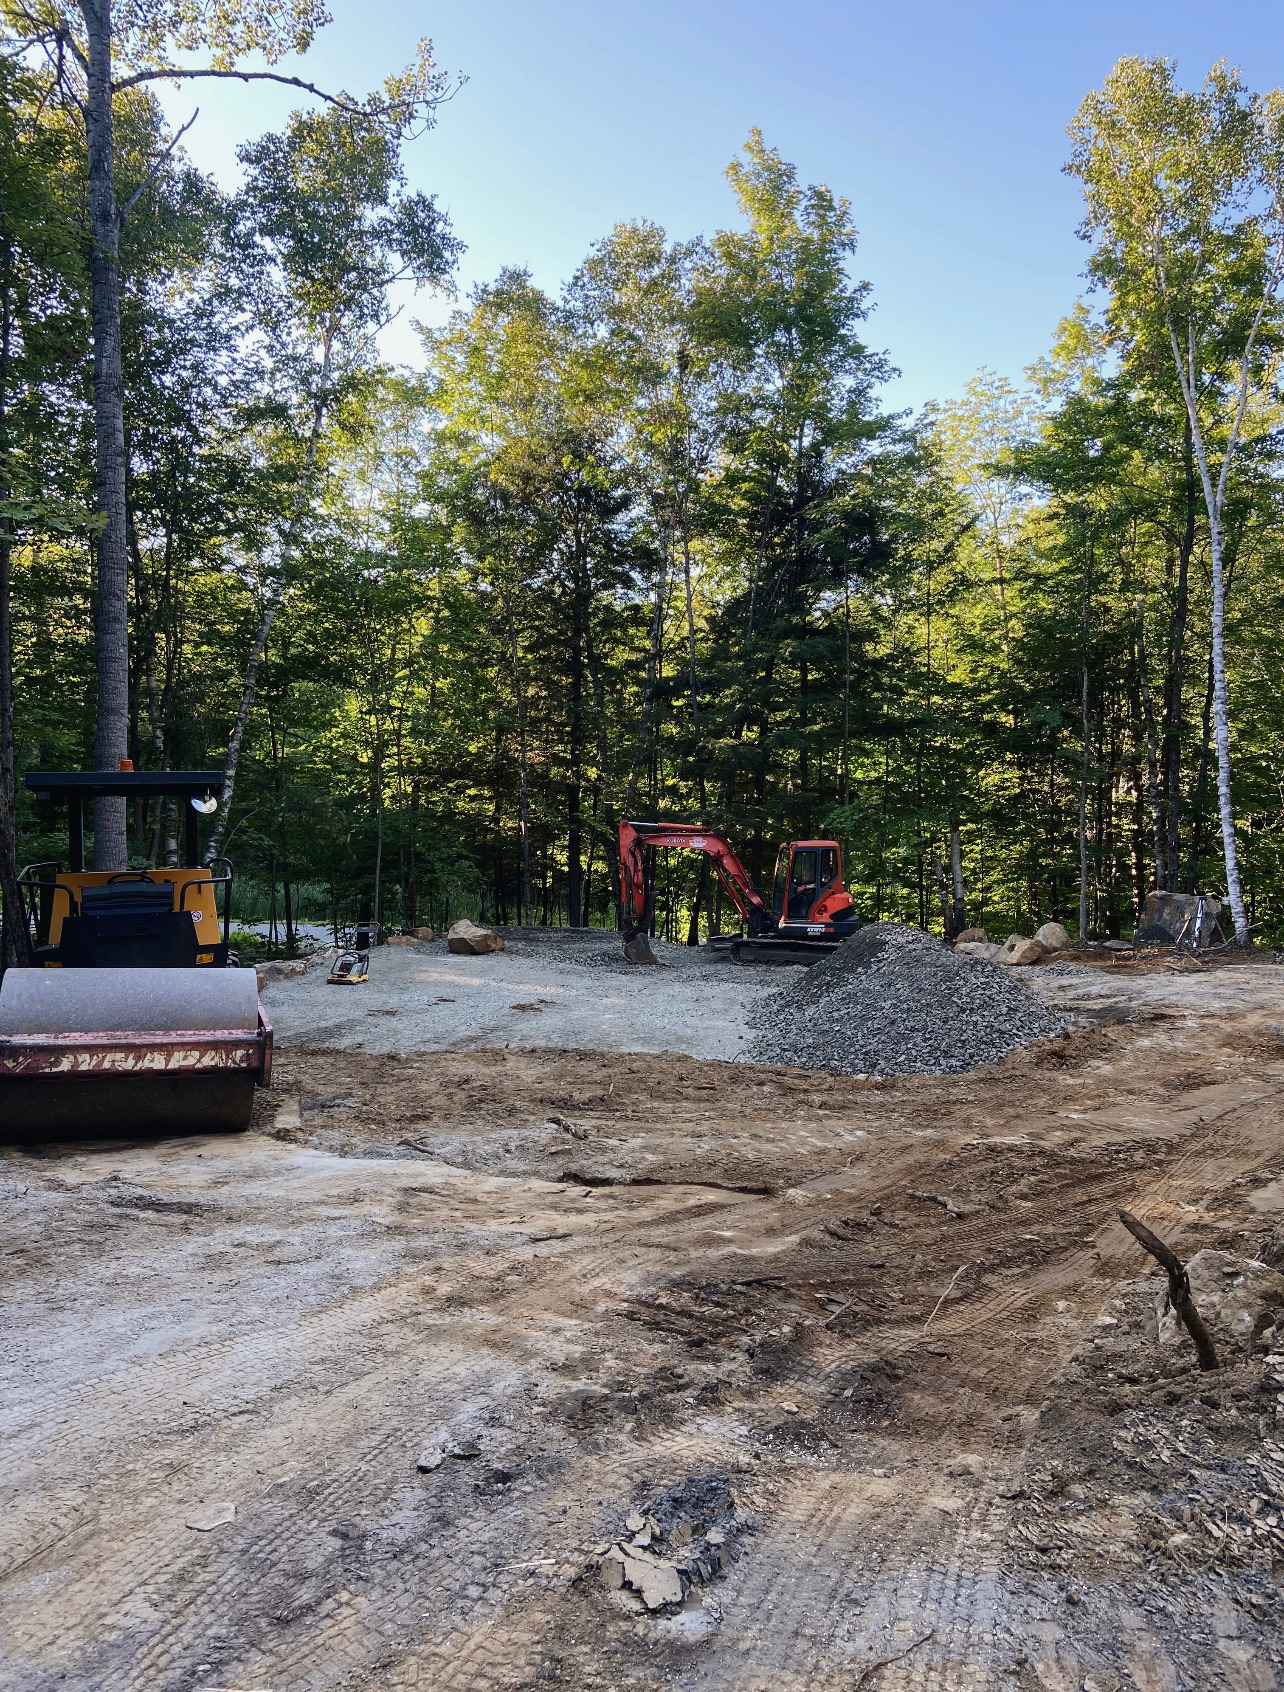
The project started with some earthwork and gravel to level and prepare the area for a foundation.
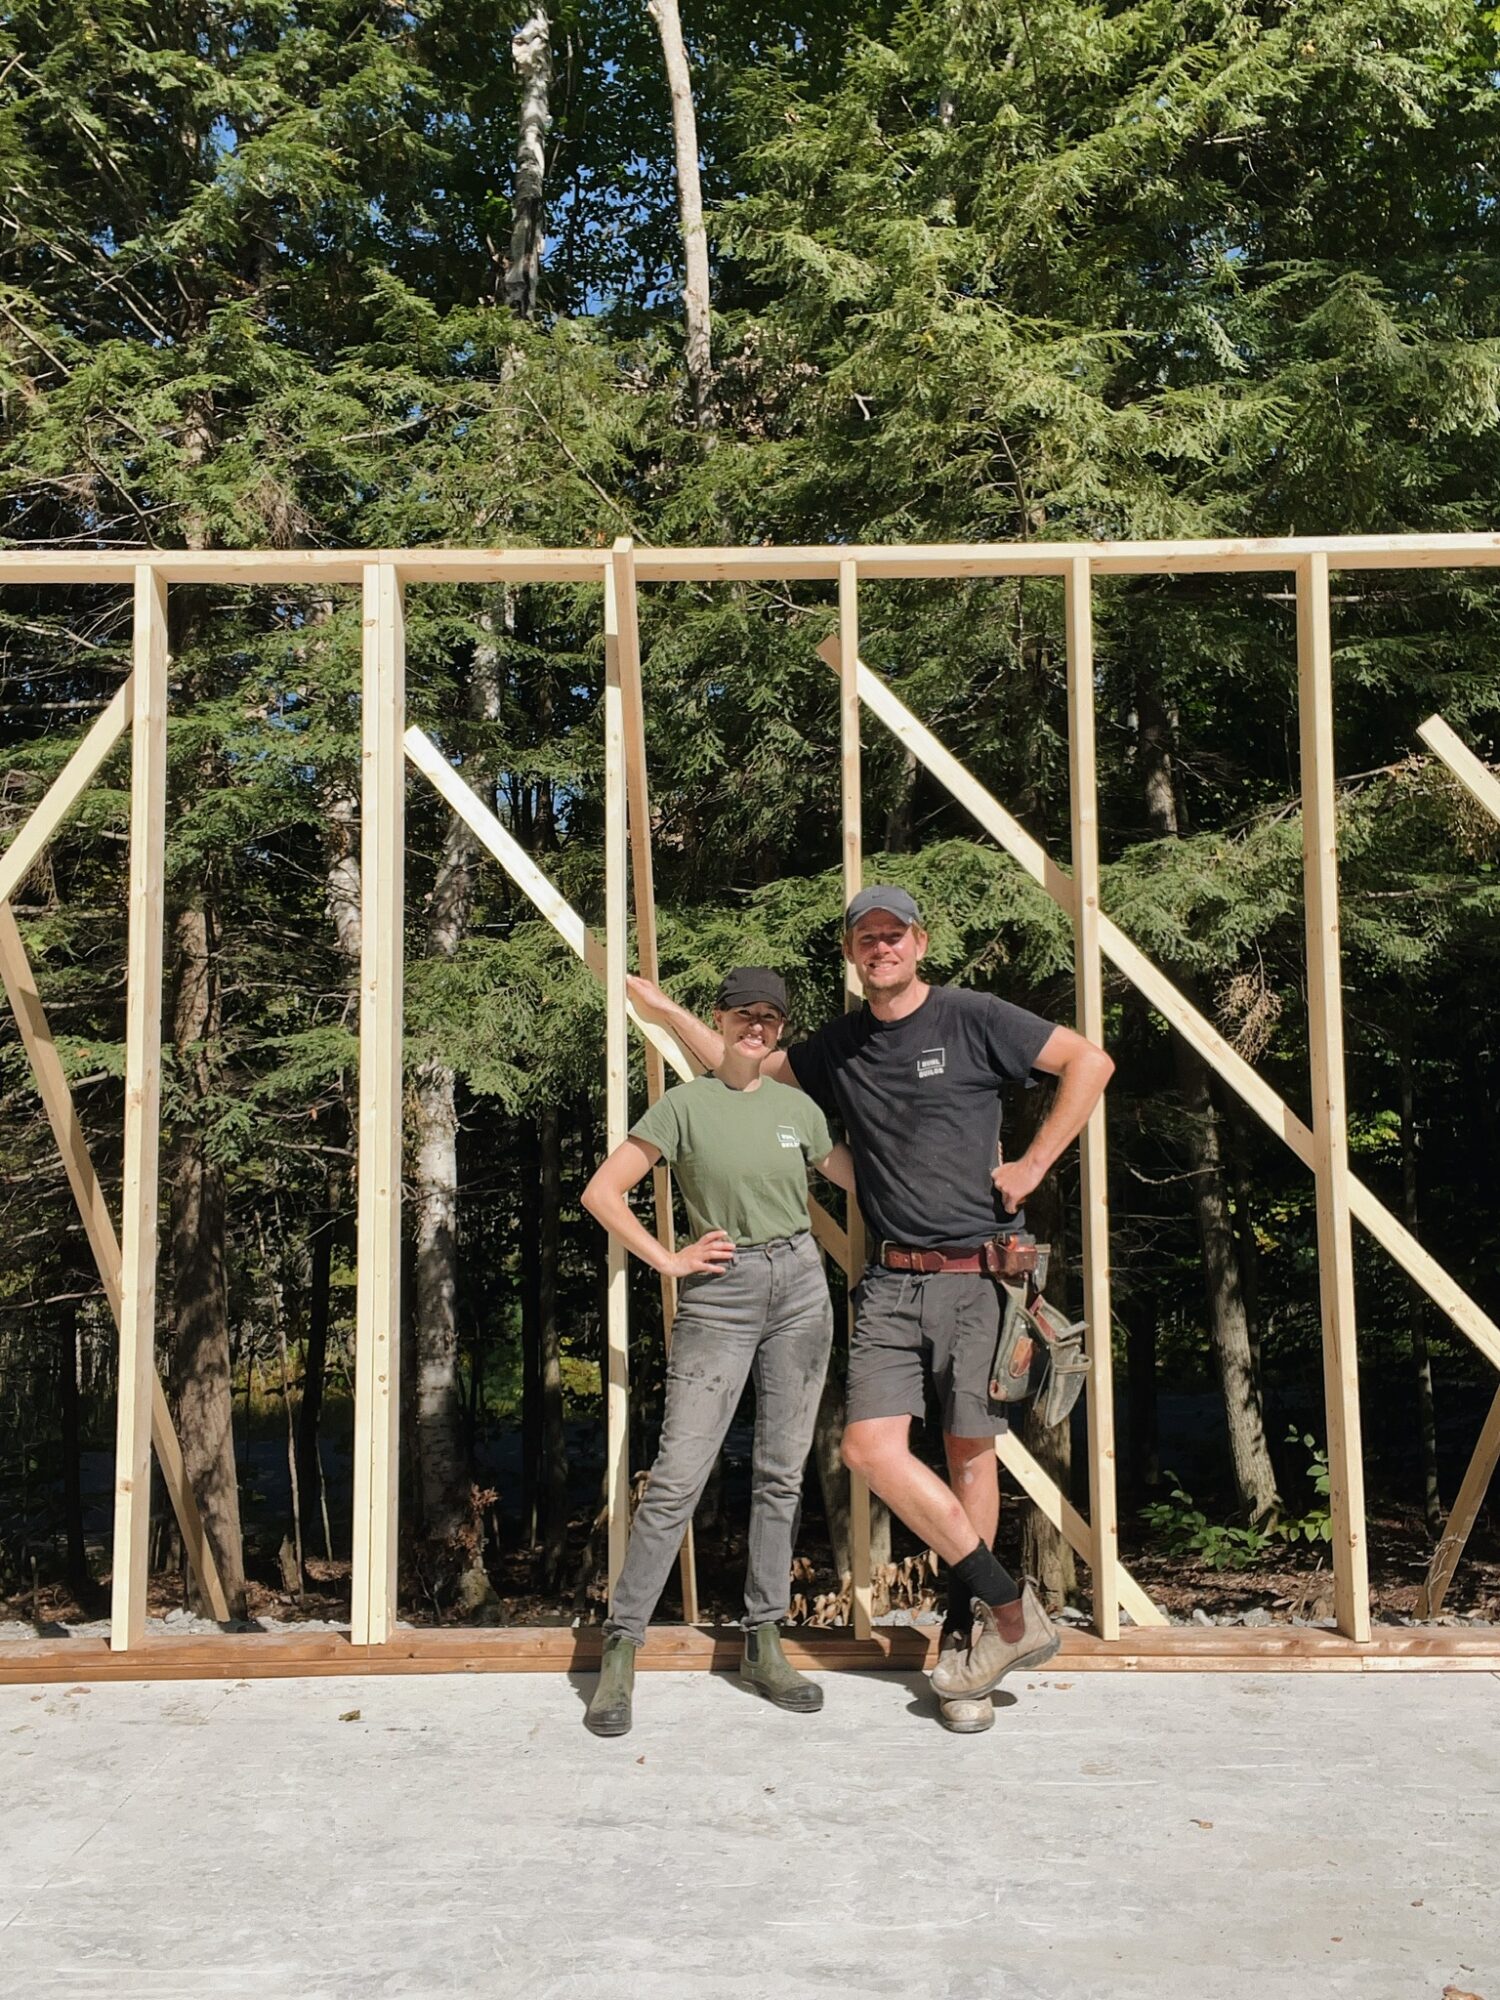
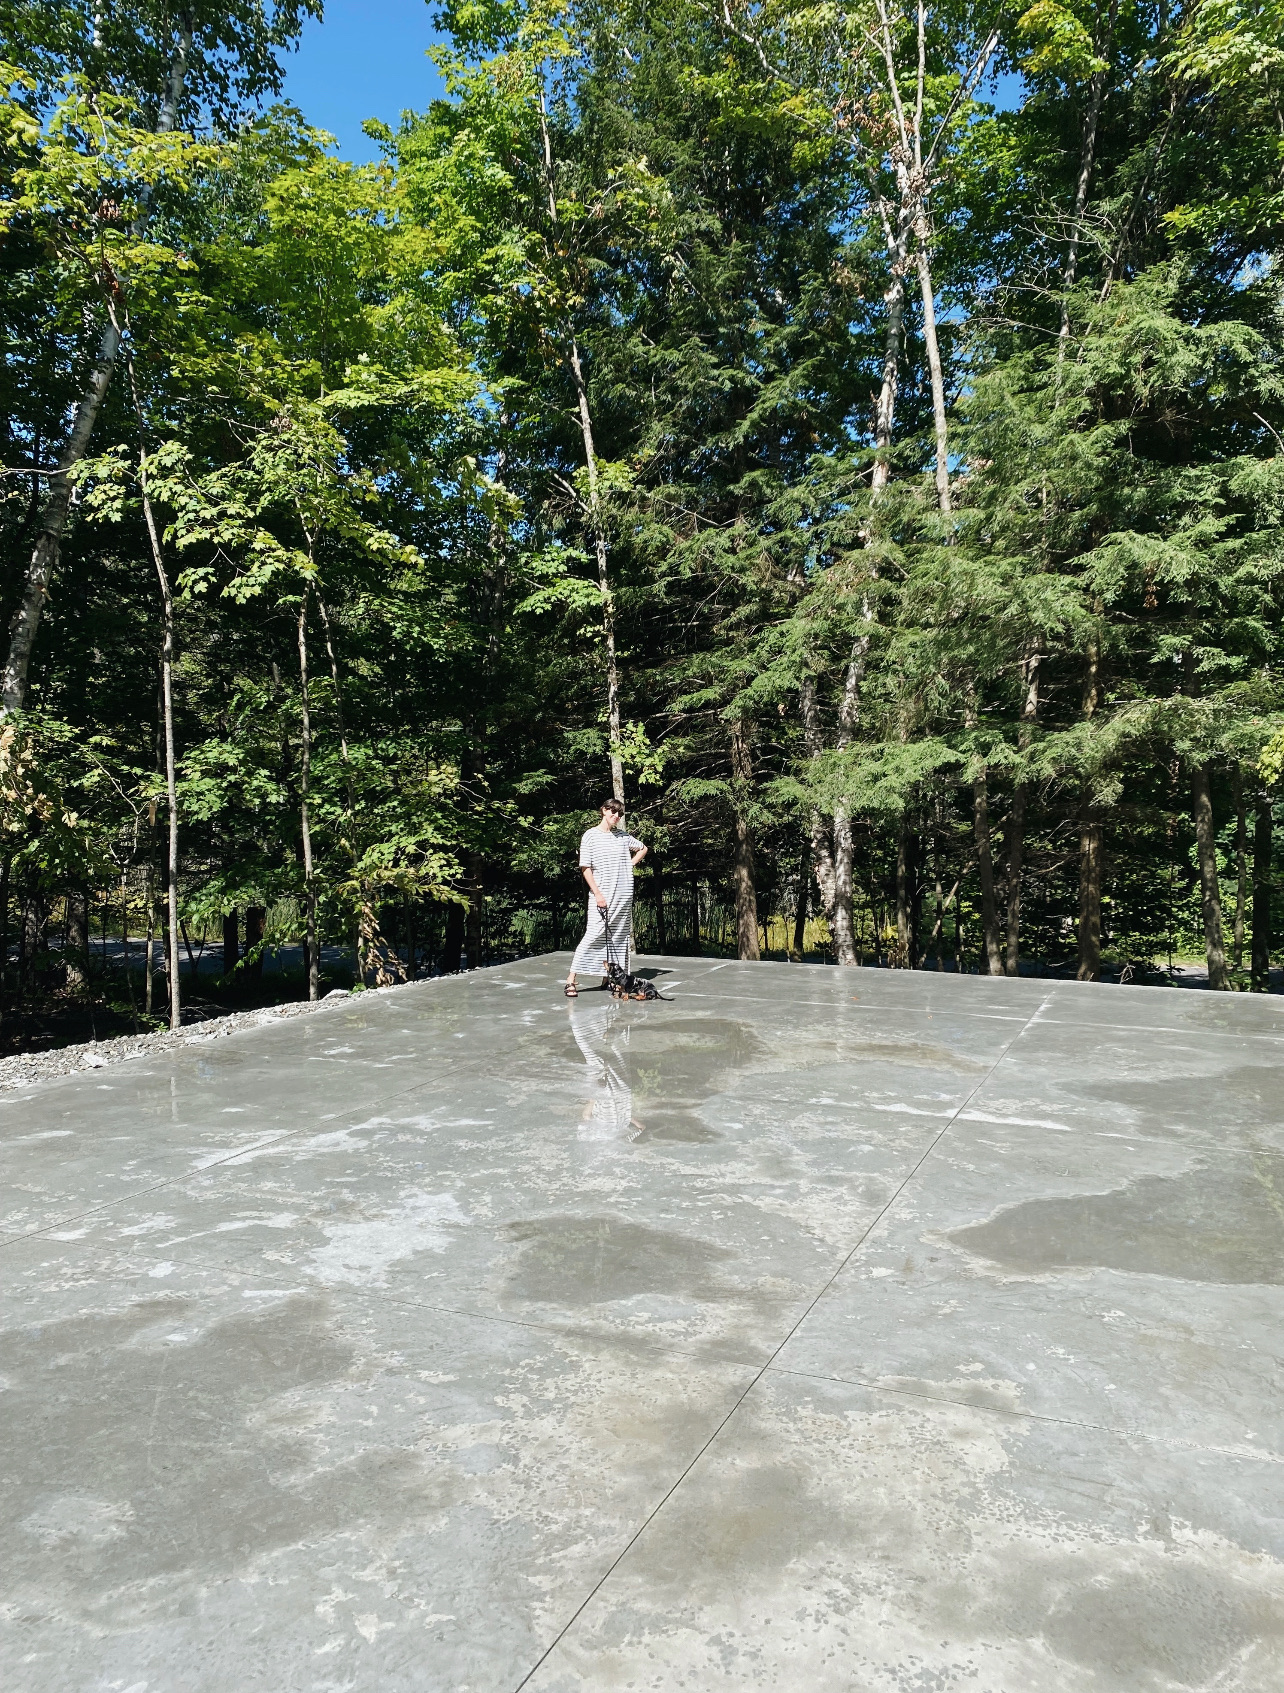
Then is was time to pour the concrete slab. Genie and I are there for scale.
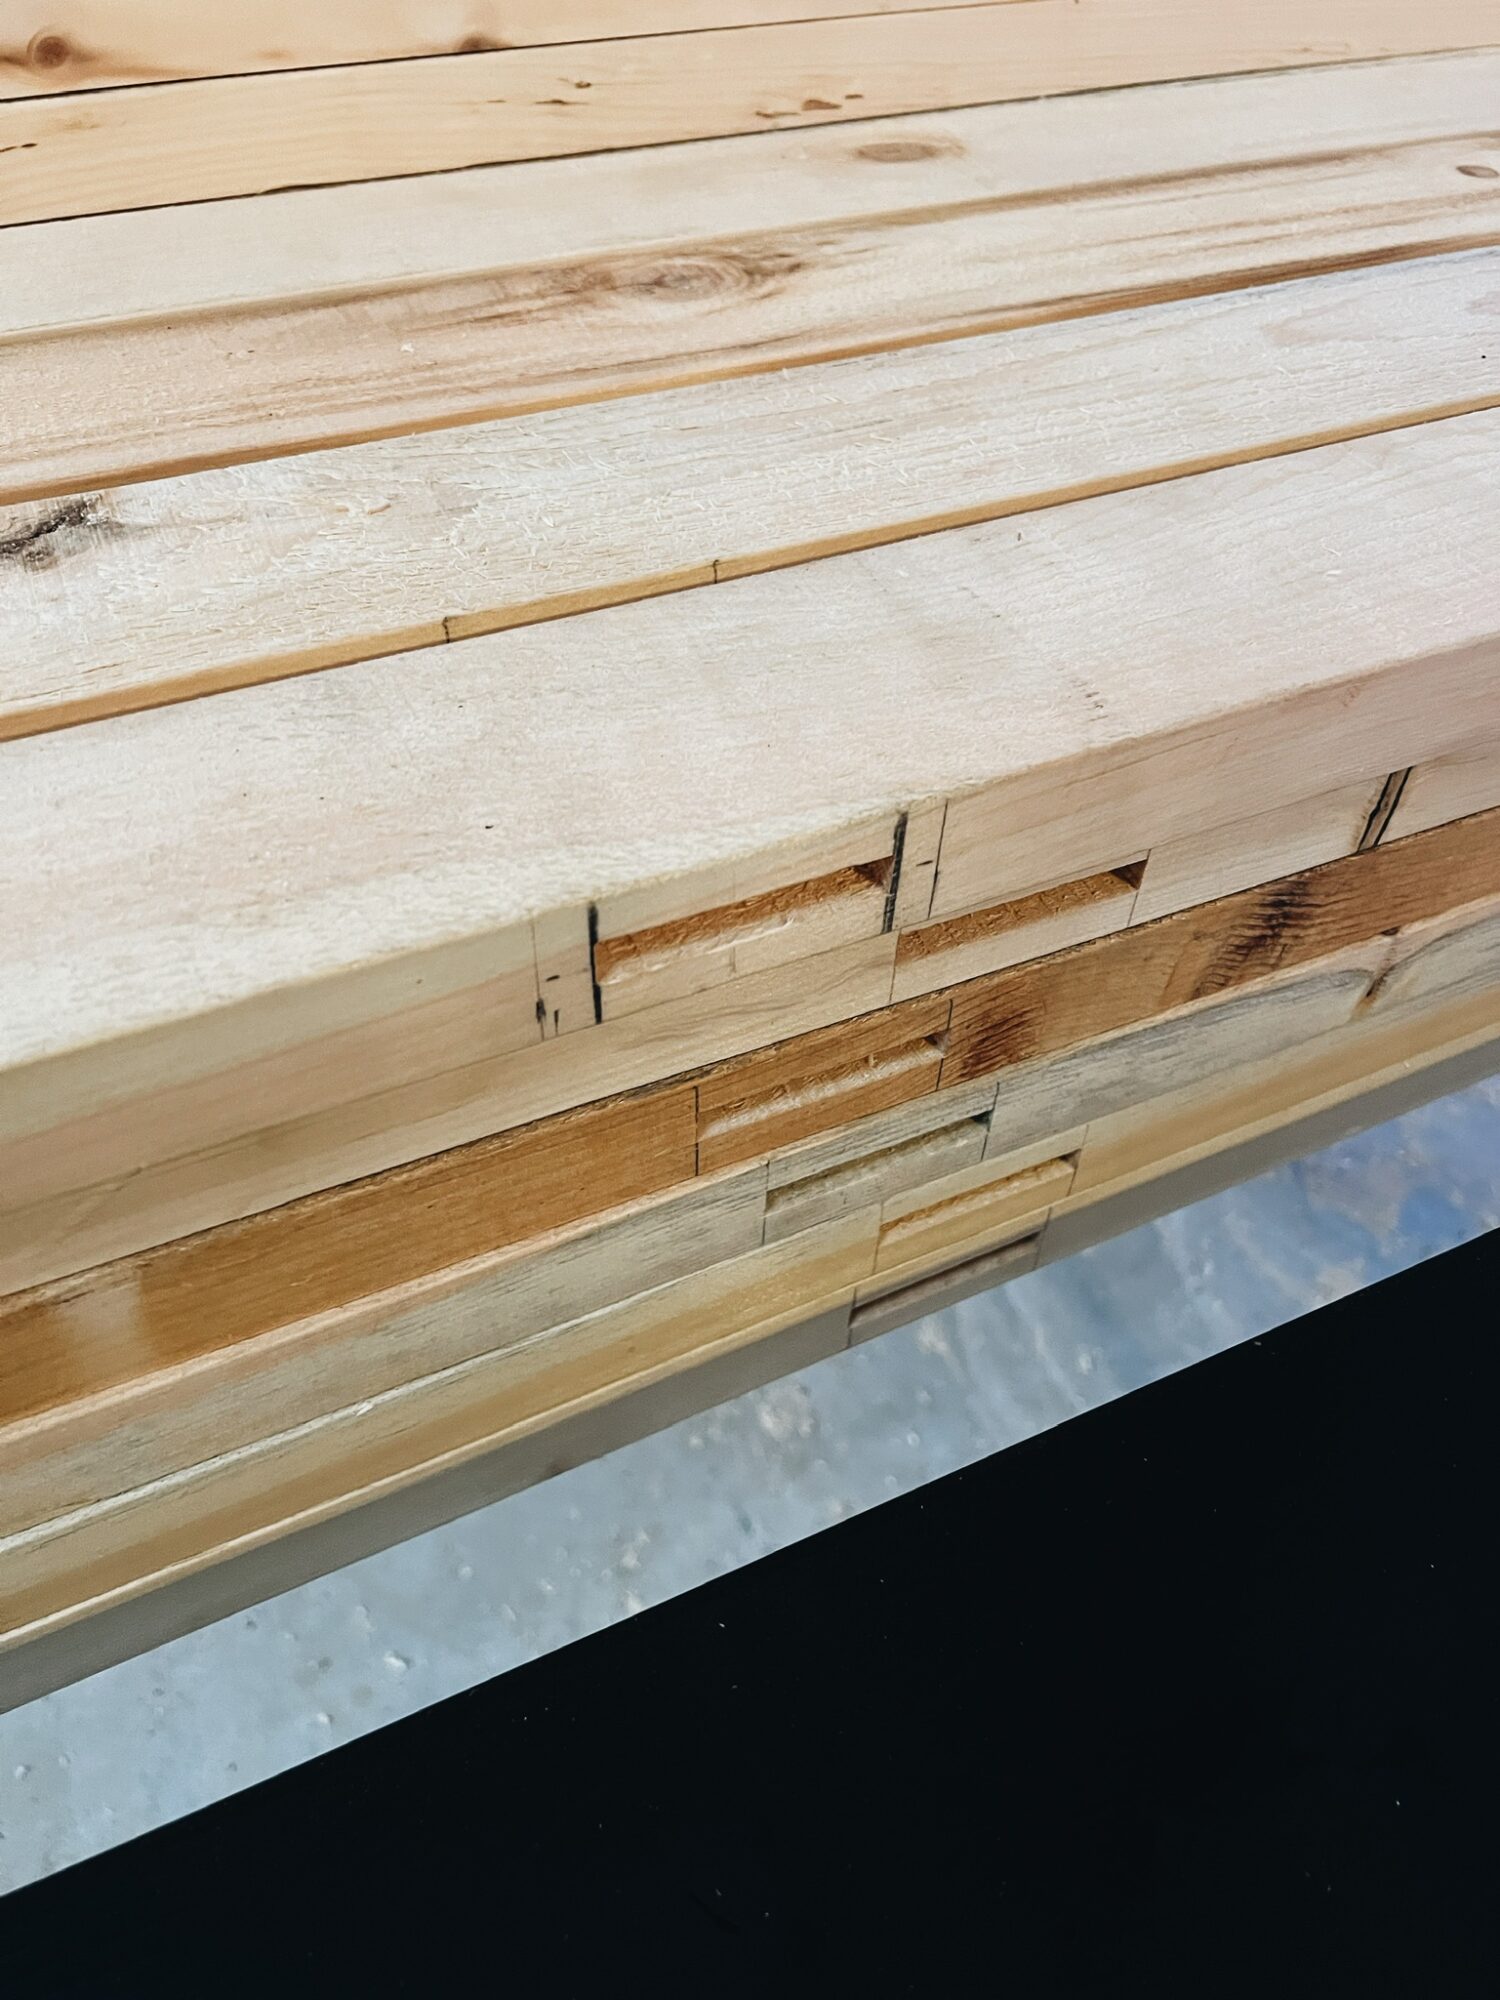
Then the siding painting went into full production. I was so grateful for all the space and good weather.
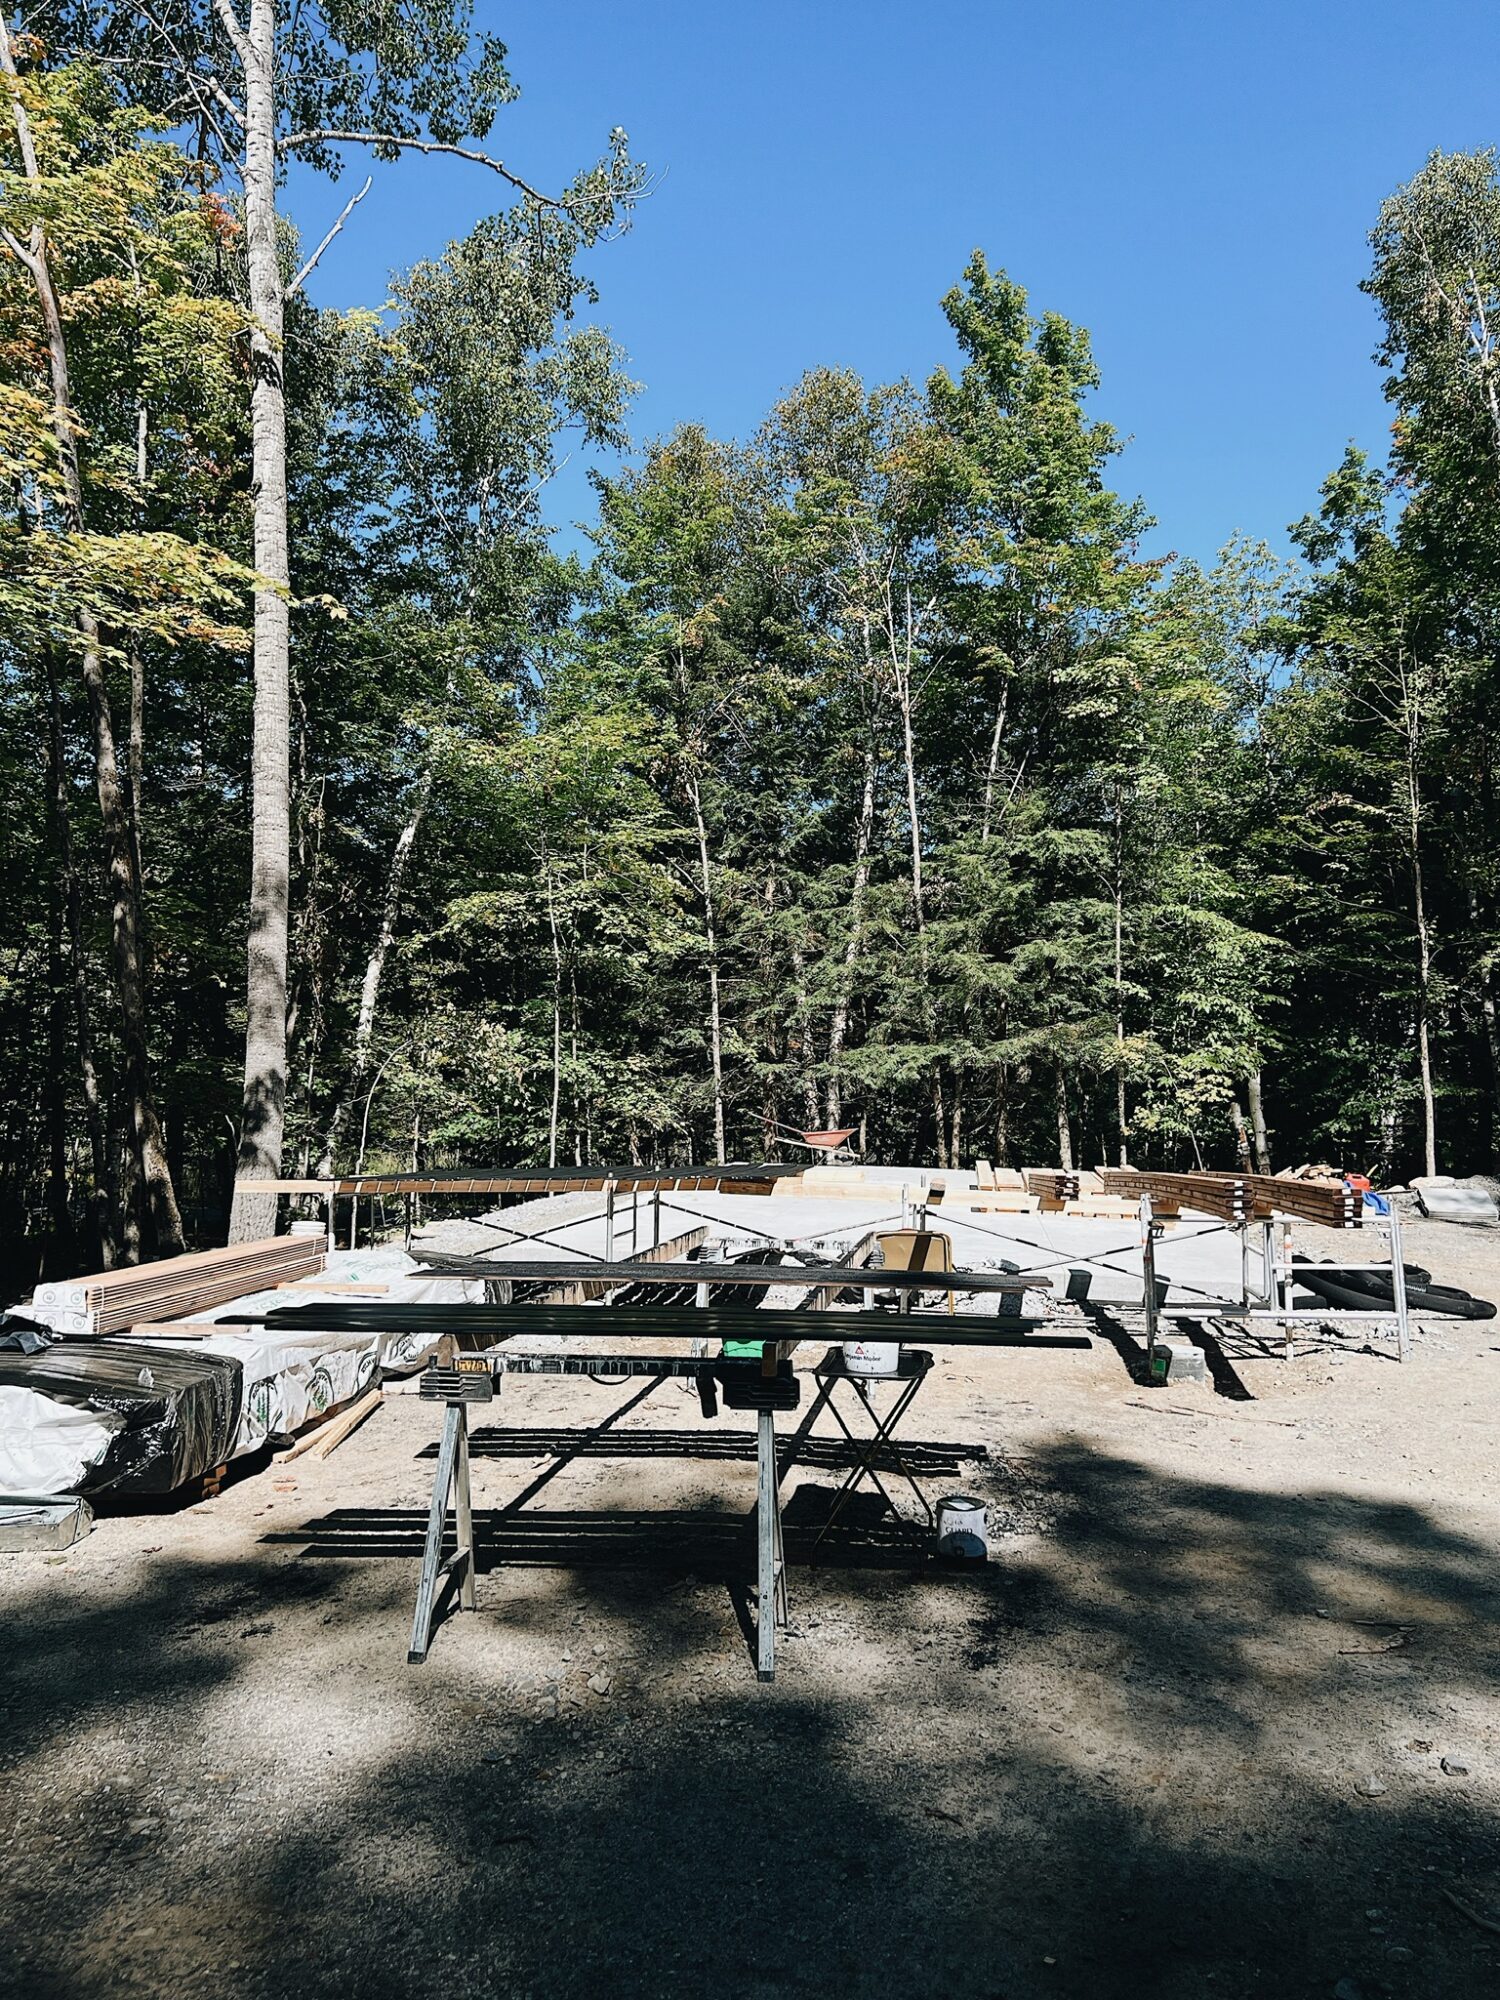
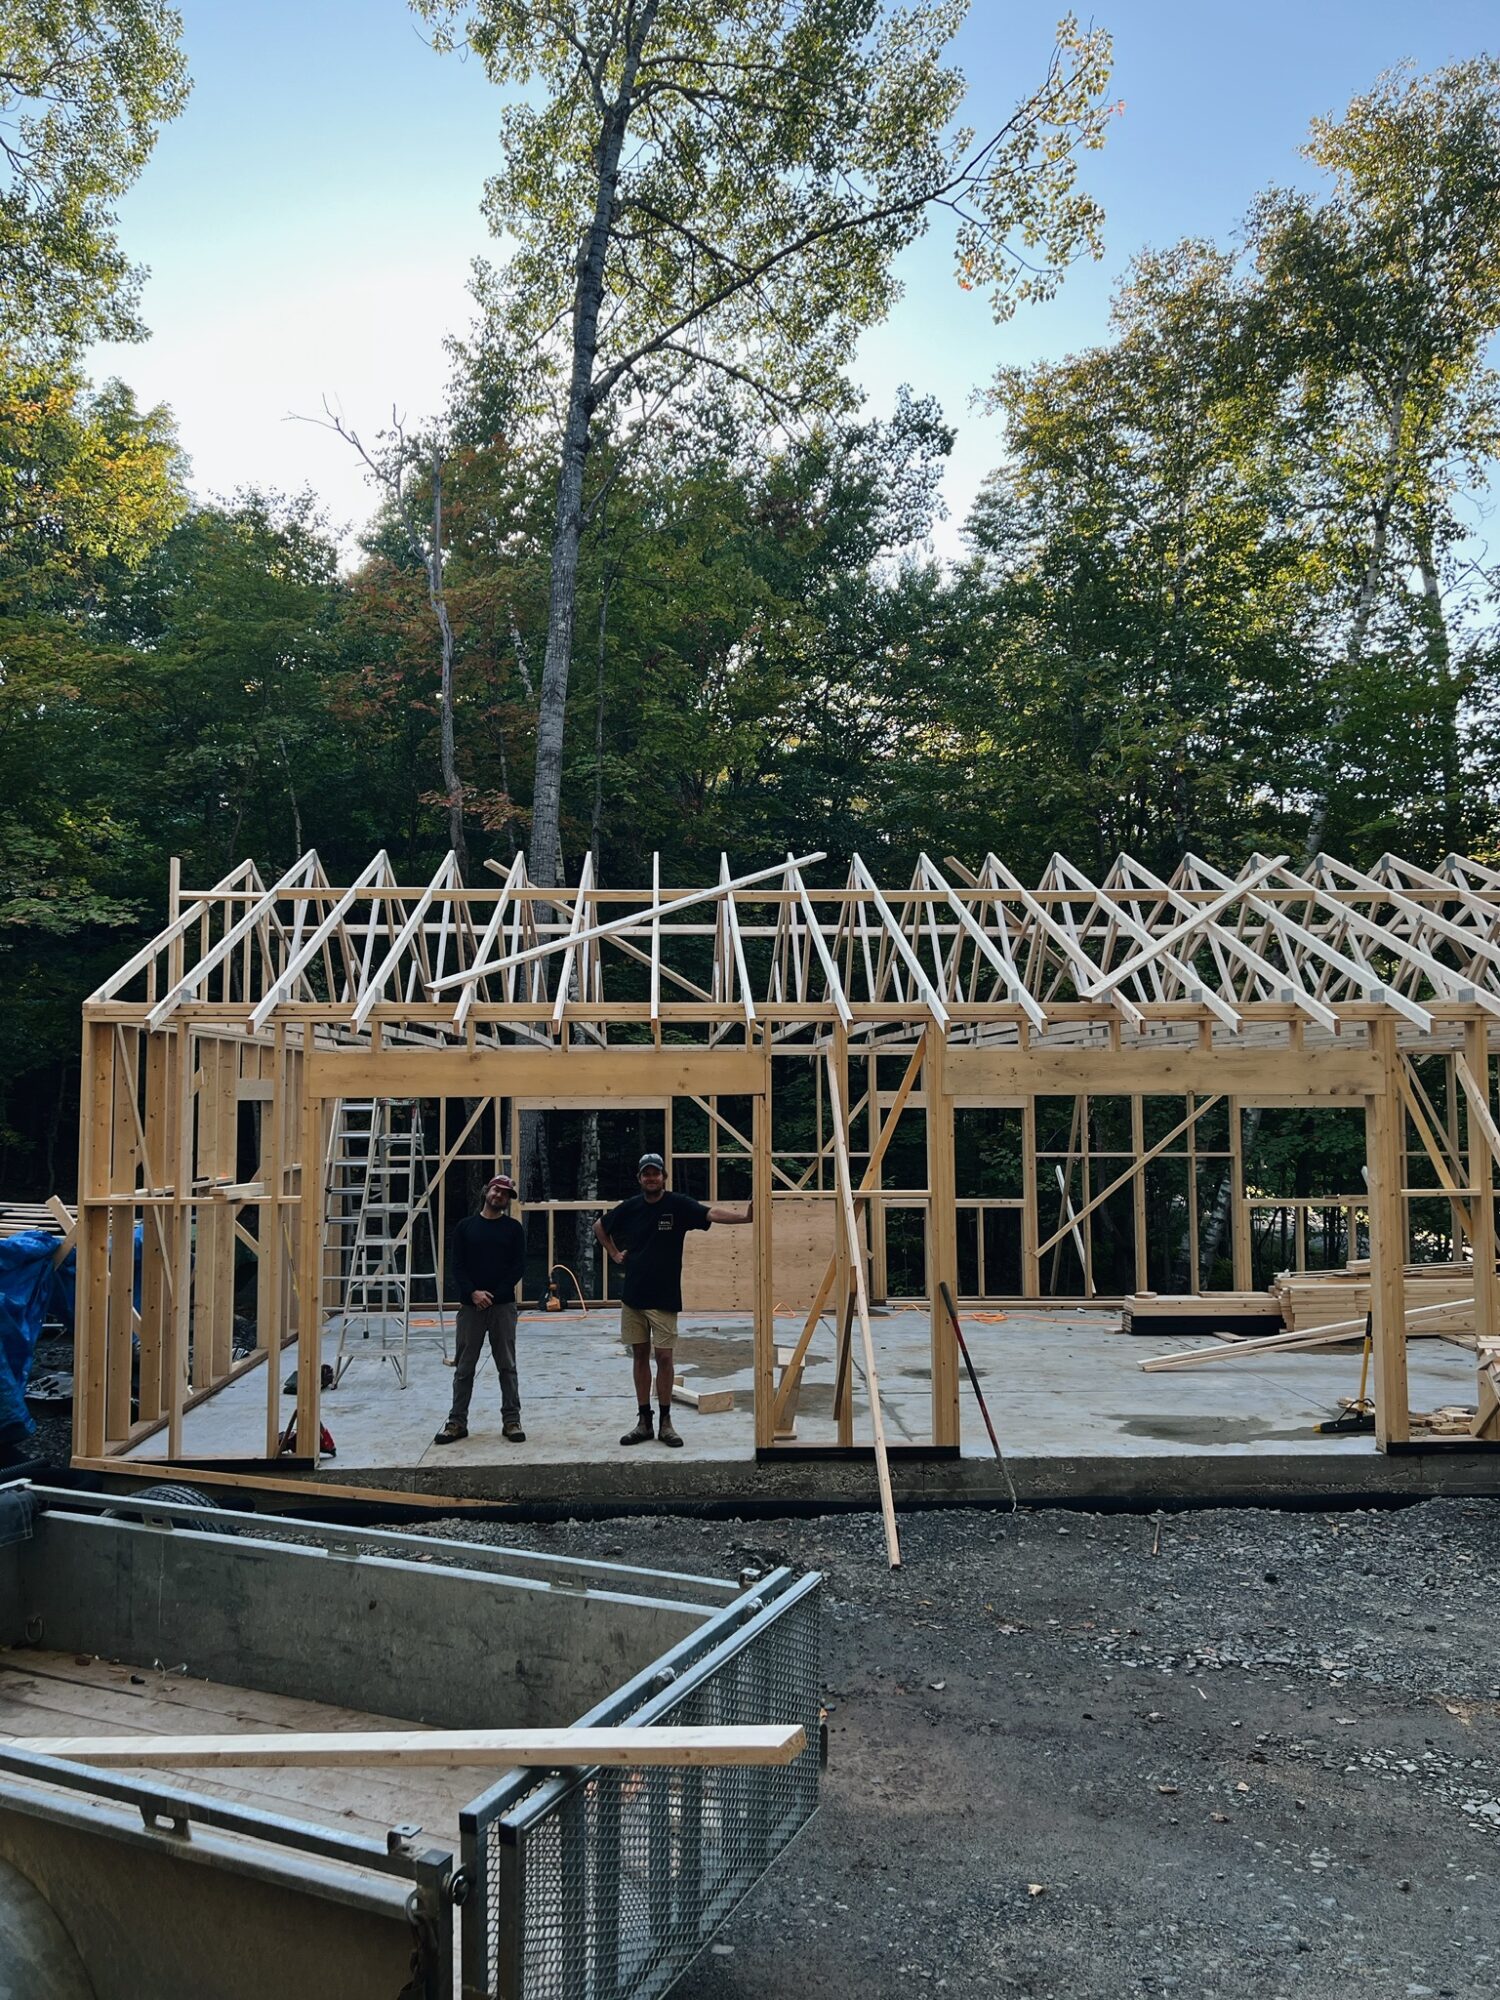
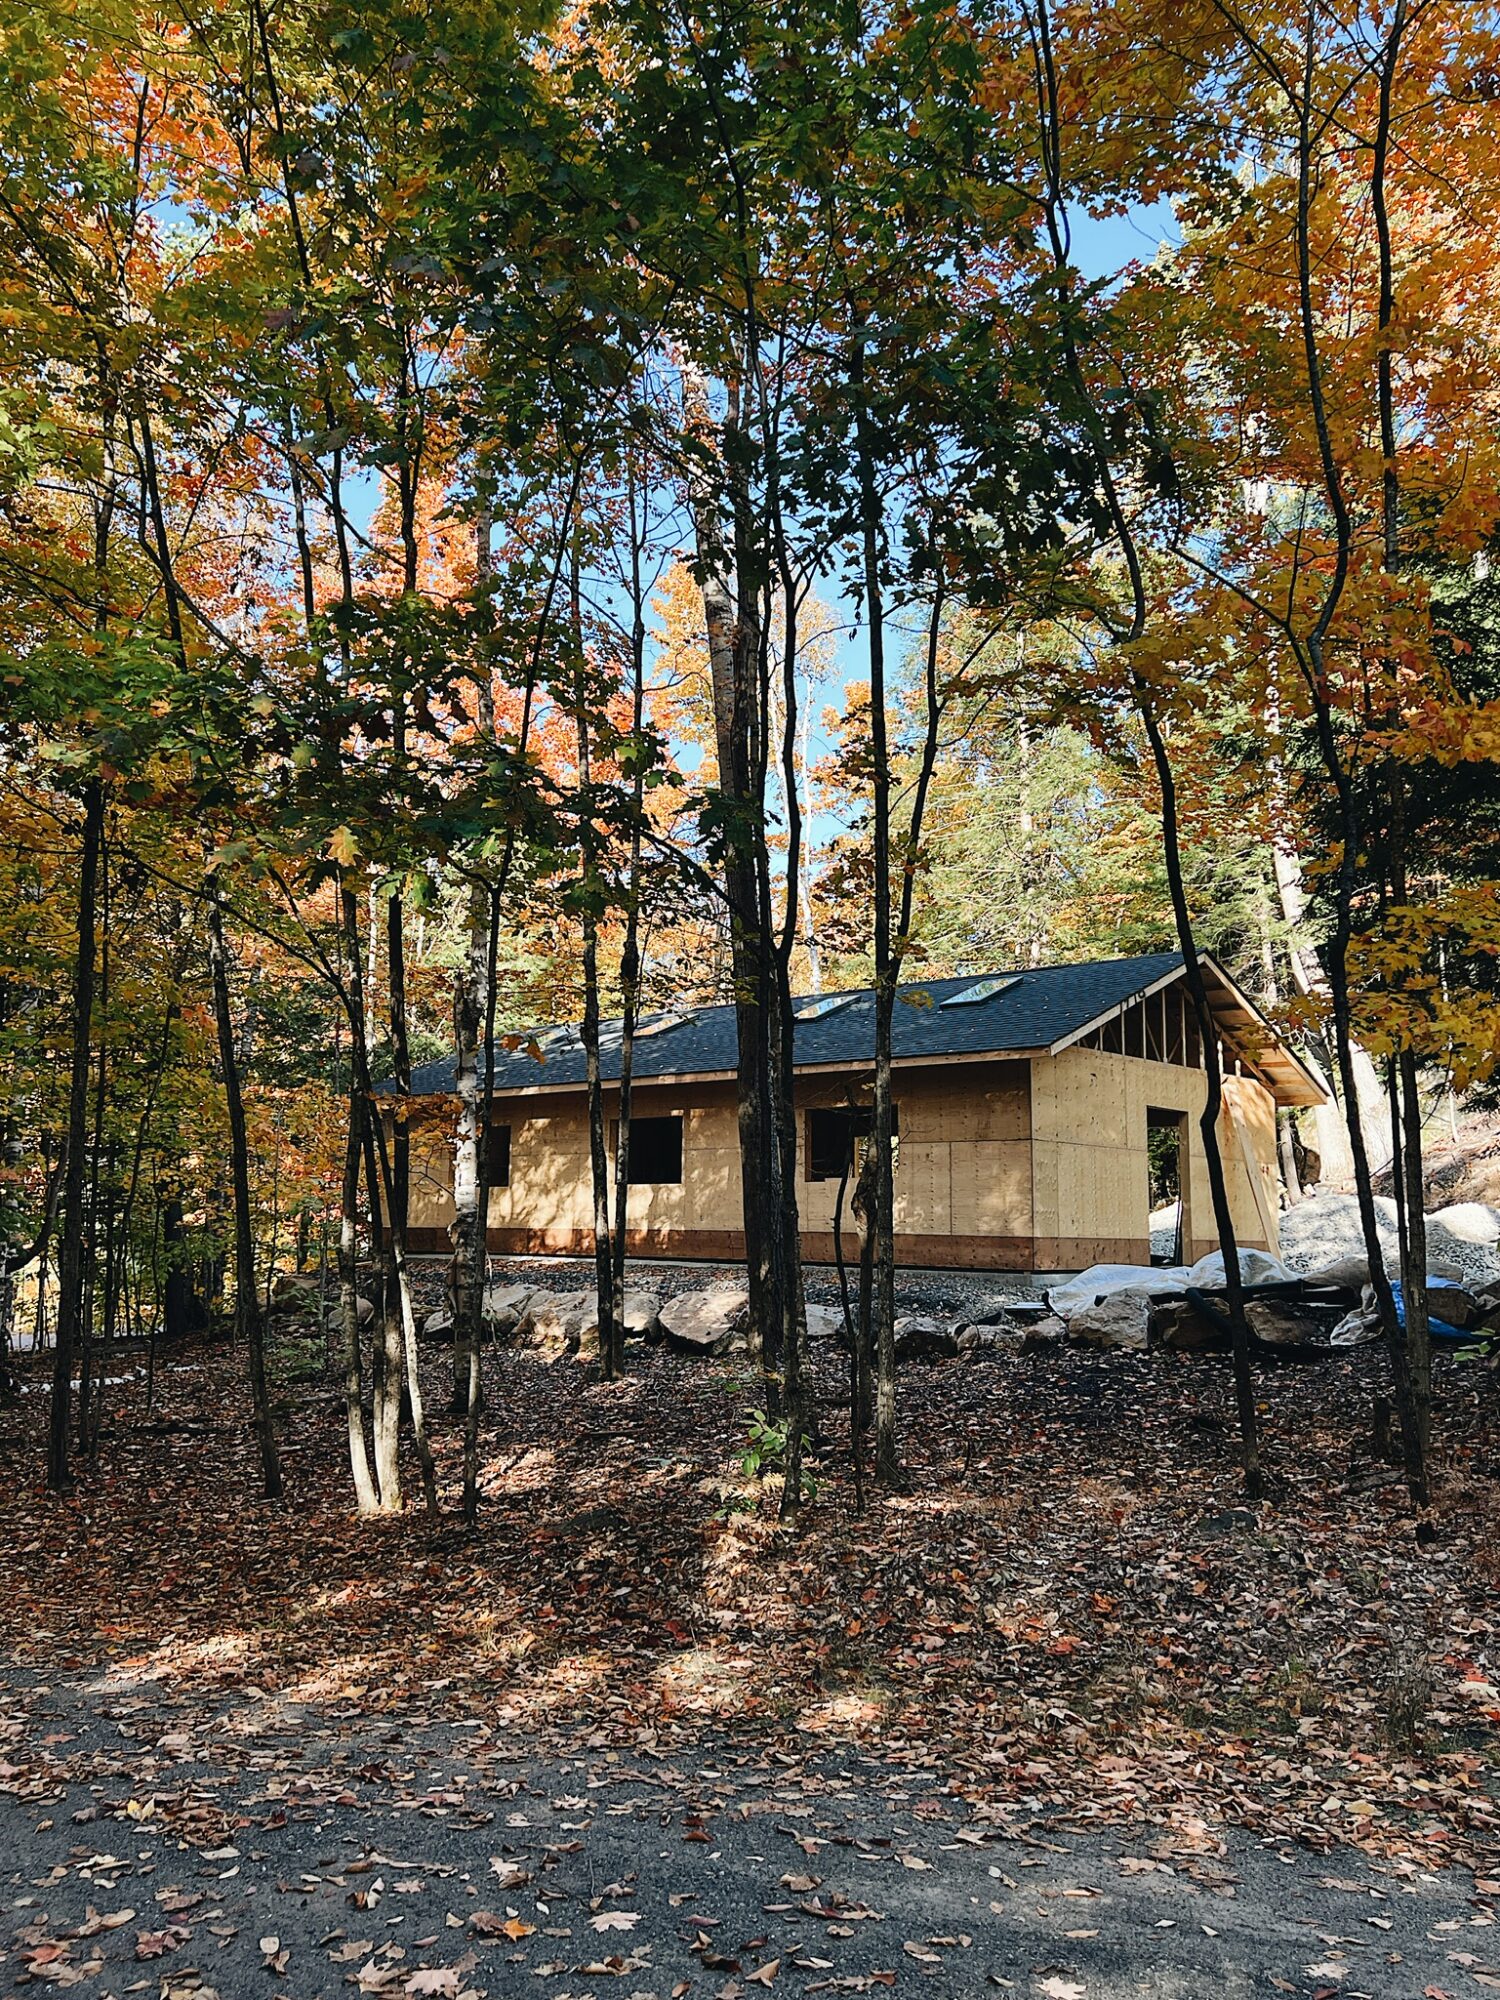
Meanwhile framing began.
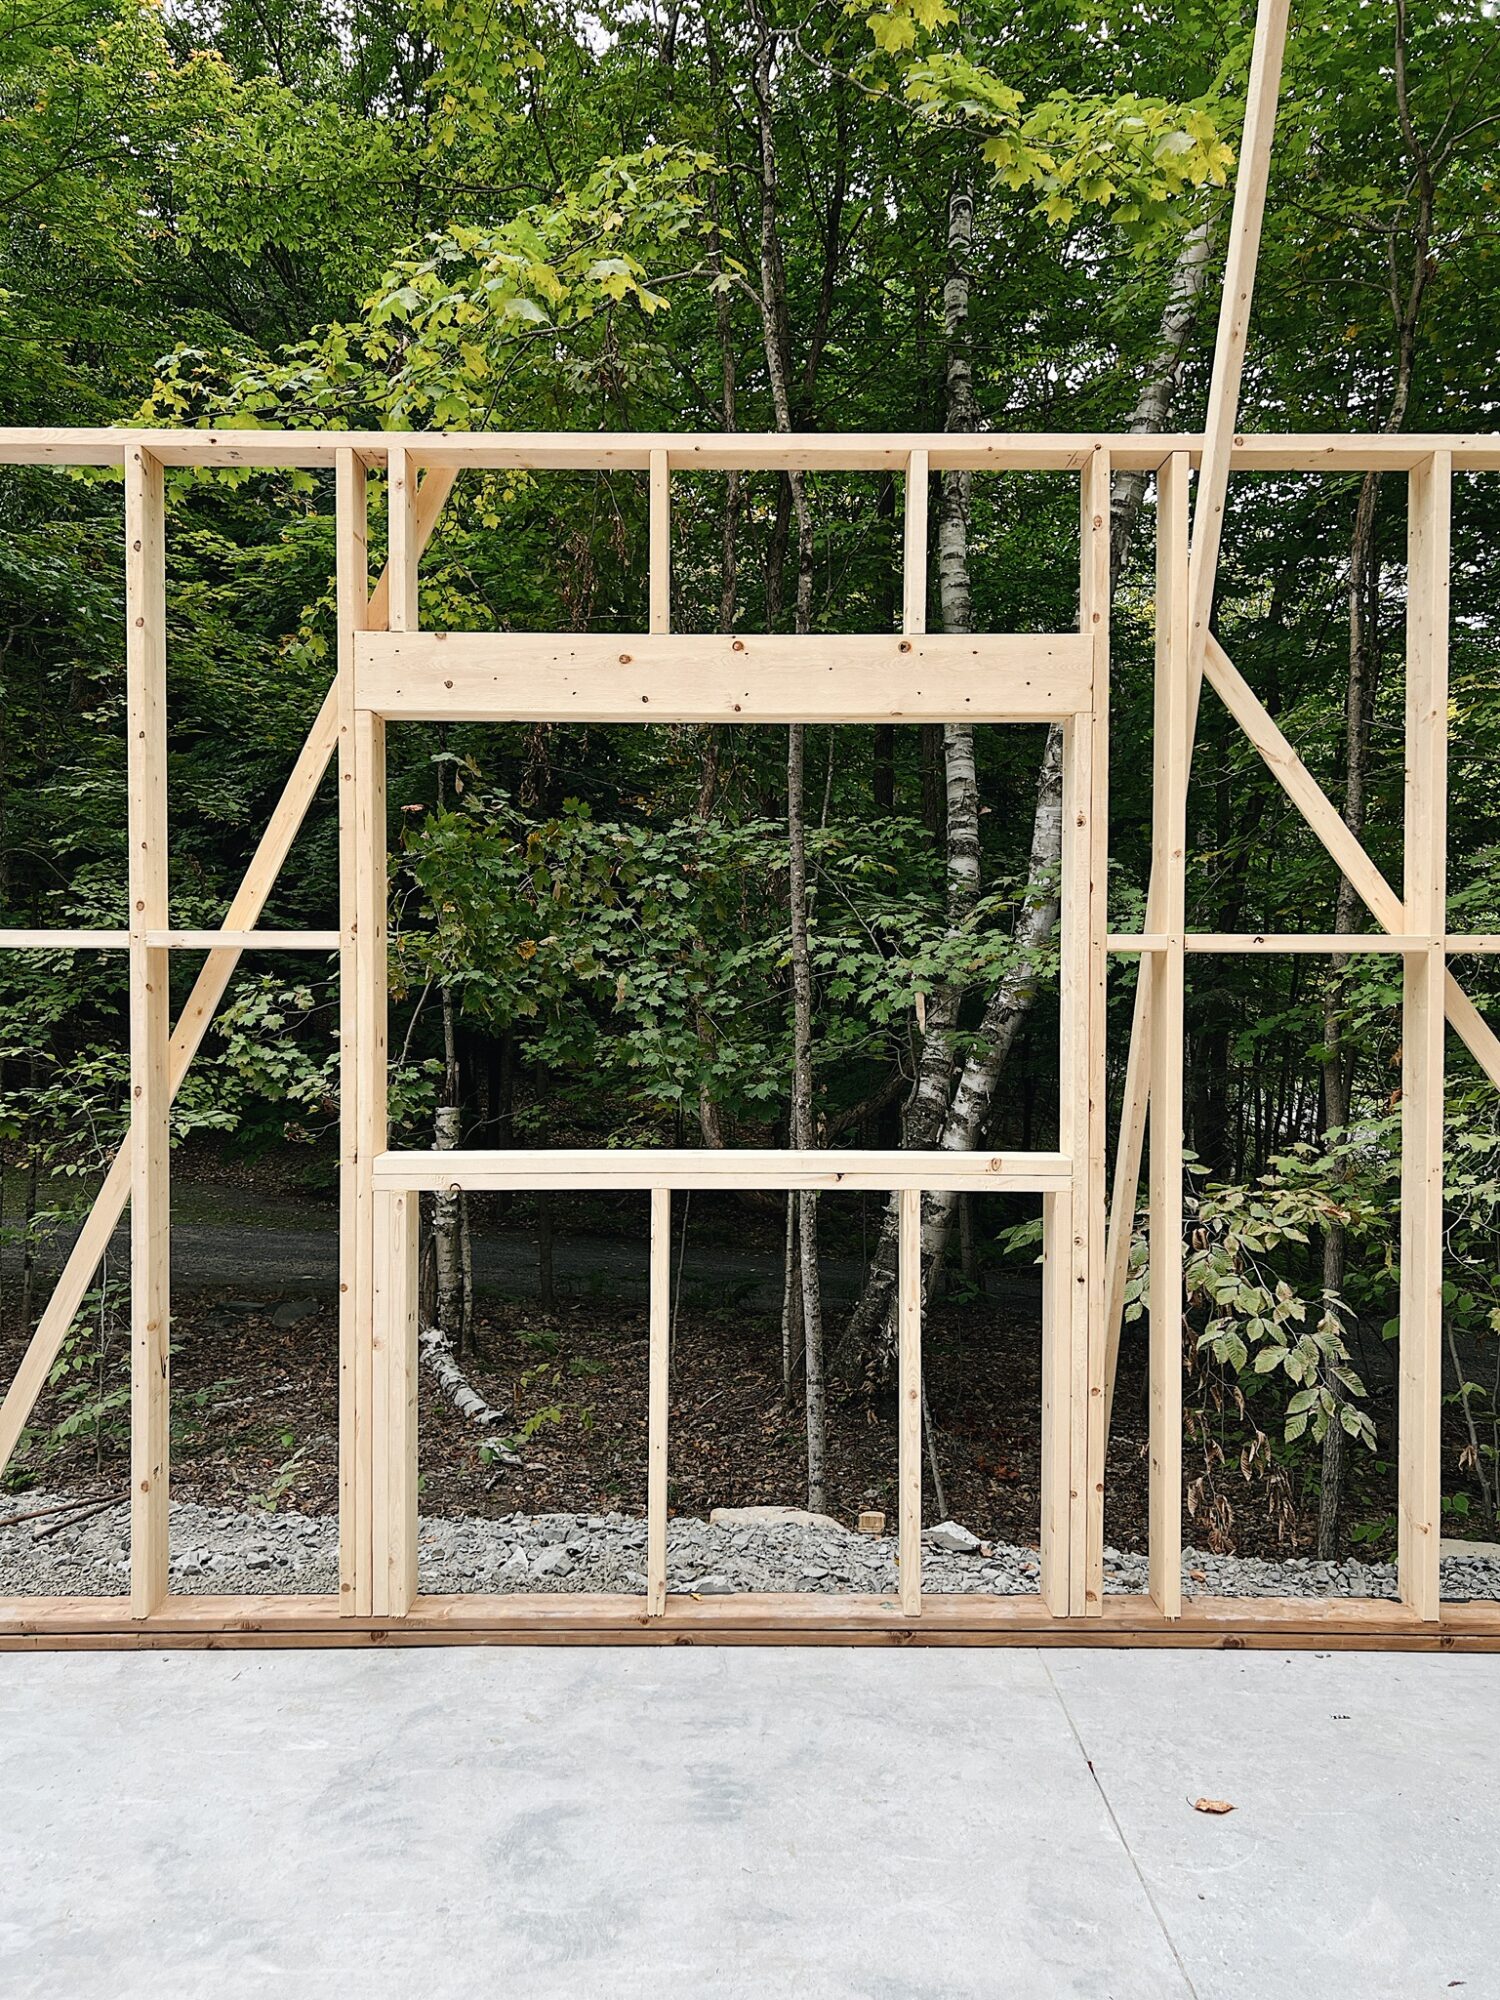
And within a couple of days we had the makings of a building!
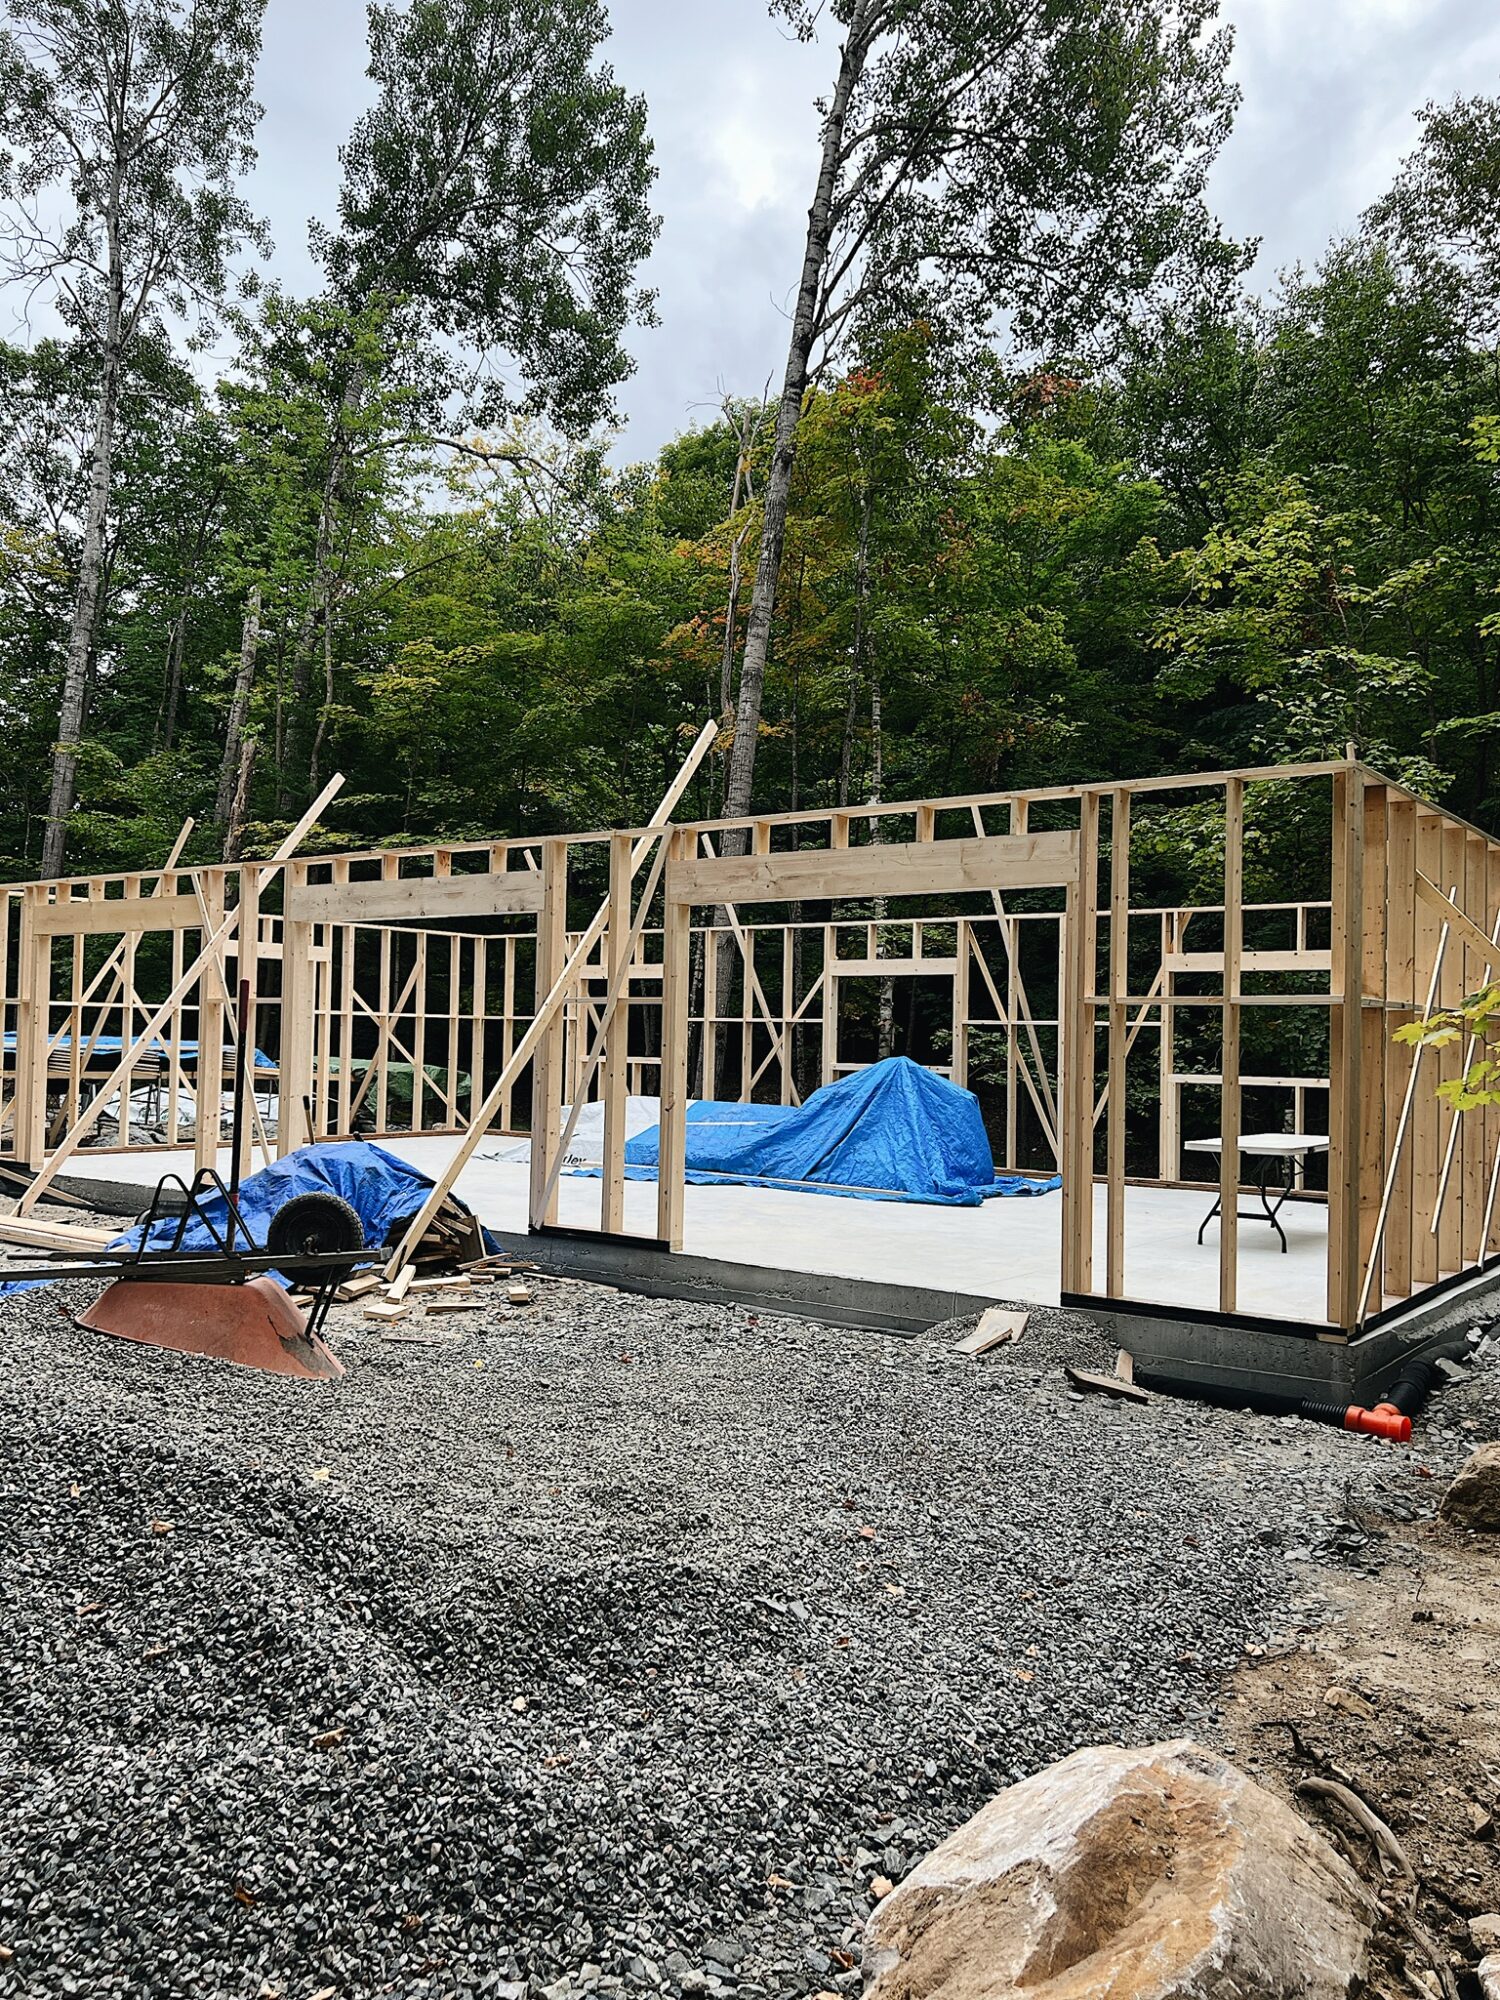
Painting continued throughout the whole framing process. The amount of painting required was truly astonishing.

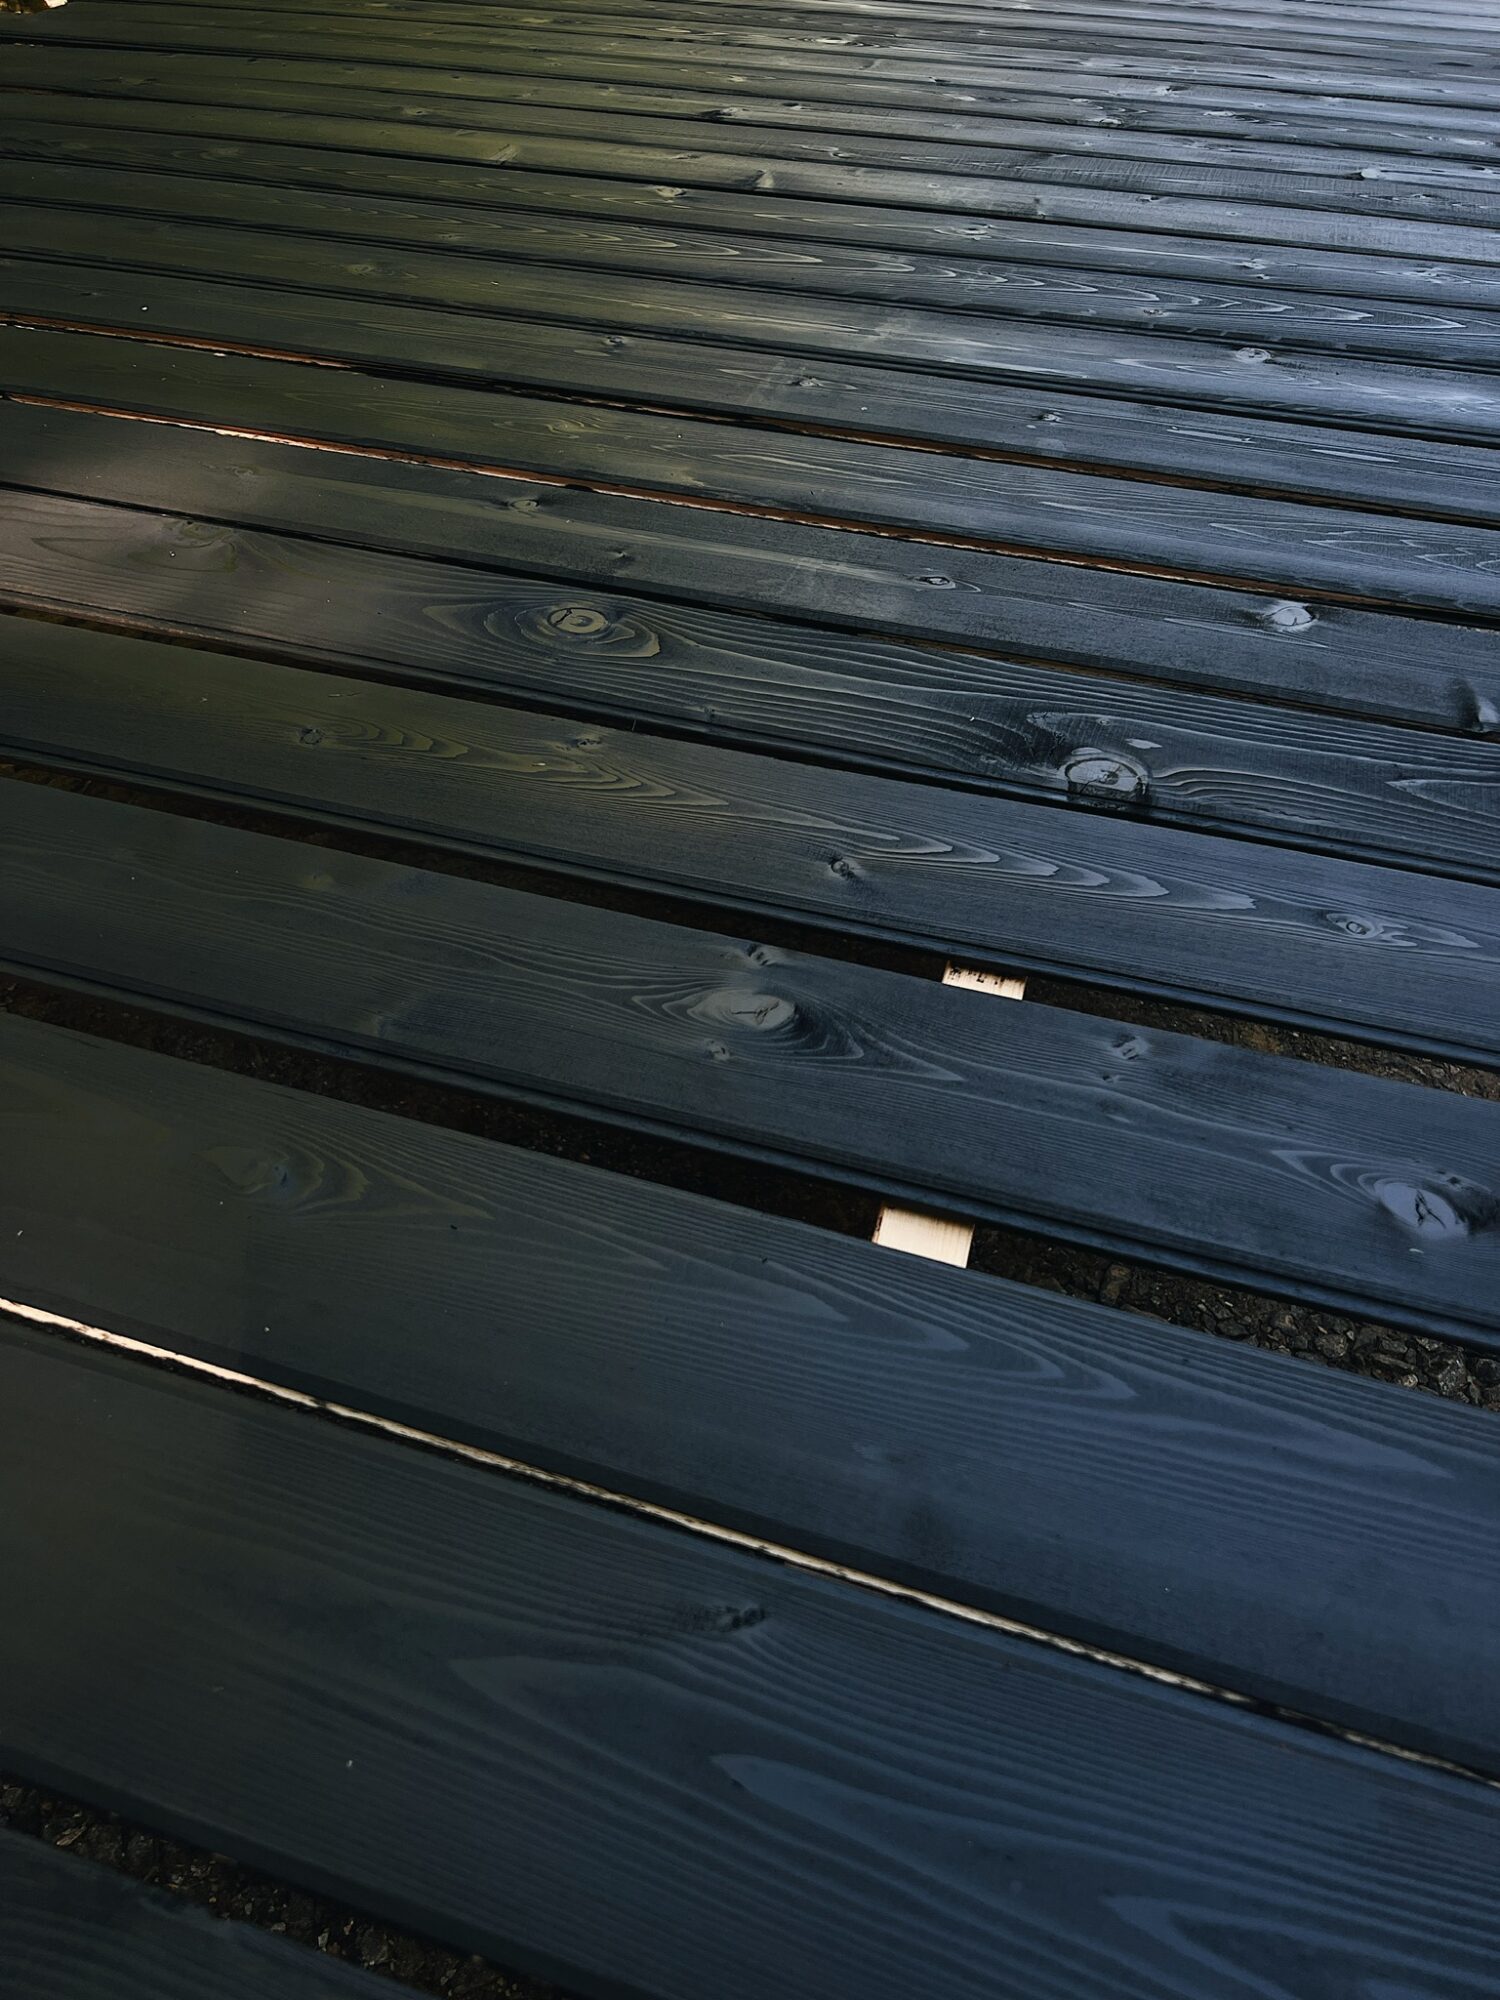
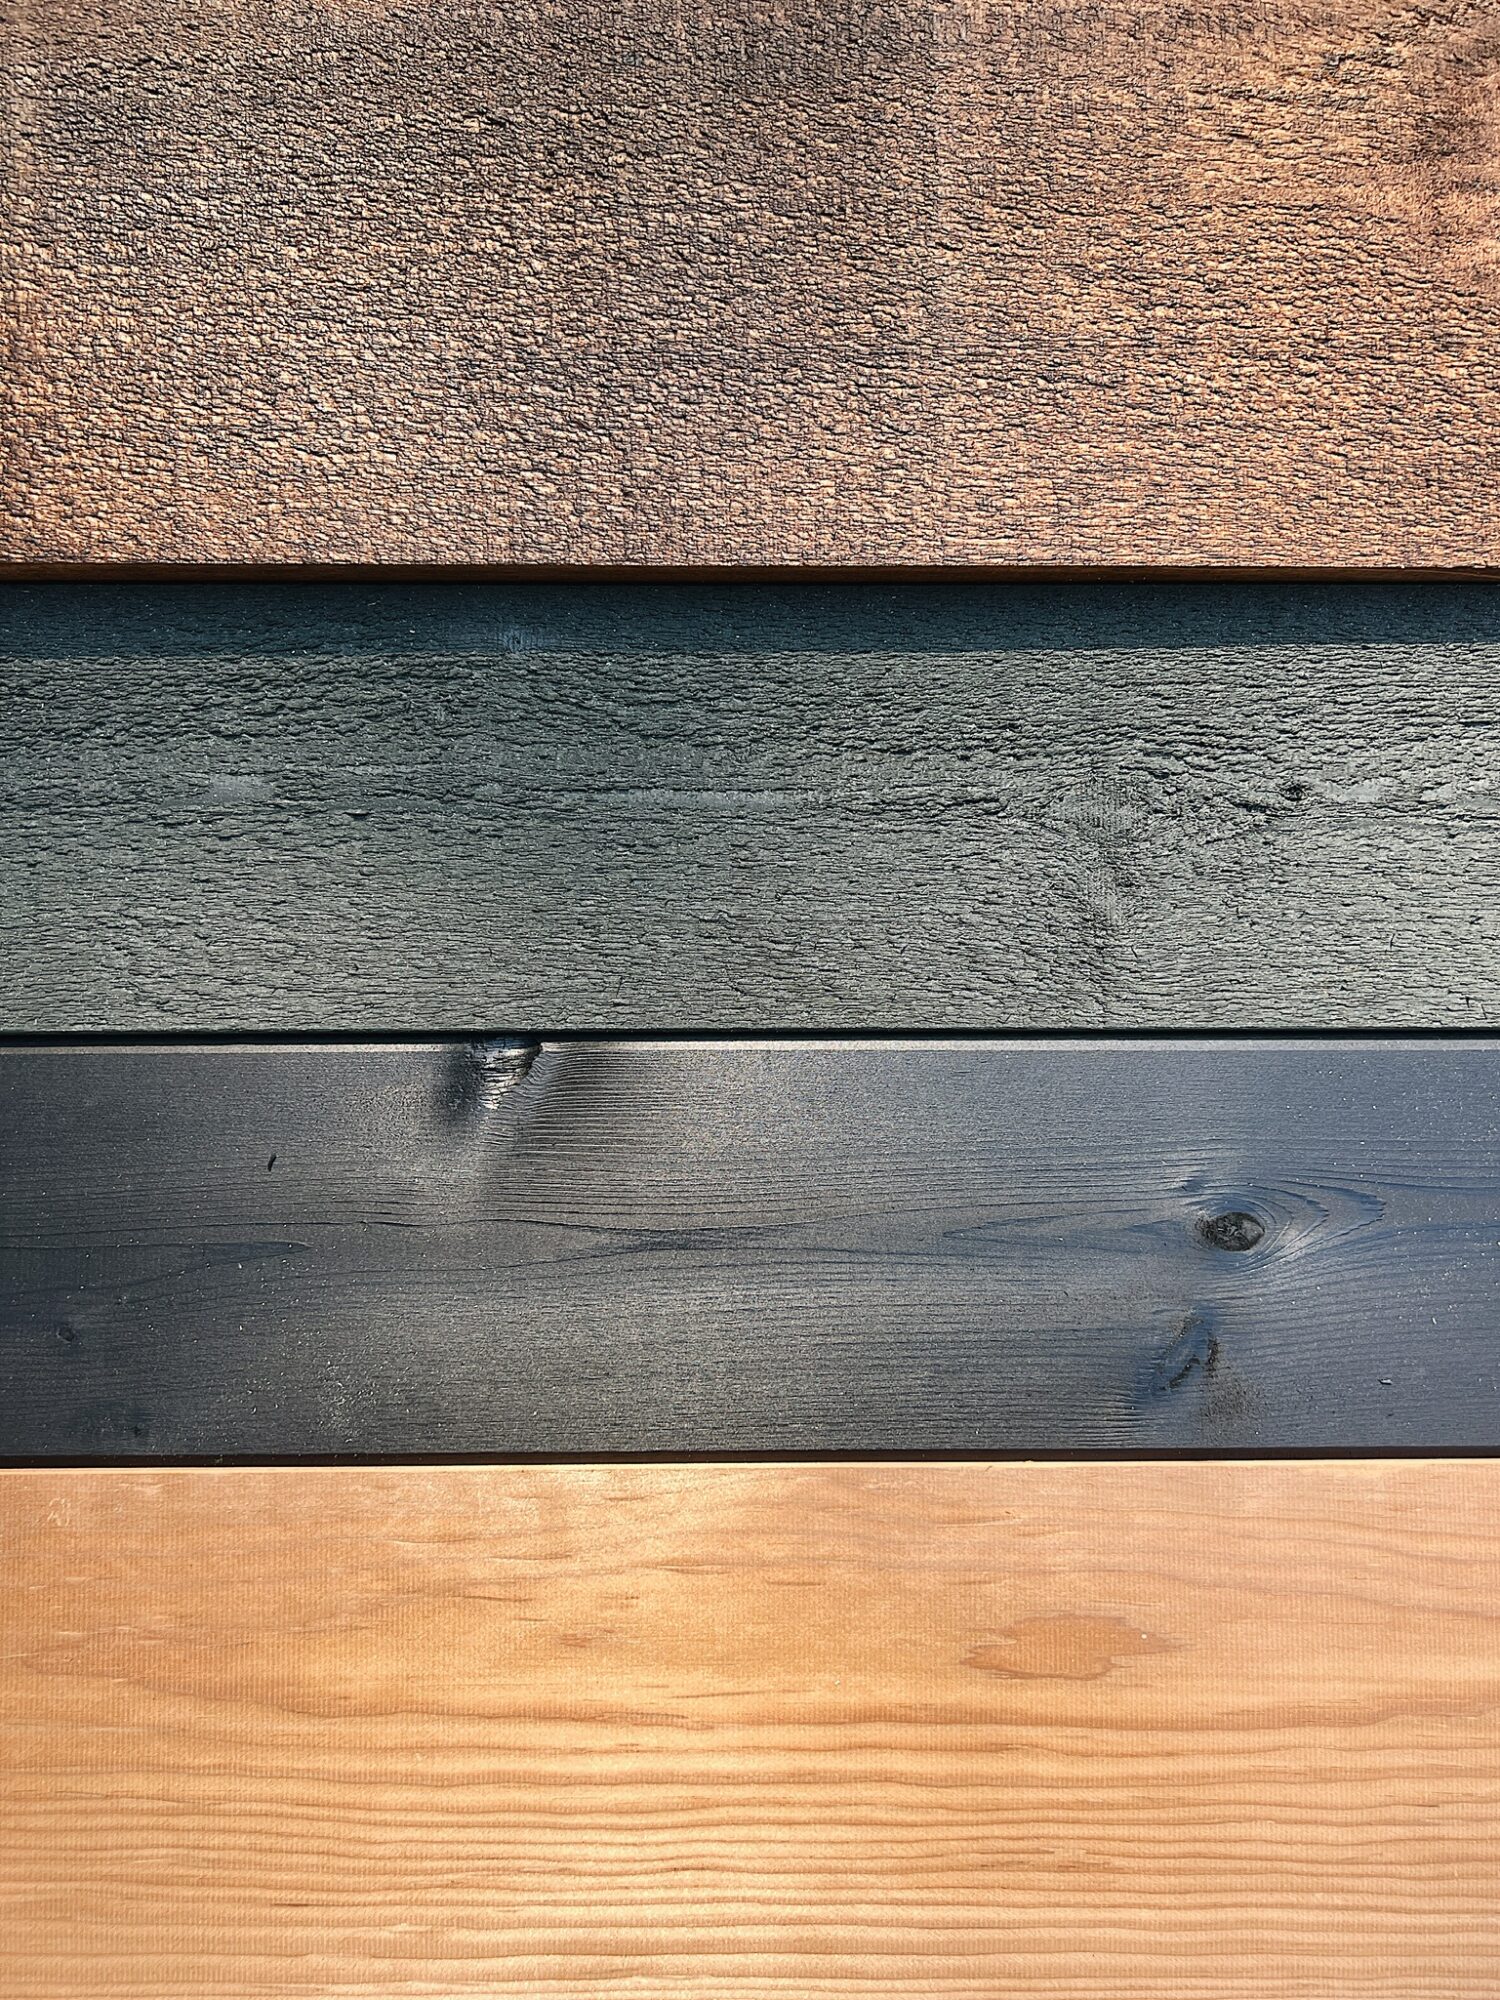
Seeing the colour palette come together was a highlight.
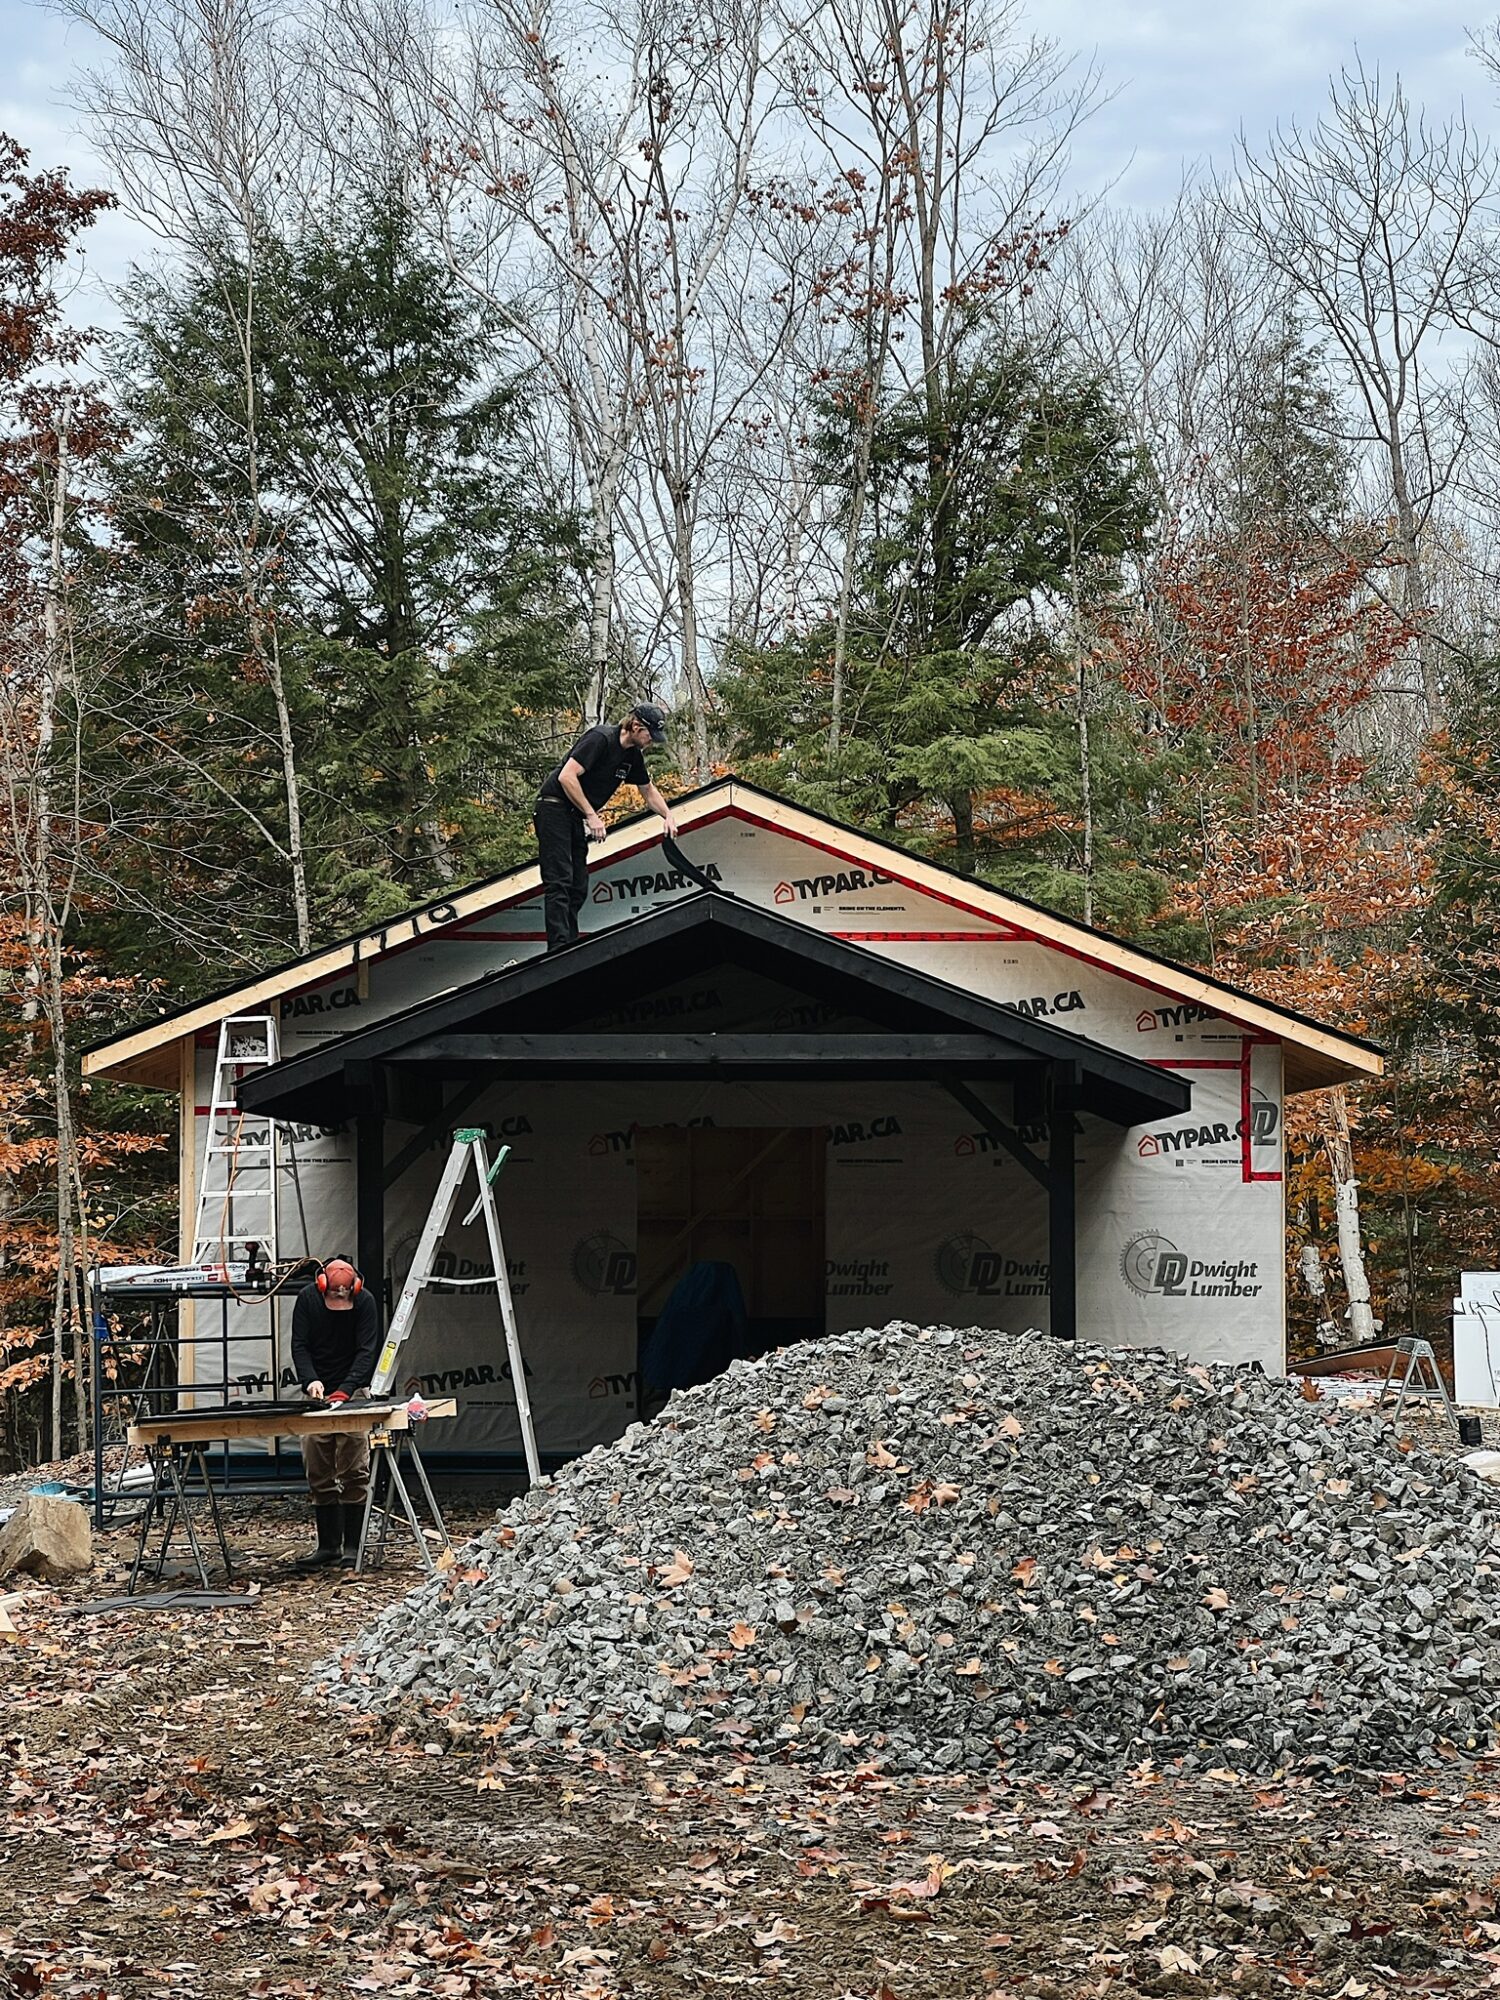
Then it was time to install the roof trusses, which Dave and our handy friend John completed in one day!
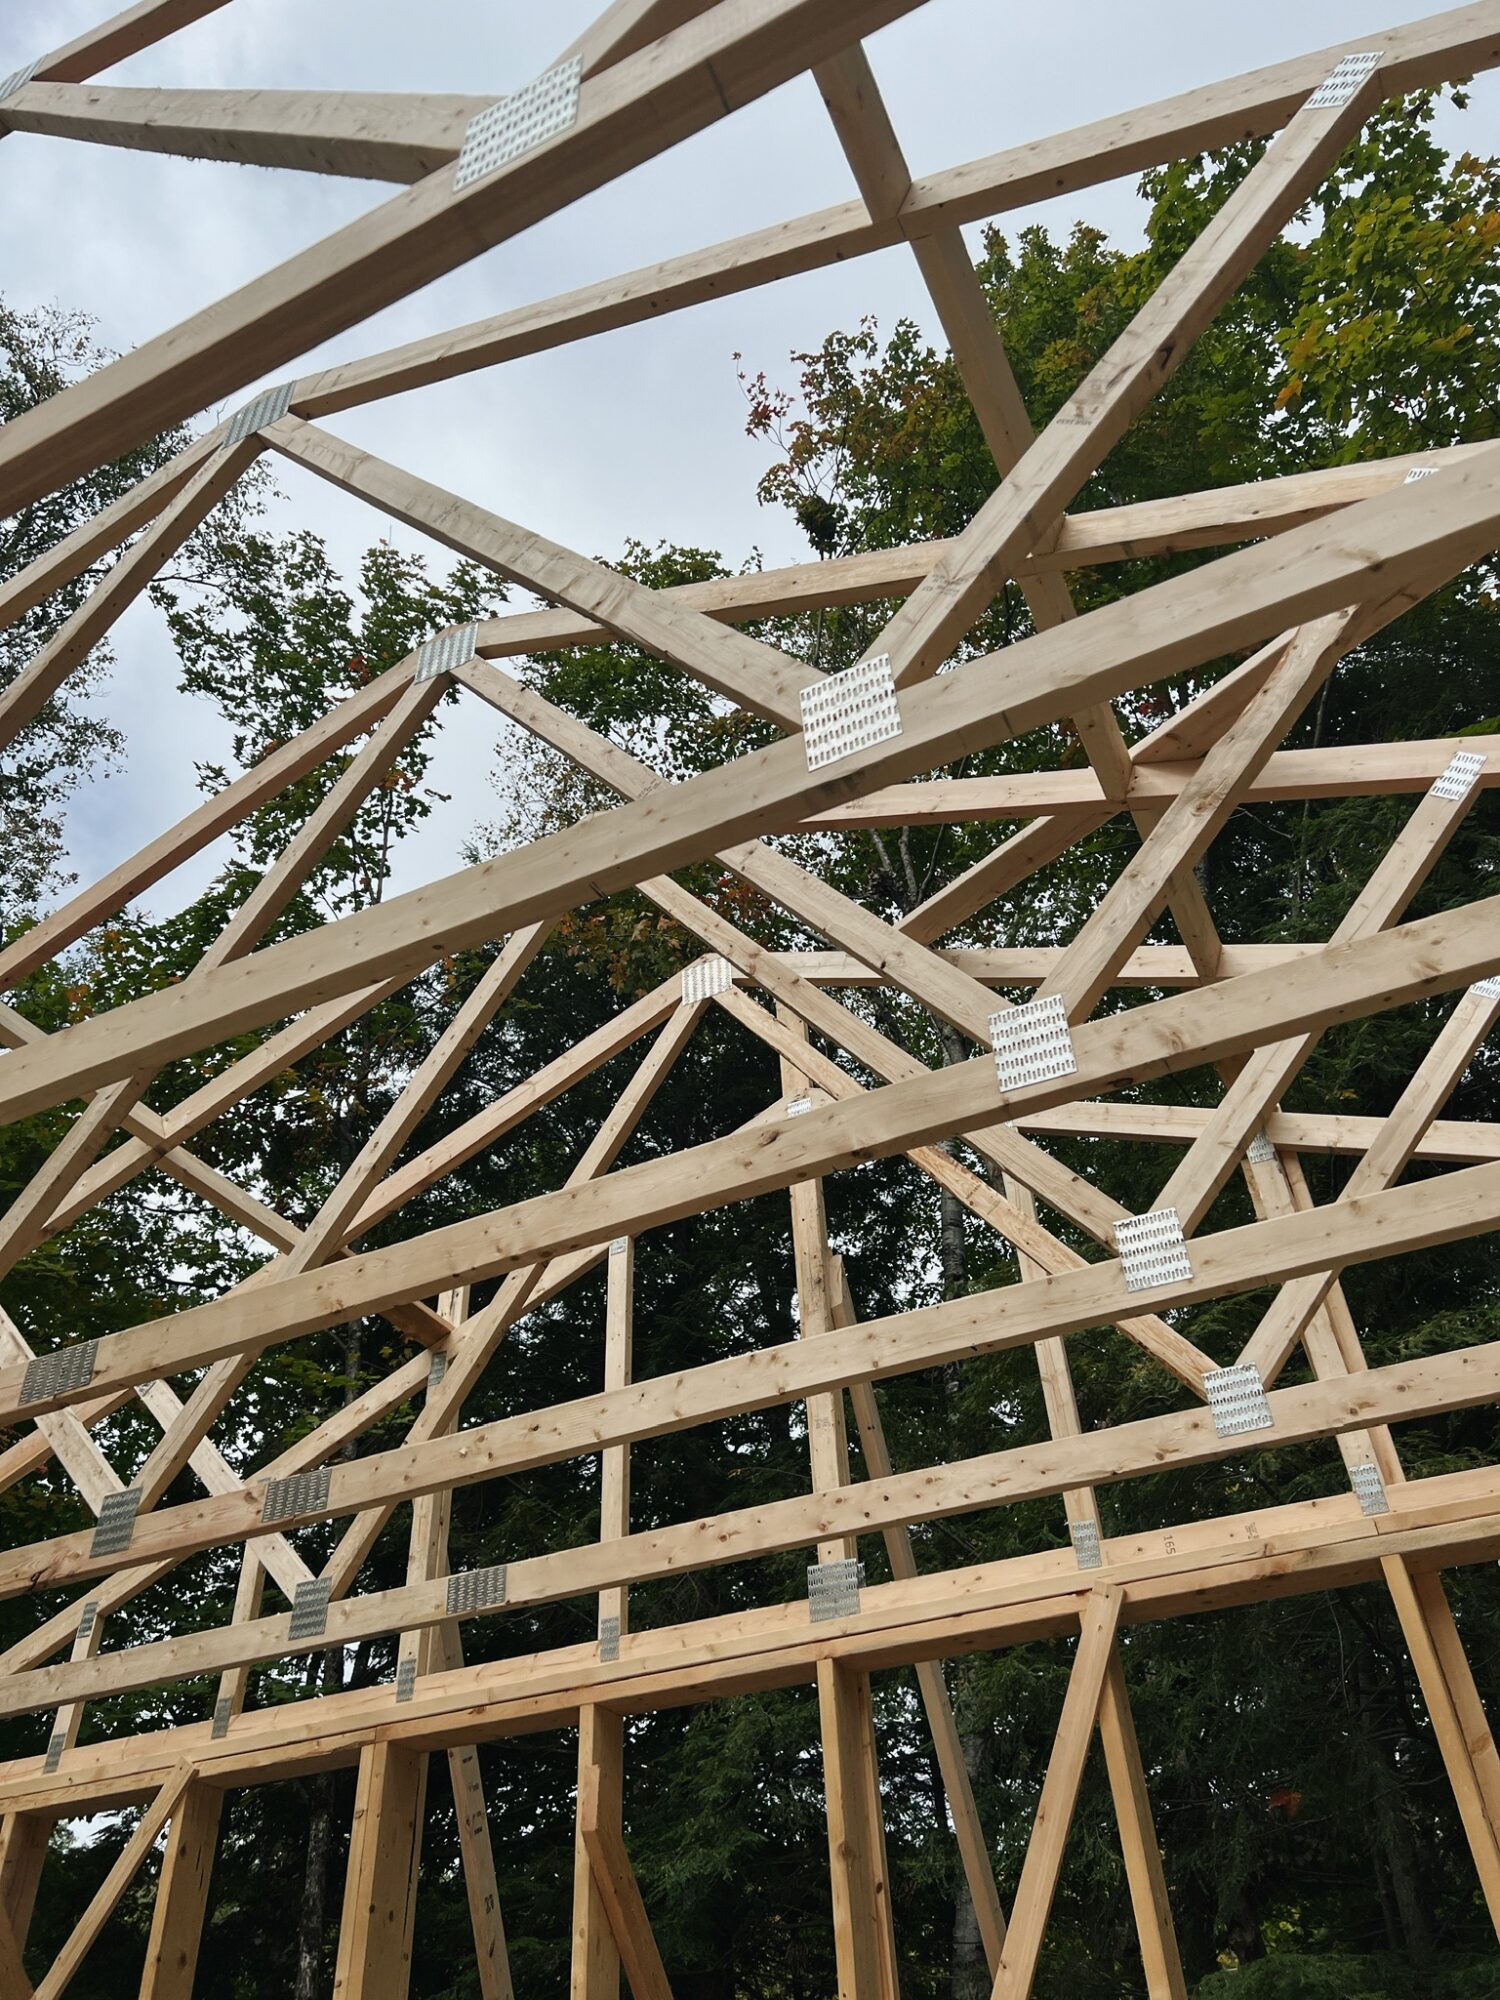
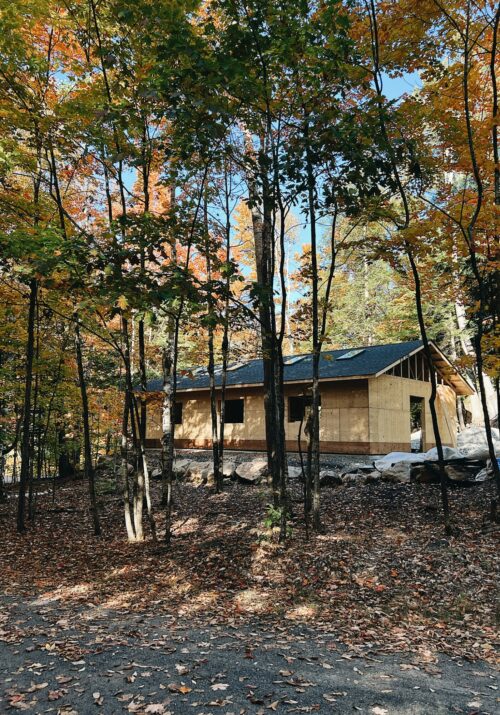
Then the plywood sheathing went on. Followed by the roof shingles and skylights.
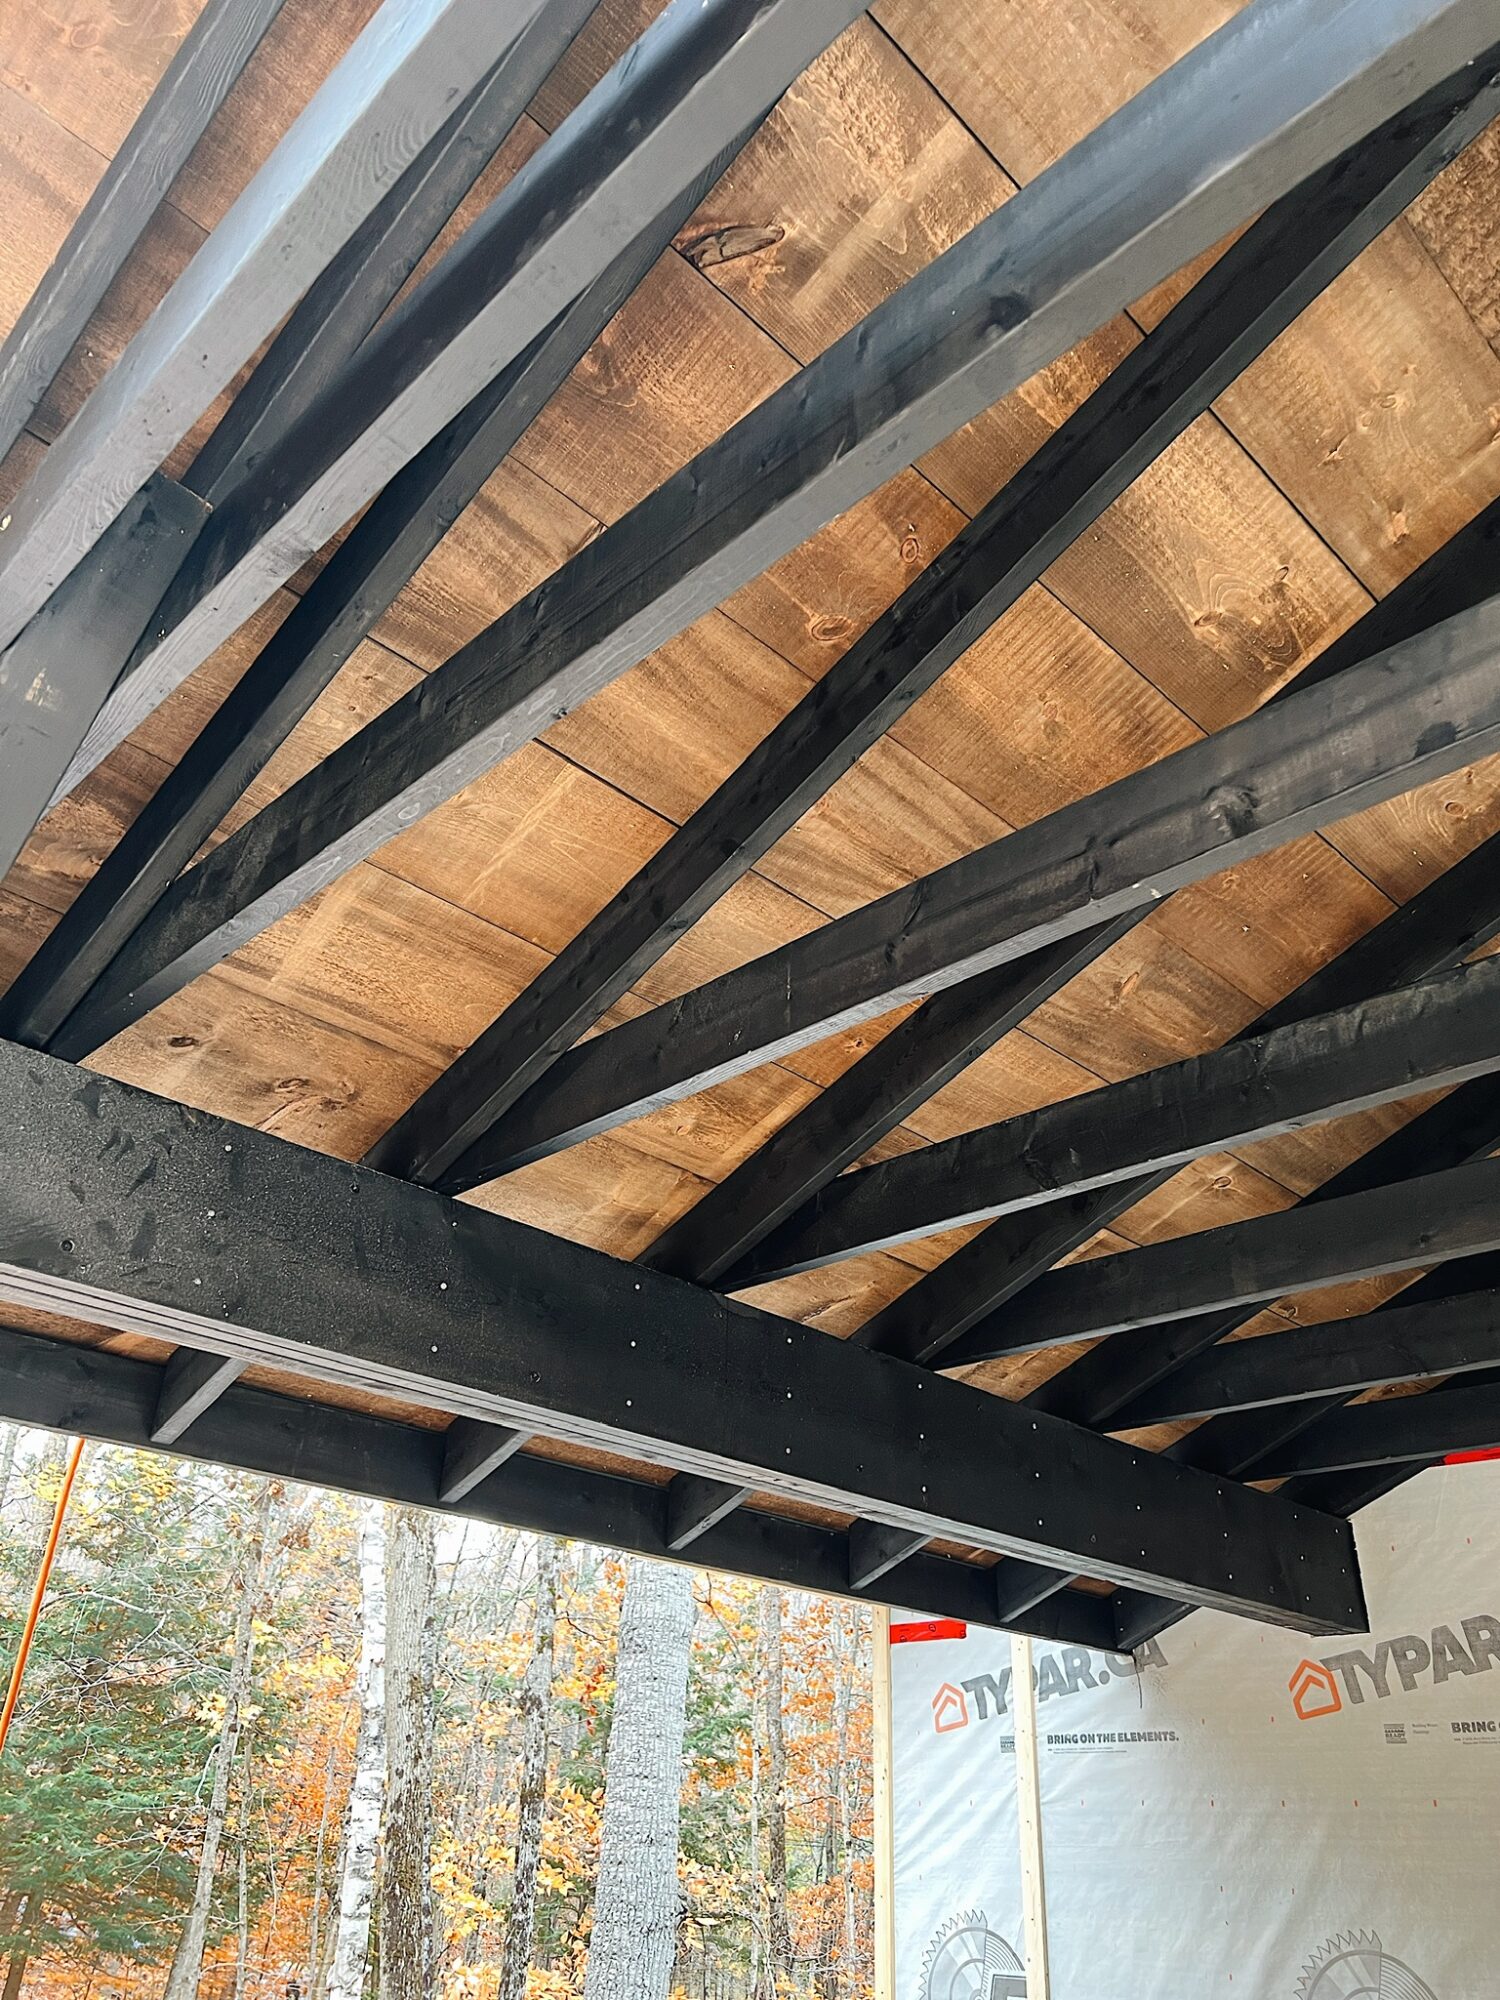
The final structural element to complete was the portico.
And soon after it was time to start siding.

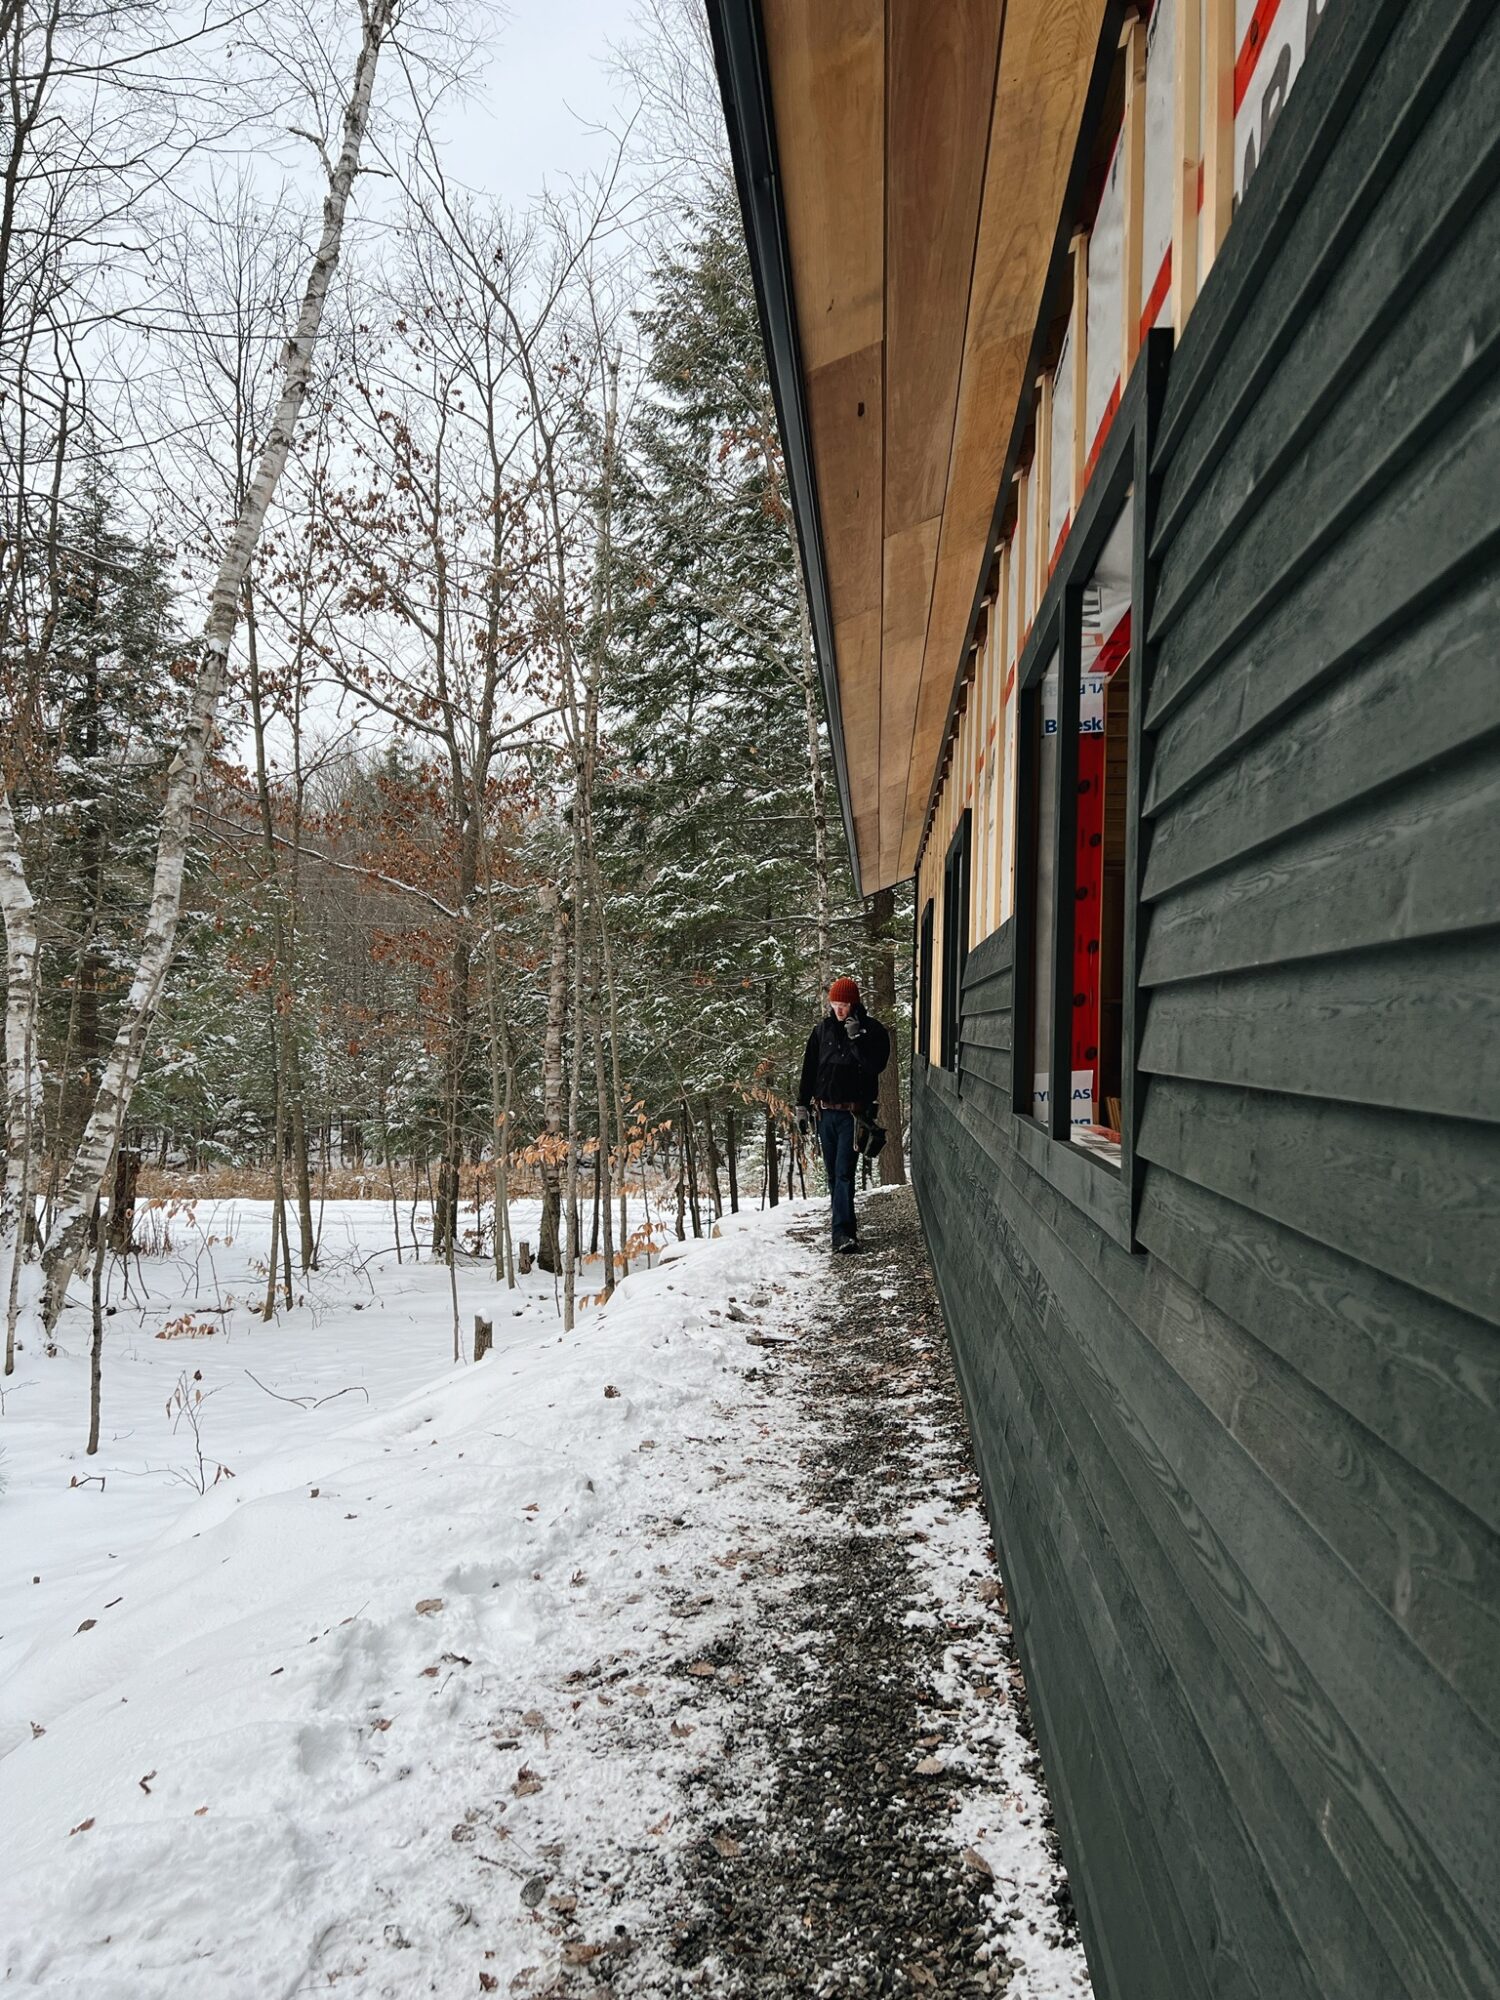
This was no small job and on cold, snowy days, we questioned our life choices…lol
but mostly it was fun.
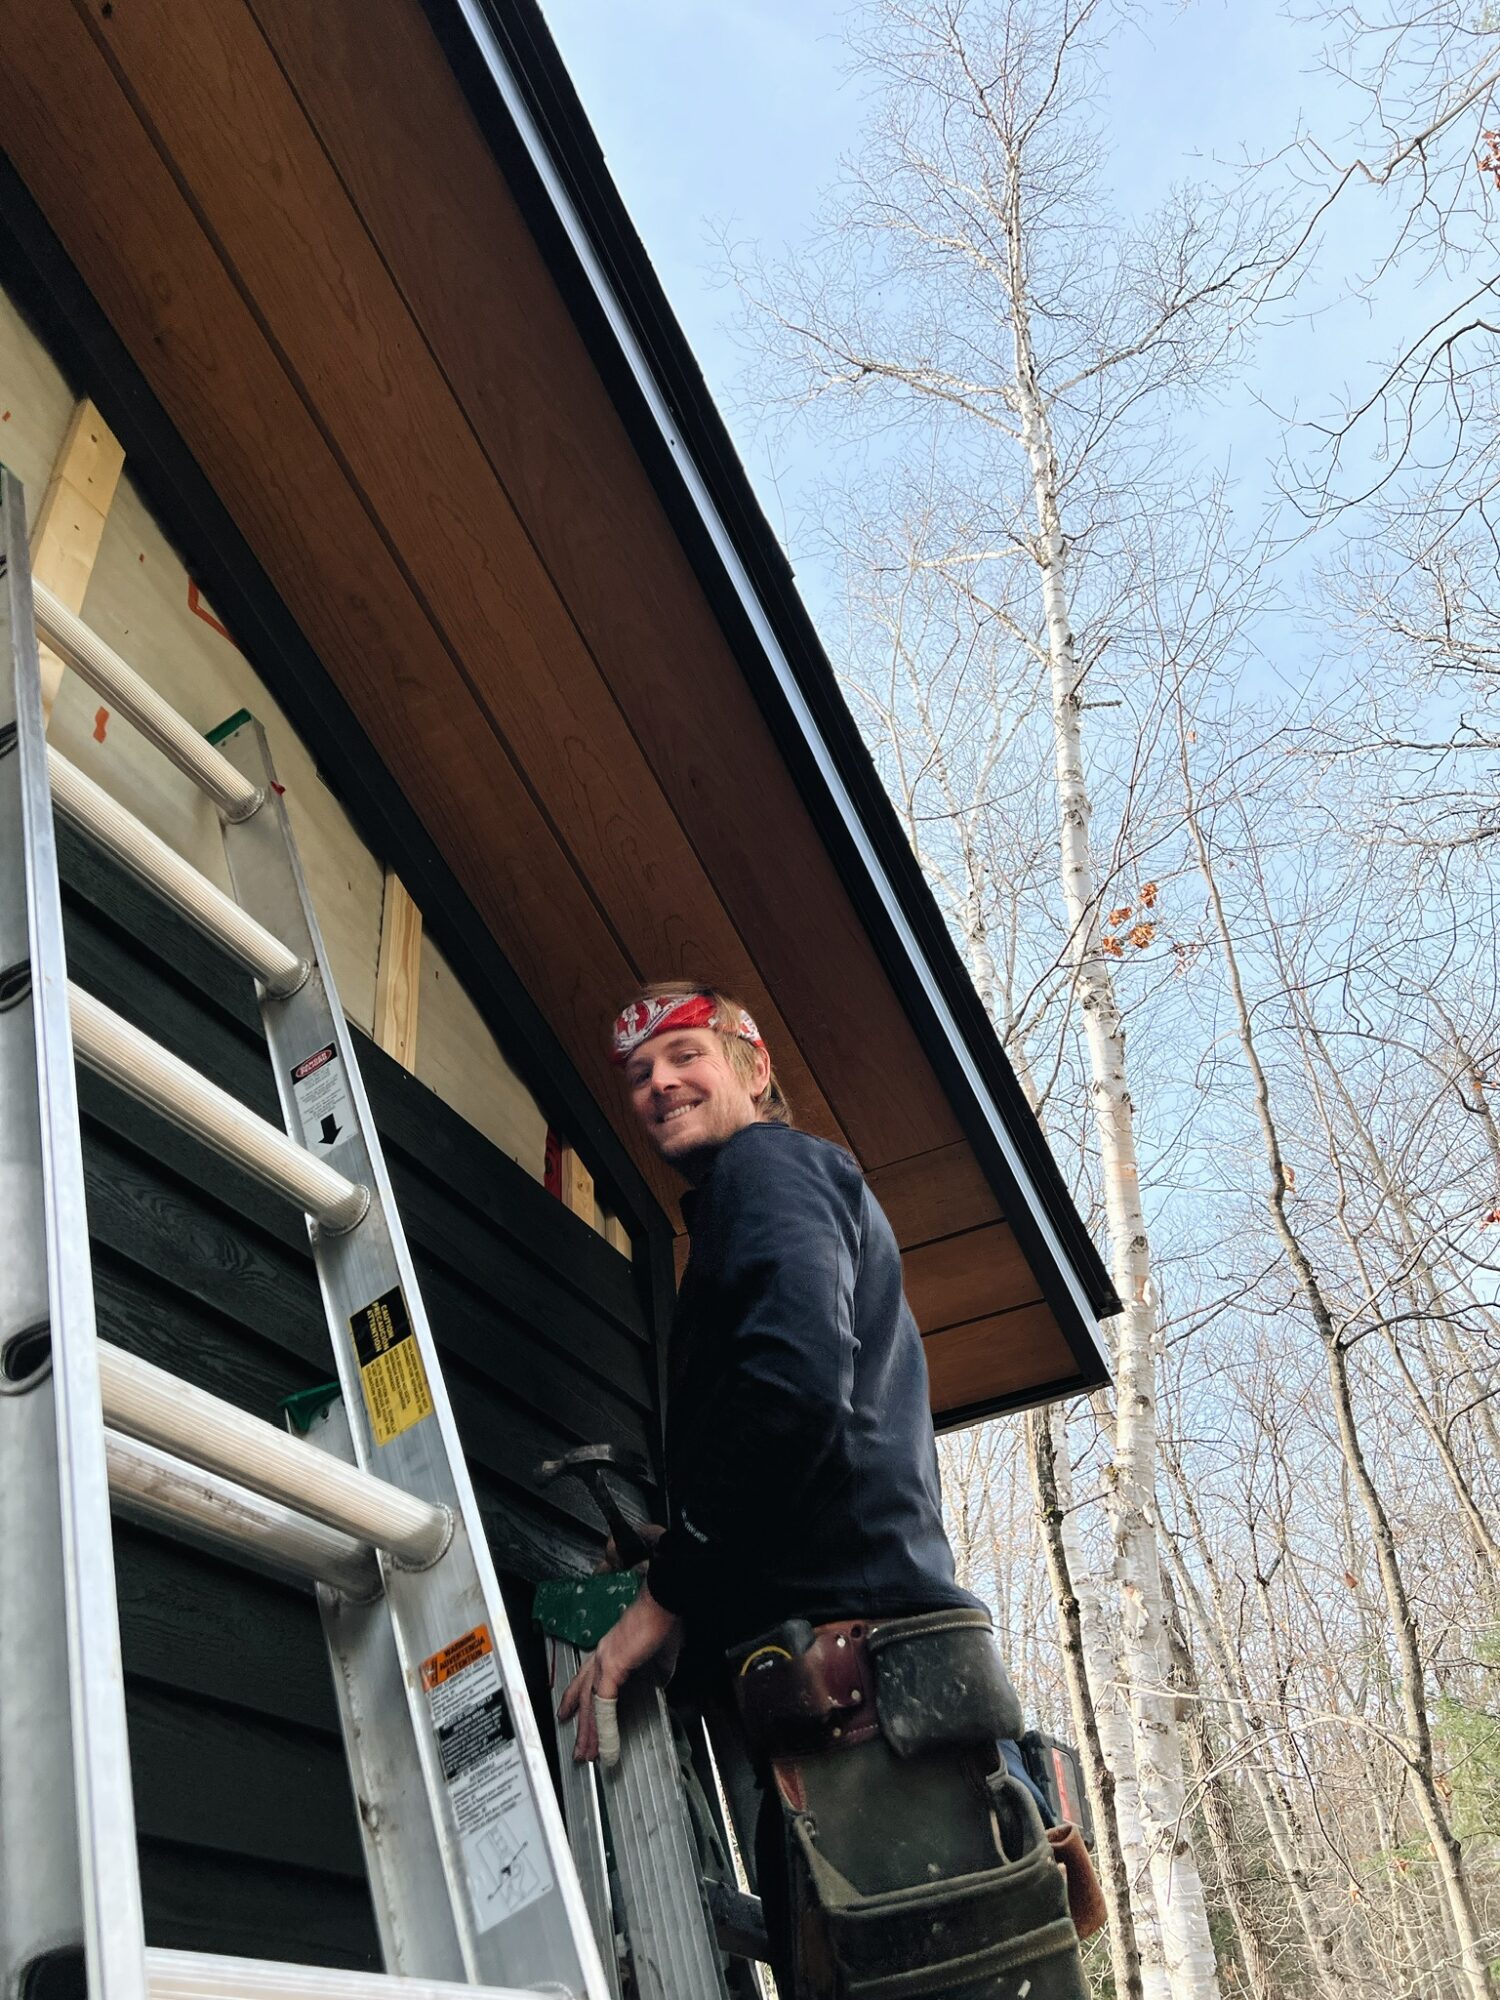
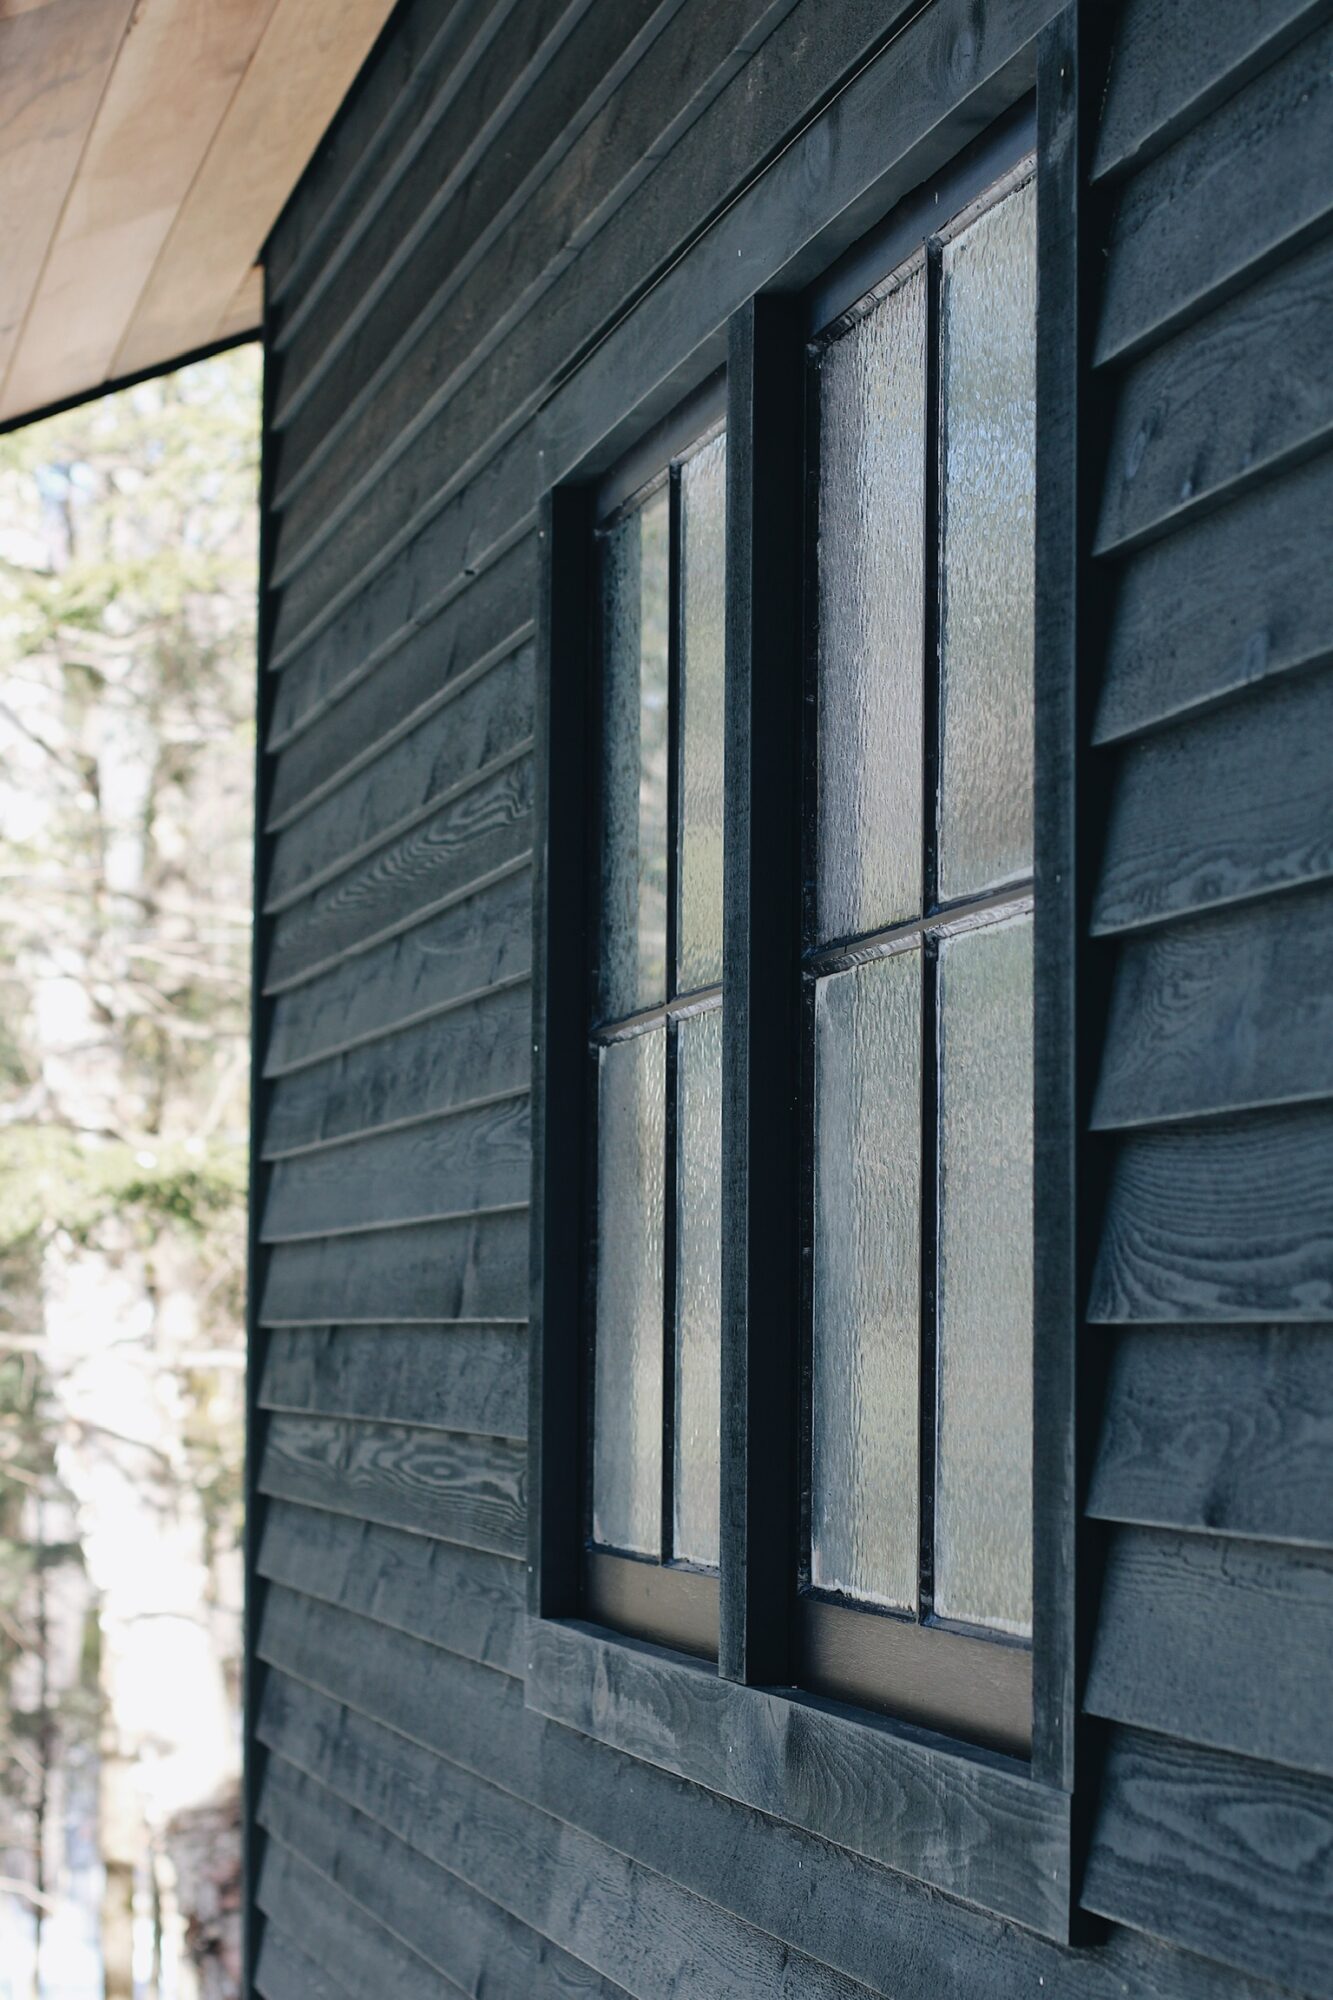
Once the siding was done it was time to put in the windows, which were salvaged partly from our cottage and via kijiji. Of course they needed new paint, a few replacement panes and fresh glazing.

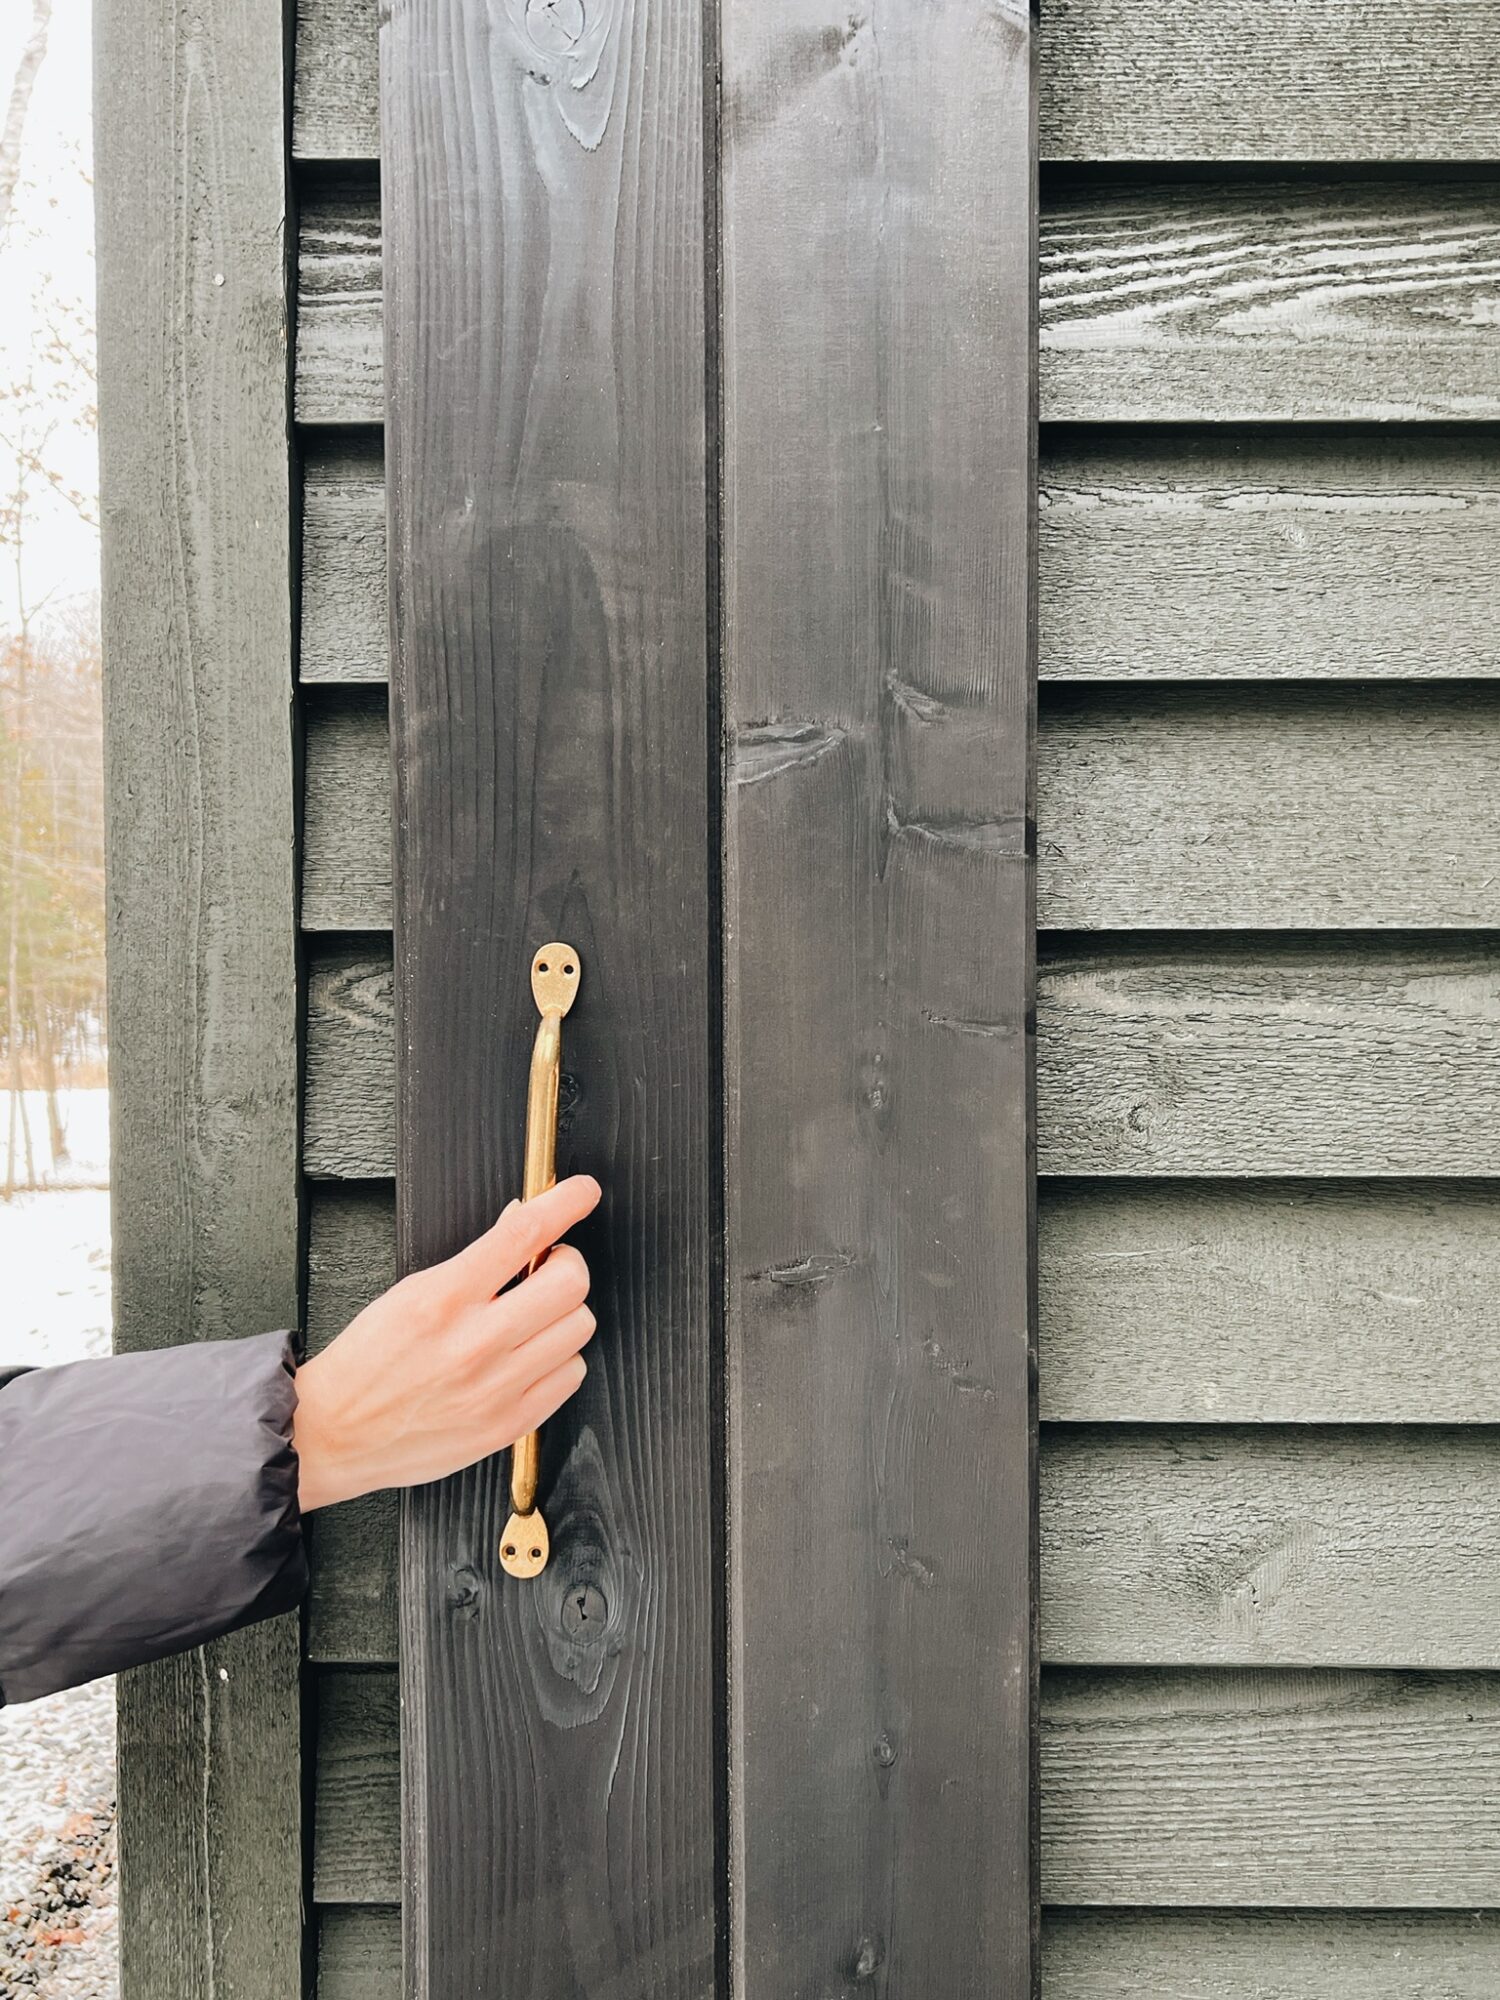
Then Dave went to work building the garage doors, which were installed on very sturdy ball bearing gliders to function like barn doors.

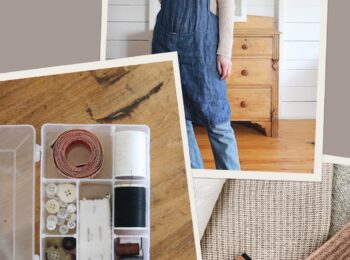
Then the finishing touches like unlacquered brass handles were placed and screwed into place!
And that is where I’ll leave things for the moment!


I’m so curious to see what you’ll do with that space! Besides holding vehicles and equipment, some work space too? Especially with skylights!
I really enjoyed reading this post Lee, great to see the build up to the final product, especially as you started from scratch!
This is beautiful. I’m totally mesmerised by seeing how things come together. It’s such hard work but must be amazing to build it how you want it and know exactly all the materials that went into it. Beautiful work.
Thank you Rita! I’m lucky that Dave really knows what he’s doing and to be able to have such a front row seat to the building process. I’m glad you enjoyed this post, thanks for tuning in! xo
Your garage-in-the-making is stunning! Thanks for sharing the process. I love seeing the framing.
Is your garage going to double as an office? I ask because it’s so huge.
Thanks so much Shizuka! Not an office but a workshop sine my husband is a contractor and engineer with a flare for carpentry and DIY projects. It’s been a lifelong dream of his to have a place to work and keep all his tools in one spot. I like coming up with things for him to make so it works out for me too 🙂 Thanks for tuning in!
I love this behind-the-scenes look! As someone without any sort of practical building/making skills, I usually assume there’s some sort of wizardry involved in the creation of a building. Thanks for giving me a peek behind the curtain (or rather, garage door)!
Haha I used to think that too. It’s actually all pretty straight forward as long as you’re confident about your plans and measurements lol. We are definitely of the “measure twice cut once” mindset at this point and Dave has acquired some major skills that only time and practice can offer. Thanks so much for tuning in!