


BEDROOM REVEAL
At last! Our bedroom renovation project is ready for it’s big reveal! I’m thrilled to finally be able to share a look at how we transformed two tiny, awkward “bedrooms” into a single bright and welcoming space. It’s taken an agonizingly long time to get it to this point and there are still things I’d like to work on but I just couldn’t wait any longer! If I’ve learned anything so far about renovating, it’s that you cannot rush it. From framing to electrical to drywalling and painting to choosing fixtures and functional finishes it all takes careful consideration and a hell of a lot of elbow grease.
I will take one quick moment to brag about my contractor/carpenter/prince. Dave has been working tirelessly and expertly throughout the entirety of our renovations. He is truly in his element, even when things aren’t going as planned! We’re a good team, although I might be a lot less at ease with the process, the results are proof that we’re making it happen.
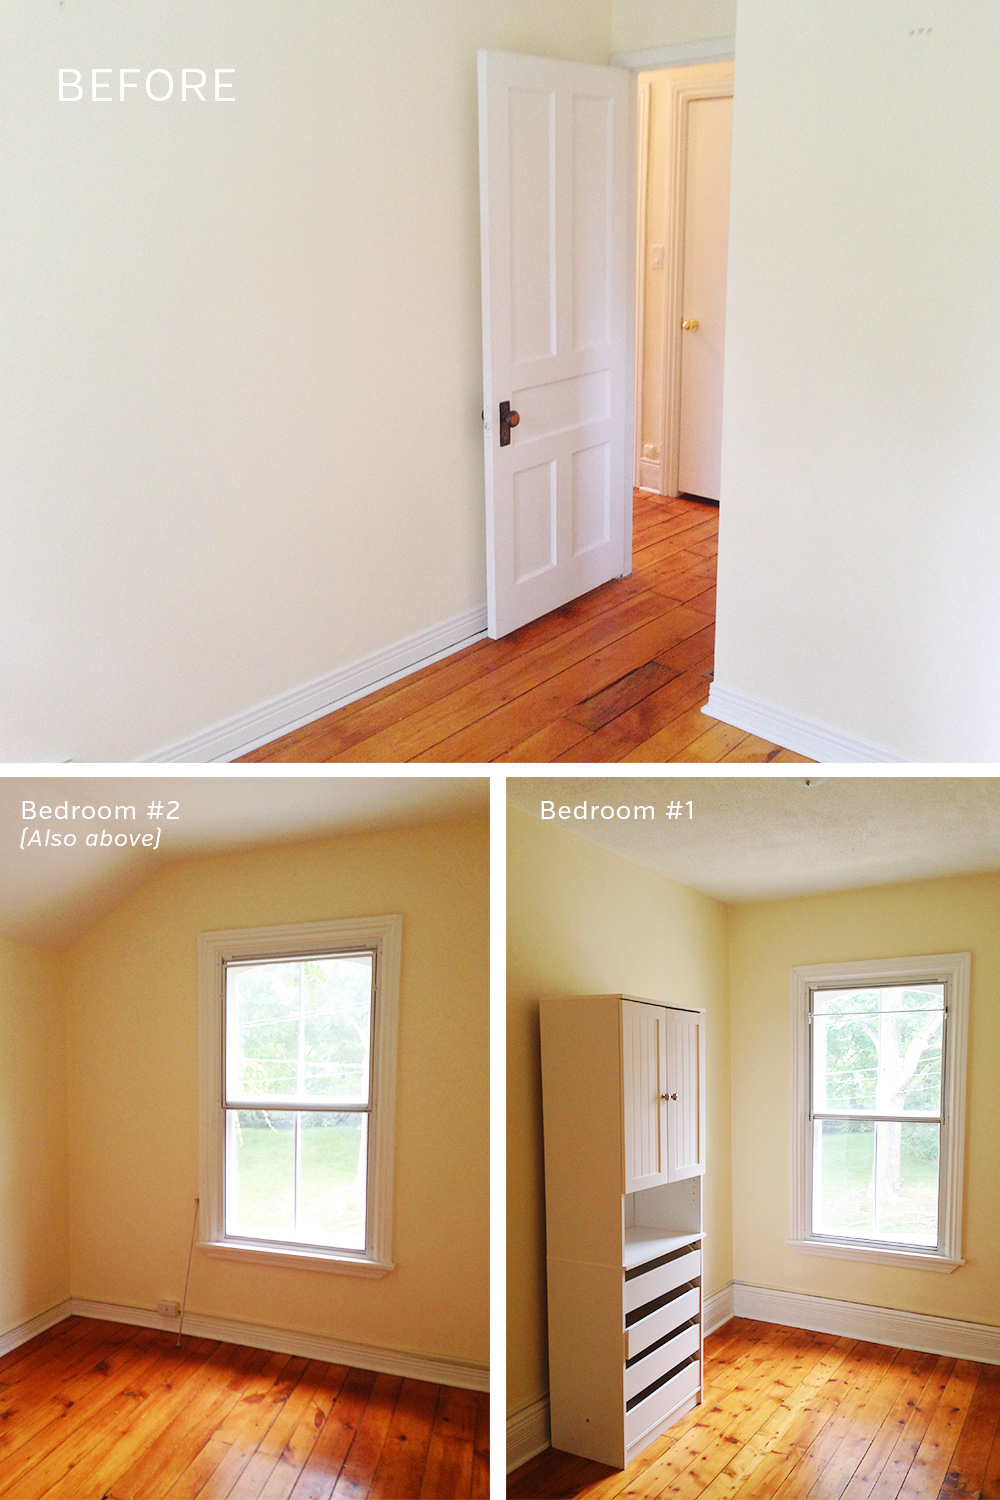
So let’s talk about this project shall we? Here’s a look at the rooms when we started. They may not look all that bad but they were itty bitty in size with wall mounted electrical, pop corn ceilings, plastered walls and there was not one single right angle to be found.
FLOOR PLAN – BEFORE
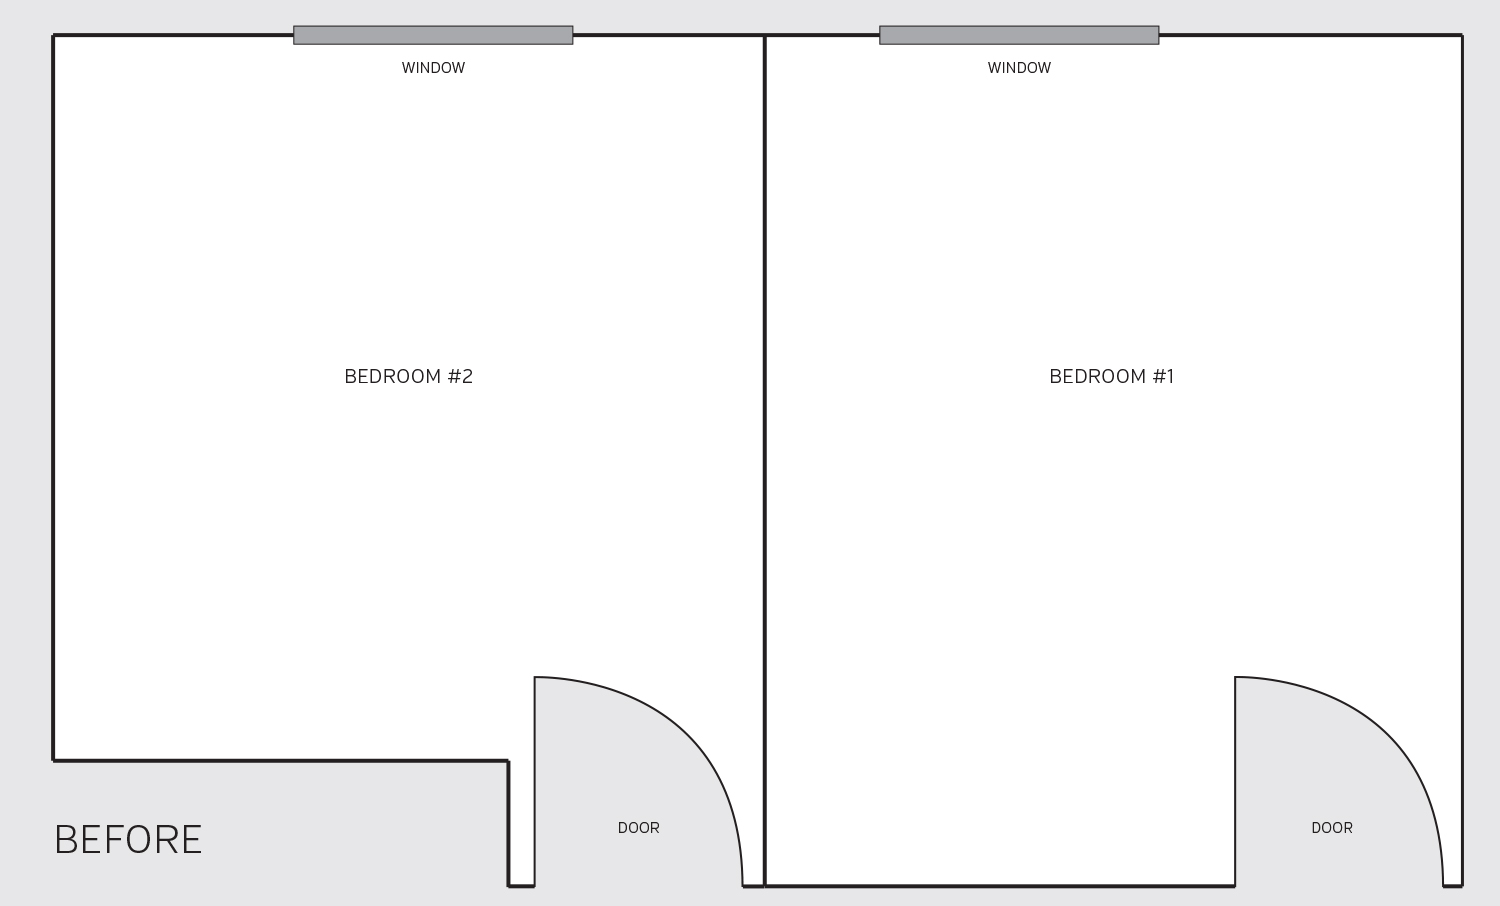
WHAT WE DID:
- Deleted door on Bedroom #2
- Reframed the entire south wall (incl. door) to allow for a larger bathroom.
- Deleted wall between Bedroom #1 and Bedroom #2
- Fixed and buried all electrical
- Insulated the walls and attic
- Installed pot lights
- Replaced 90% of drywall
- Replaced all trim
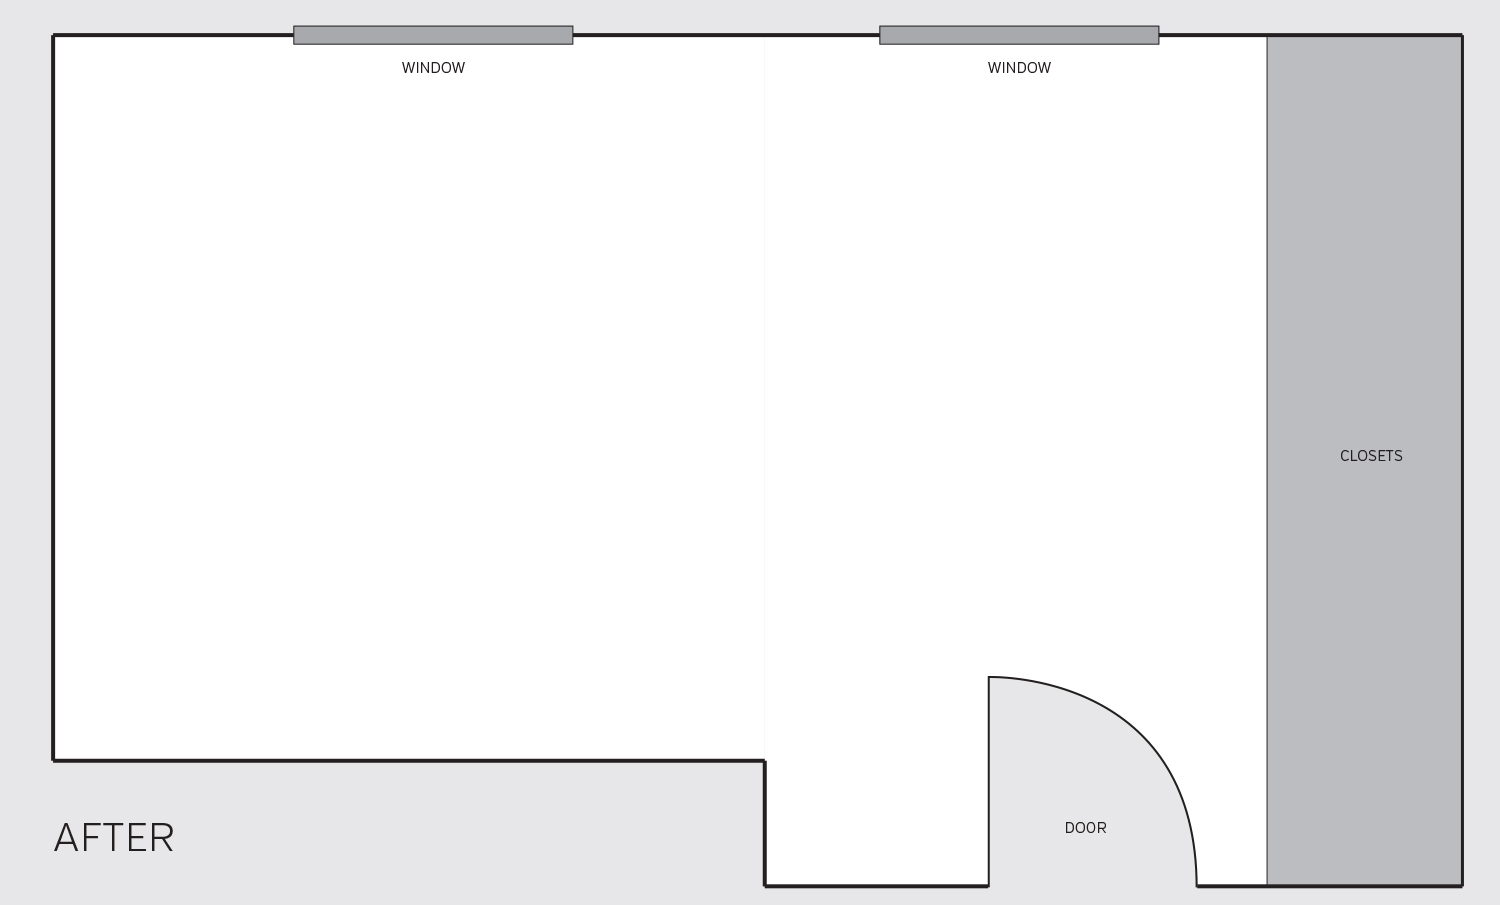
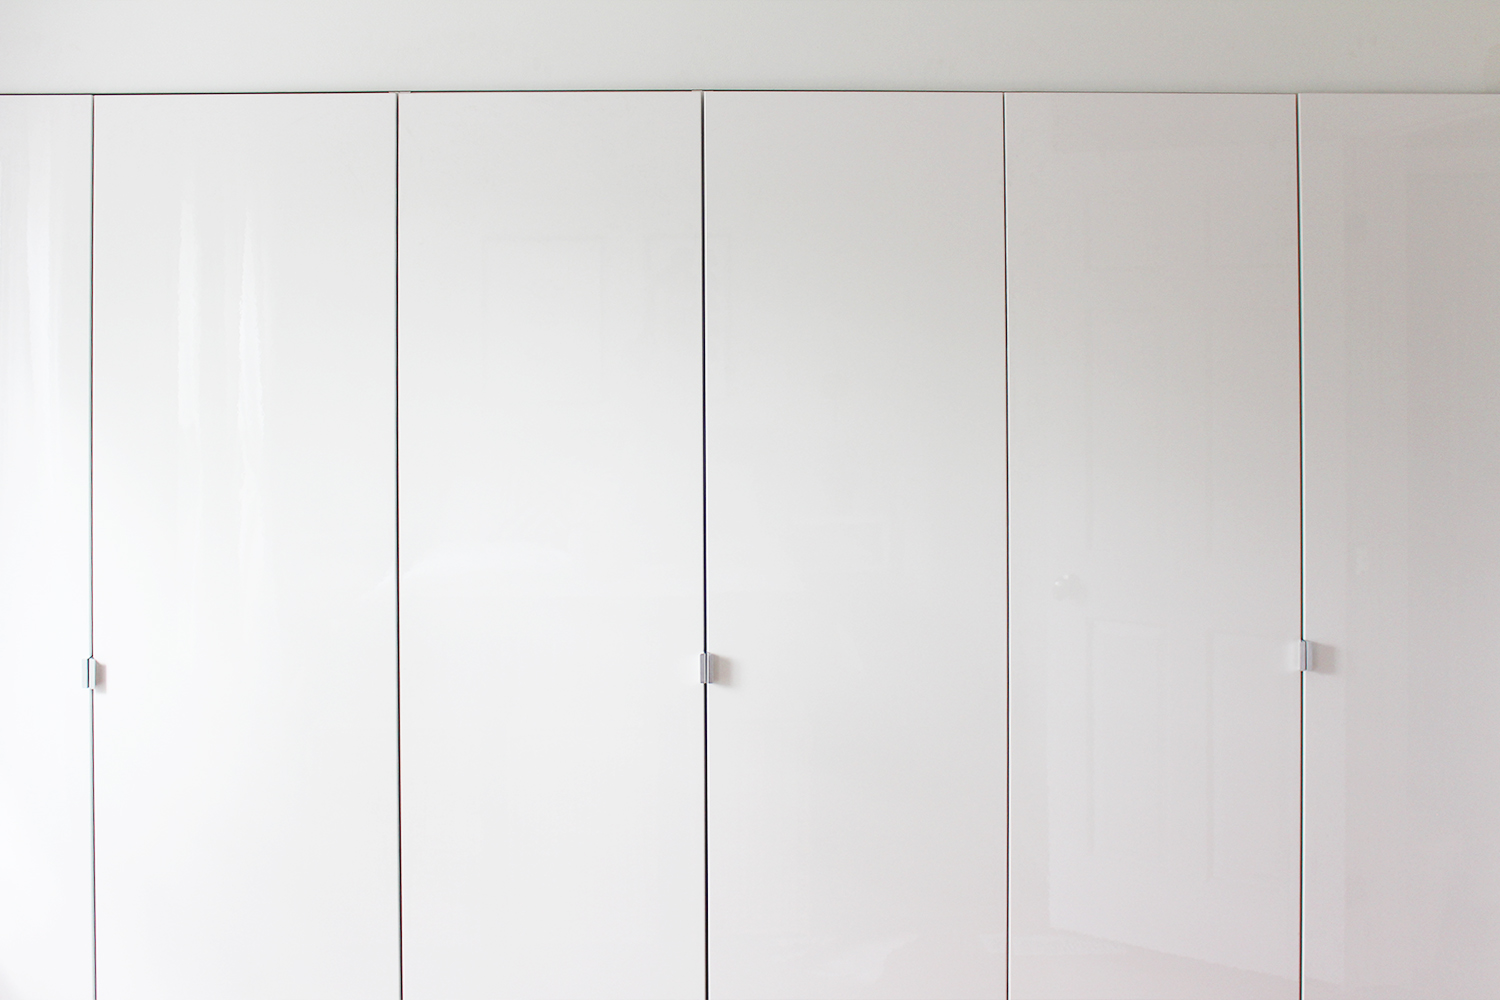
- Inserted a full wall of built-in closets
- Painted, painted and painted
FLOOR PLAN – AFTER
360 TOUR
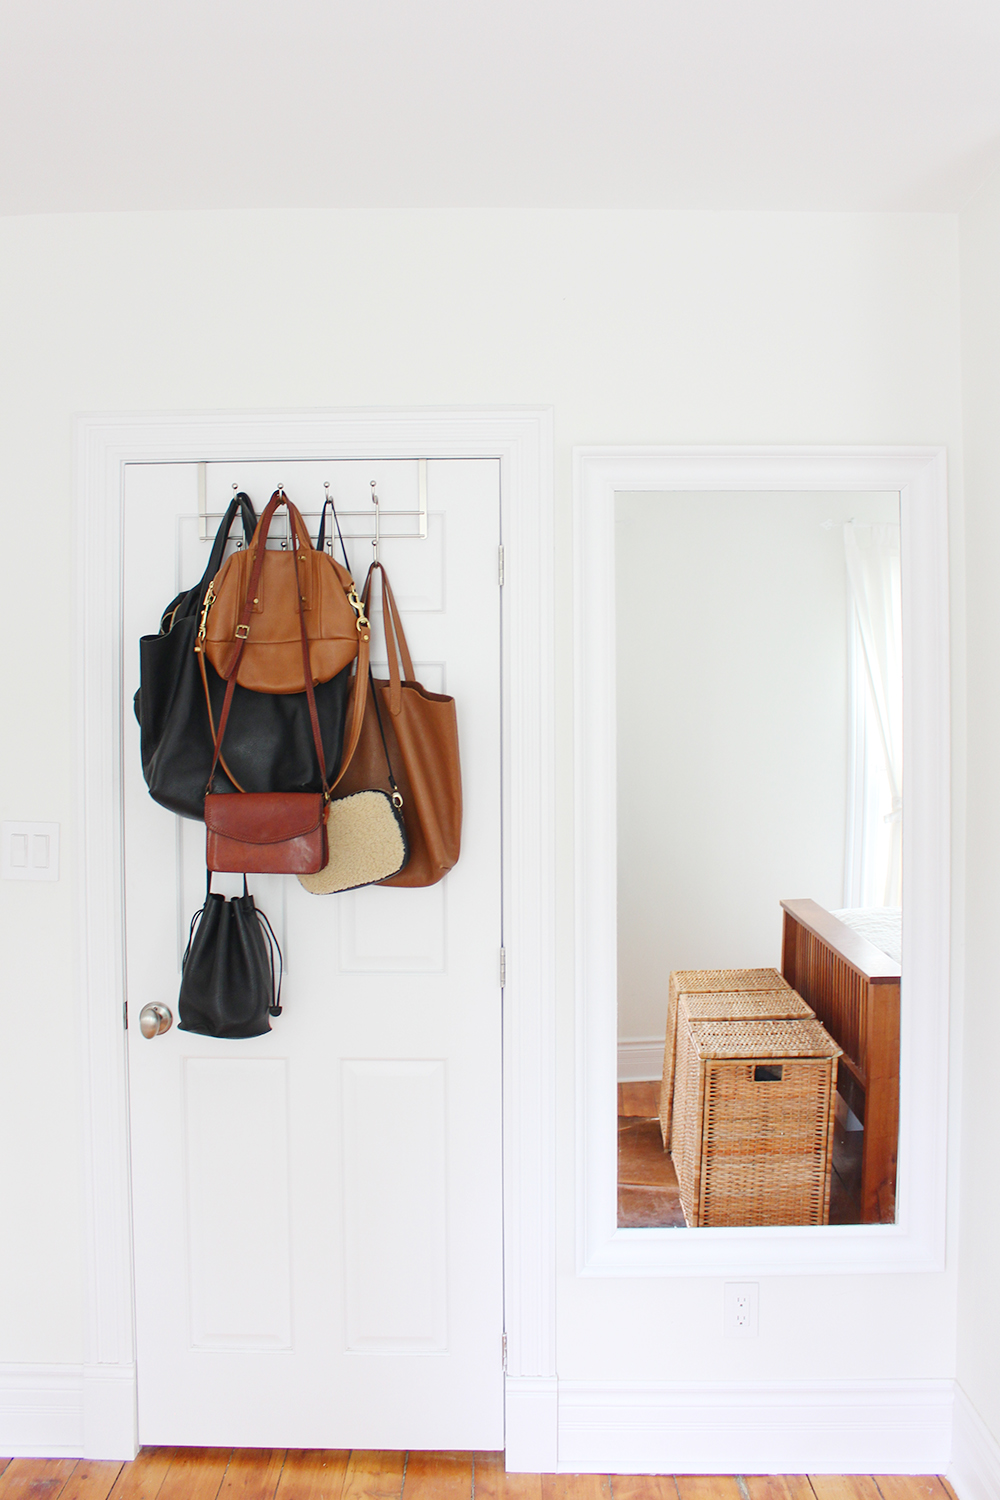
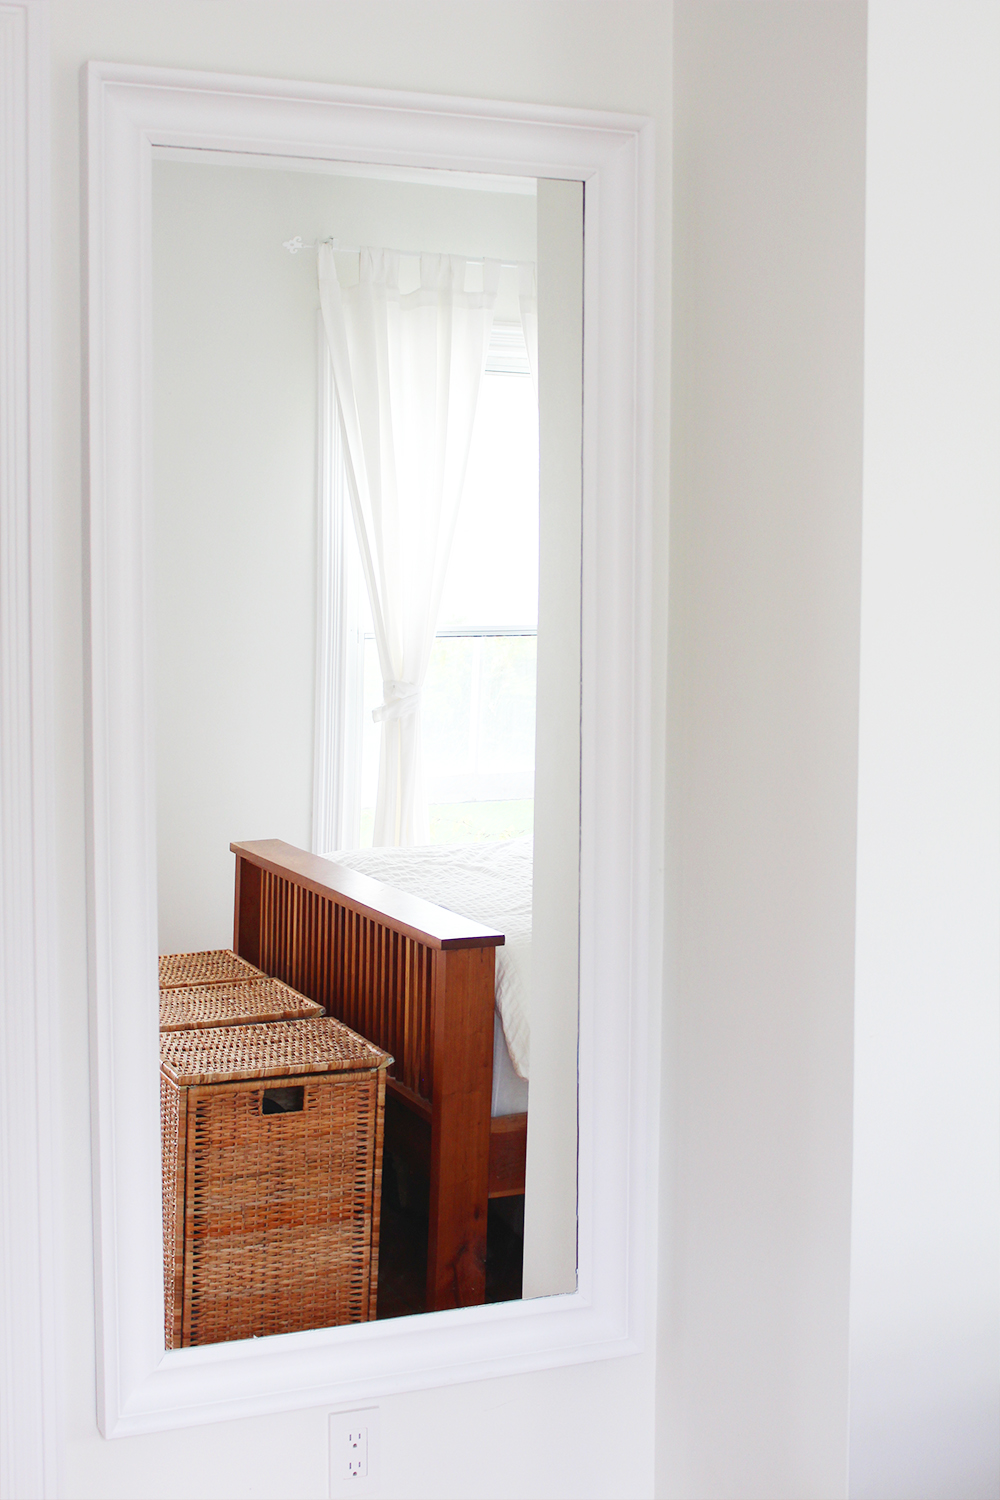
Even after combining the rooms, the space isn’t massive but with high ceilings and two huge windows letting in lots of natural light it doesn’t feel cramped at all. A full wall of built-in, low profile closet space makes it functional. We keep extra linens, blankets and clothes in two large bins under the bed and three lidded laundry hampers help keep clutter under control.
Let’s start with a quick 360 tour of the space, starting from the bed going clockwise. Then we’ll look a bit closer at the details, and talk about why we made the choices we did.


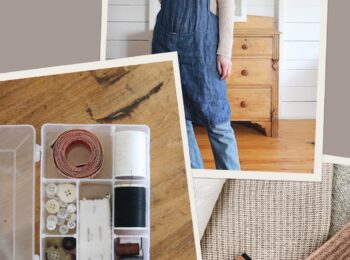
THE DETAILS
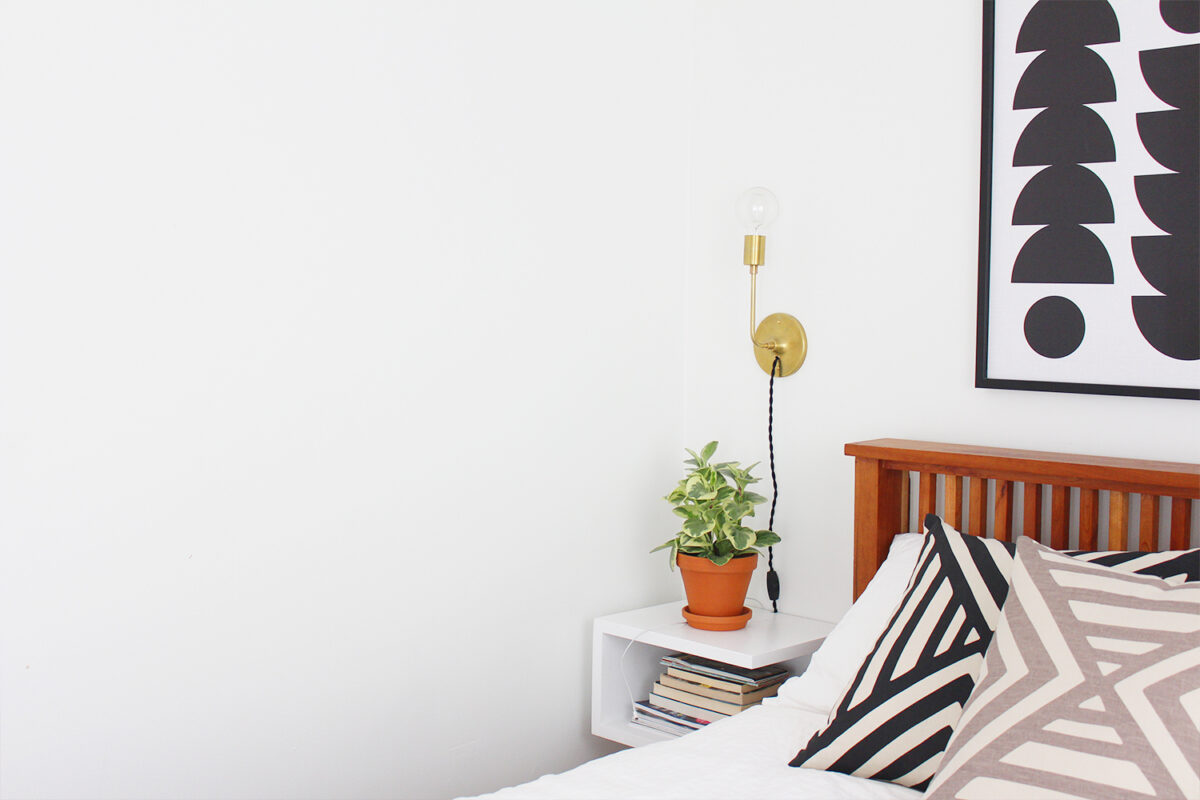
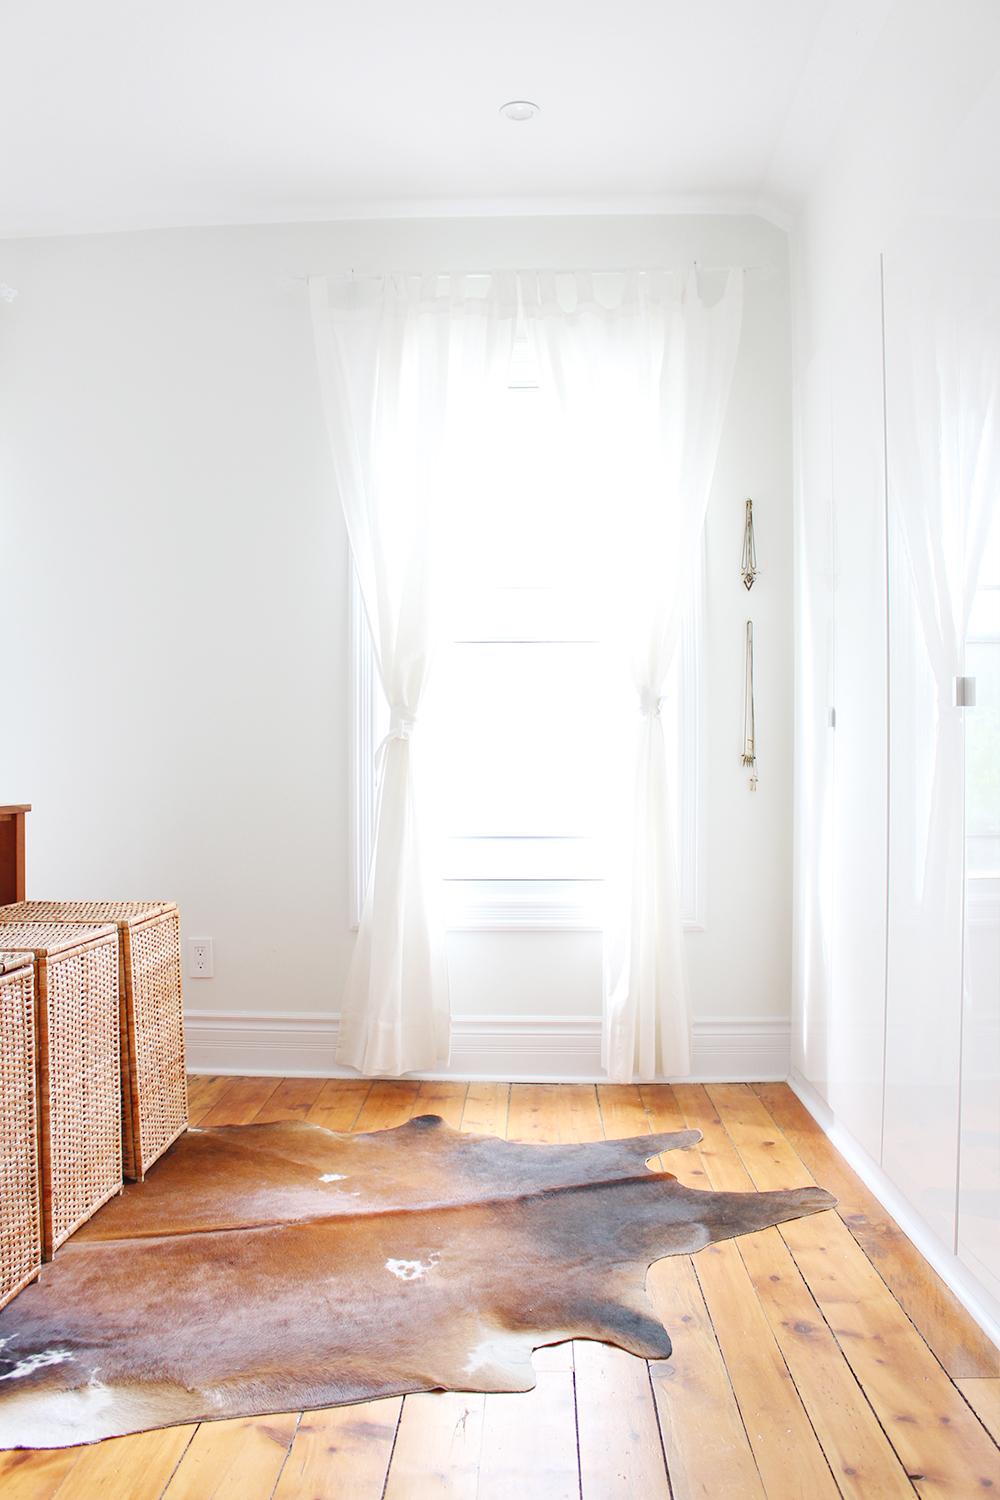
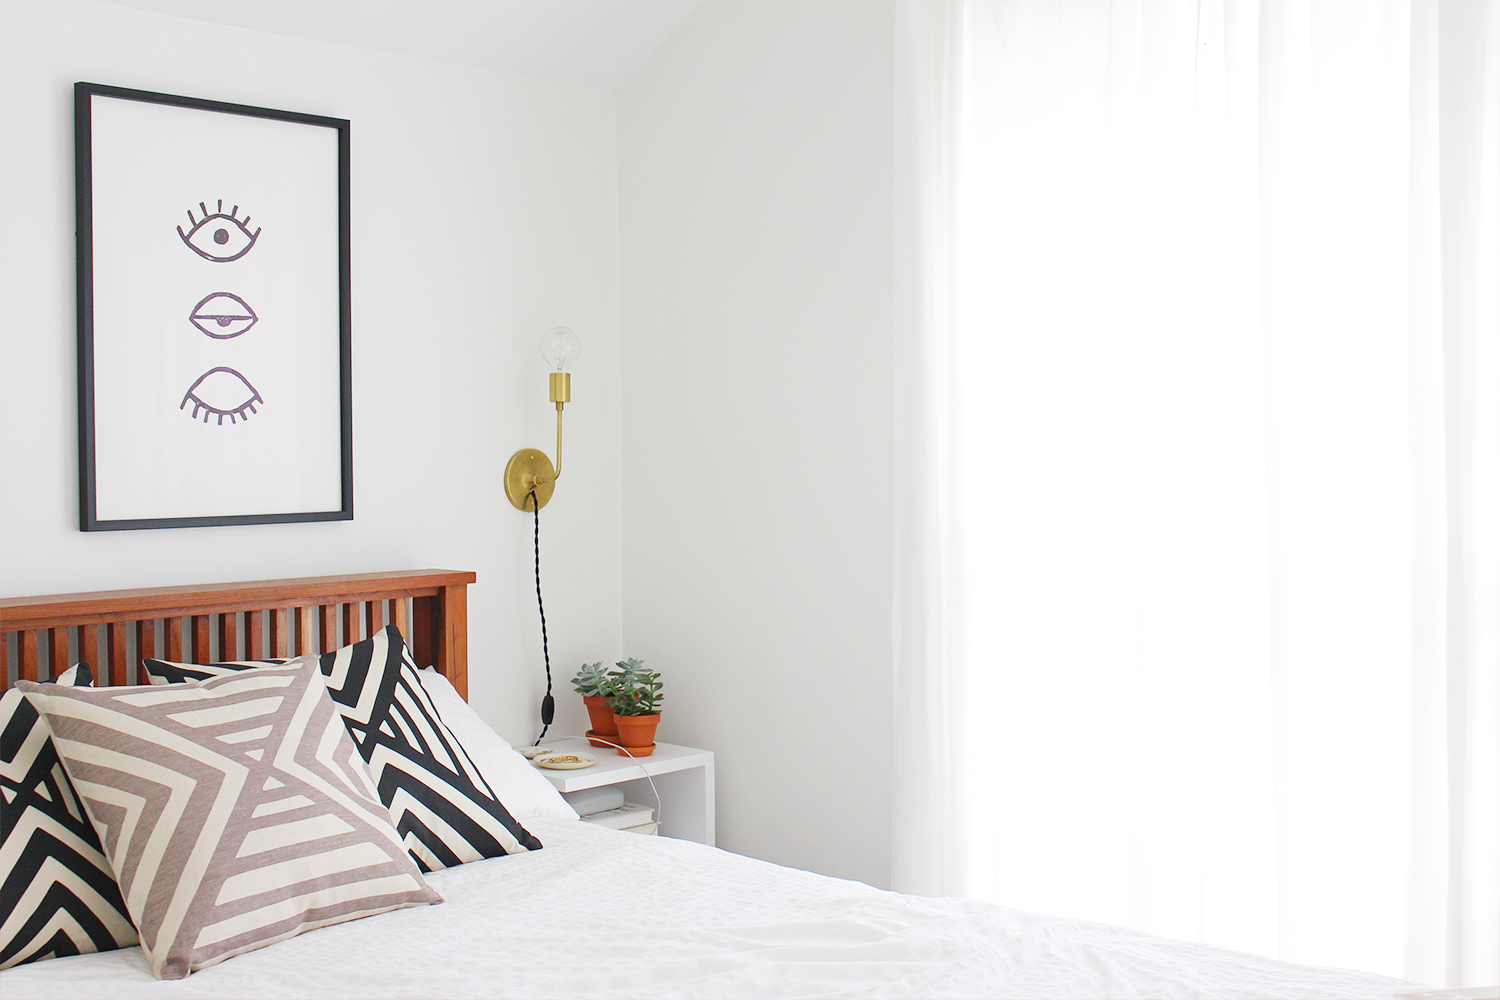
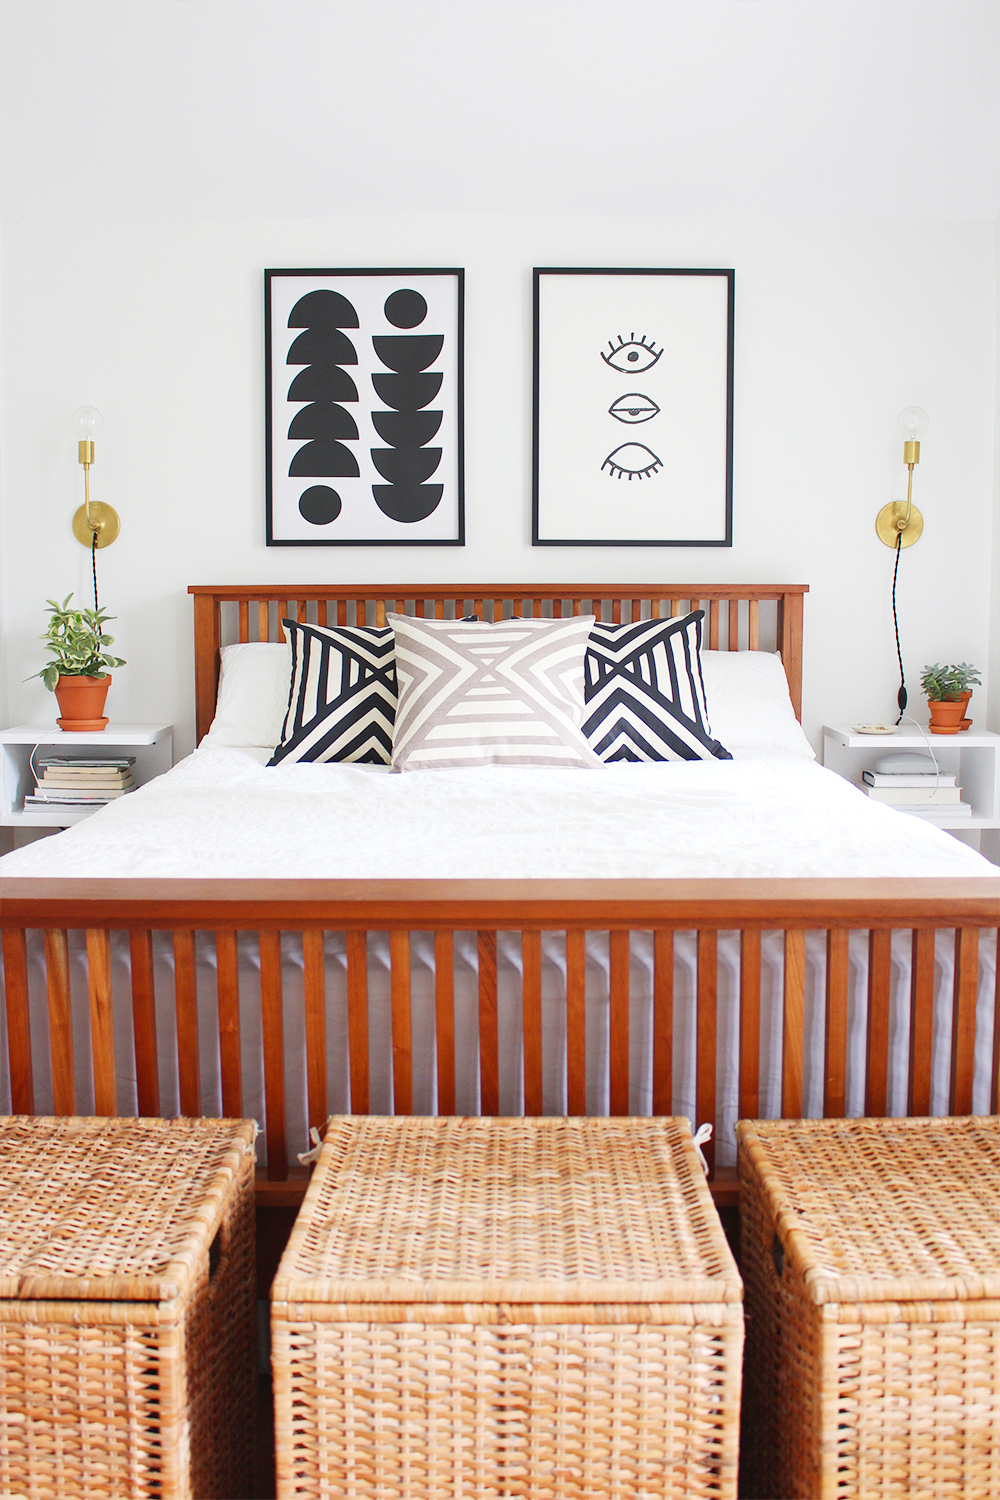
Like I said, it’s not a big room but it’s a bright, fresh space to wake up in and a cozy, comfortable place to hit the hay. As you already know my aesthetic is fairly minimal, with clean lines and simple but purposeful hits of pattern and rich neutrals. I absolutely LOVE white walls but they can feel a little too stark so we wanted to warm up them up with earthy tones, some hits of black and a couple brass accents. We went for white curtains to soften the big windows without becoming a distraction or blocking too much light.
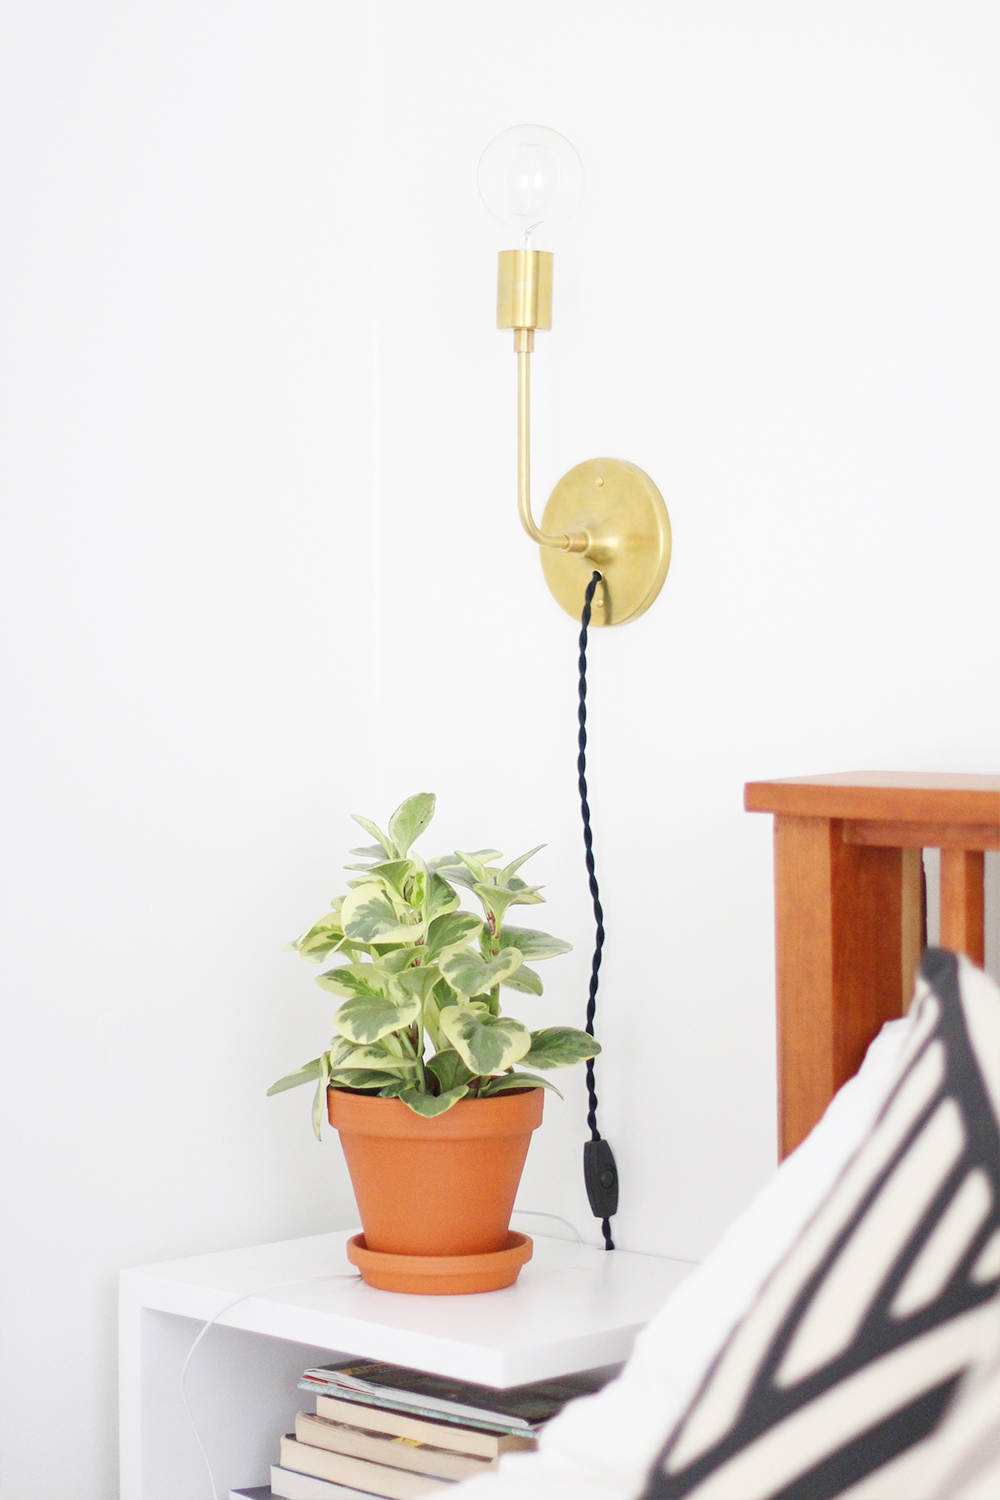
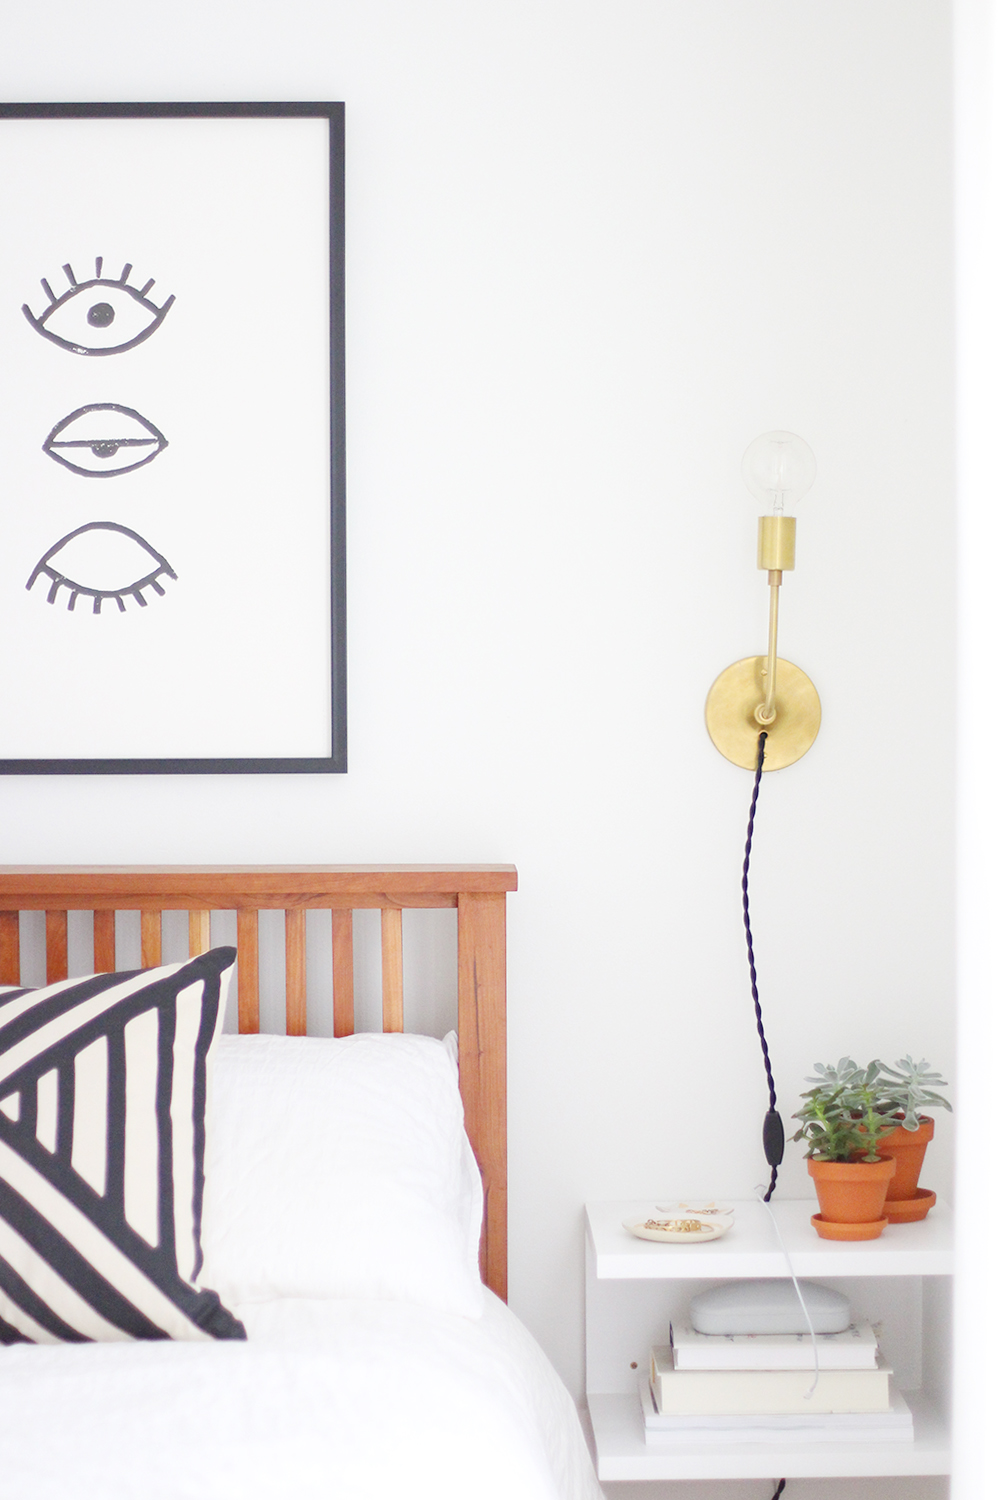
I searched high and low and everywhere in between for the perfect pair of brass wall sconces, finally finding the right ones from the amazing Schoolhouse Electric. They’re industrial but still so sleek and elegant and the open bulb makes them feel contemporary. We wanted to keep the area around our bedsides uncluttered but functional so we opted to design and build our own floating side tables. That way they fit perfectly, leave lots of room below and still hold all the books, maps and magazines we could possibly want to have within reach.

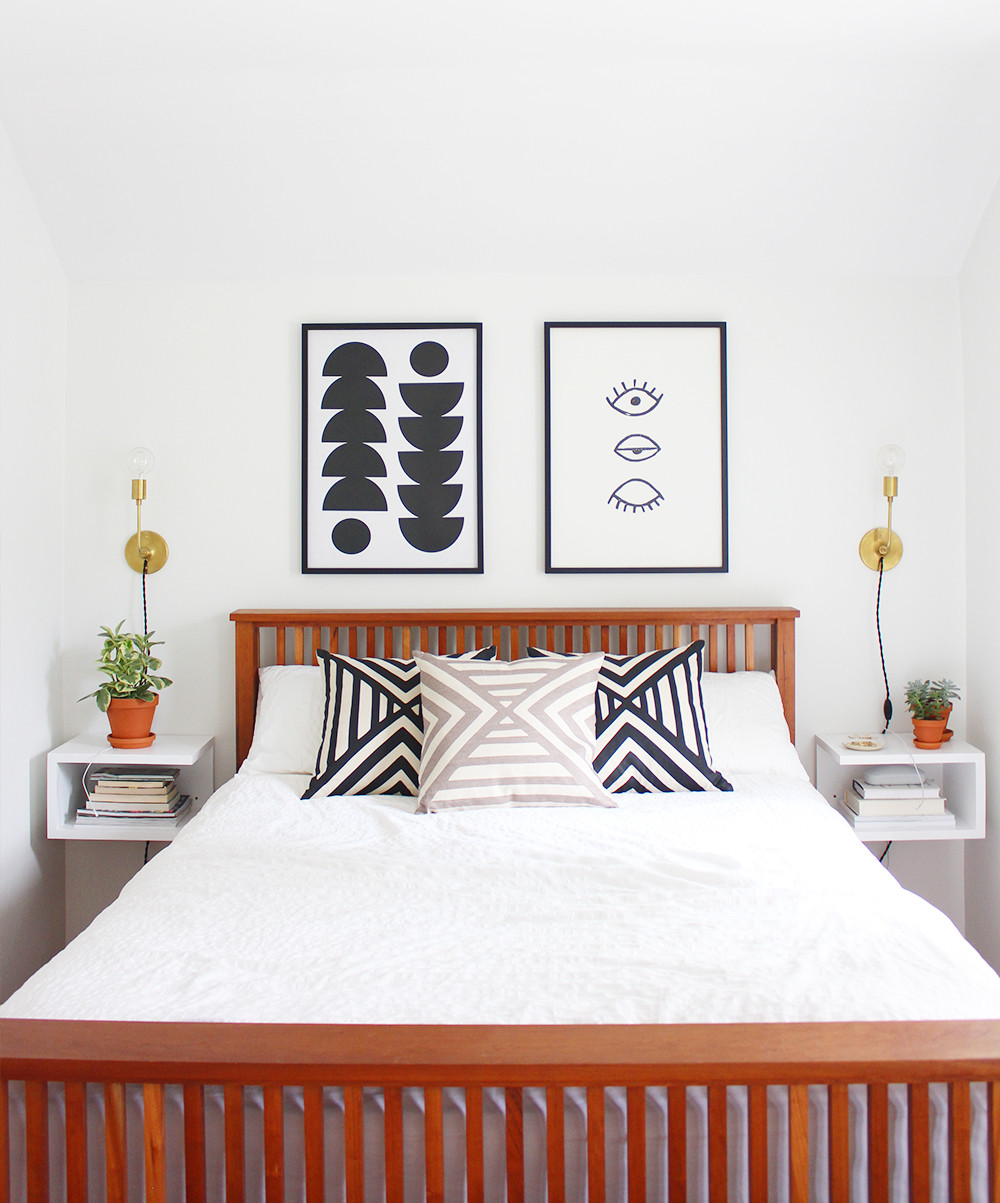
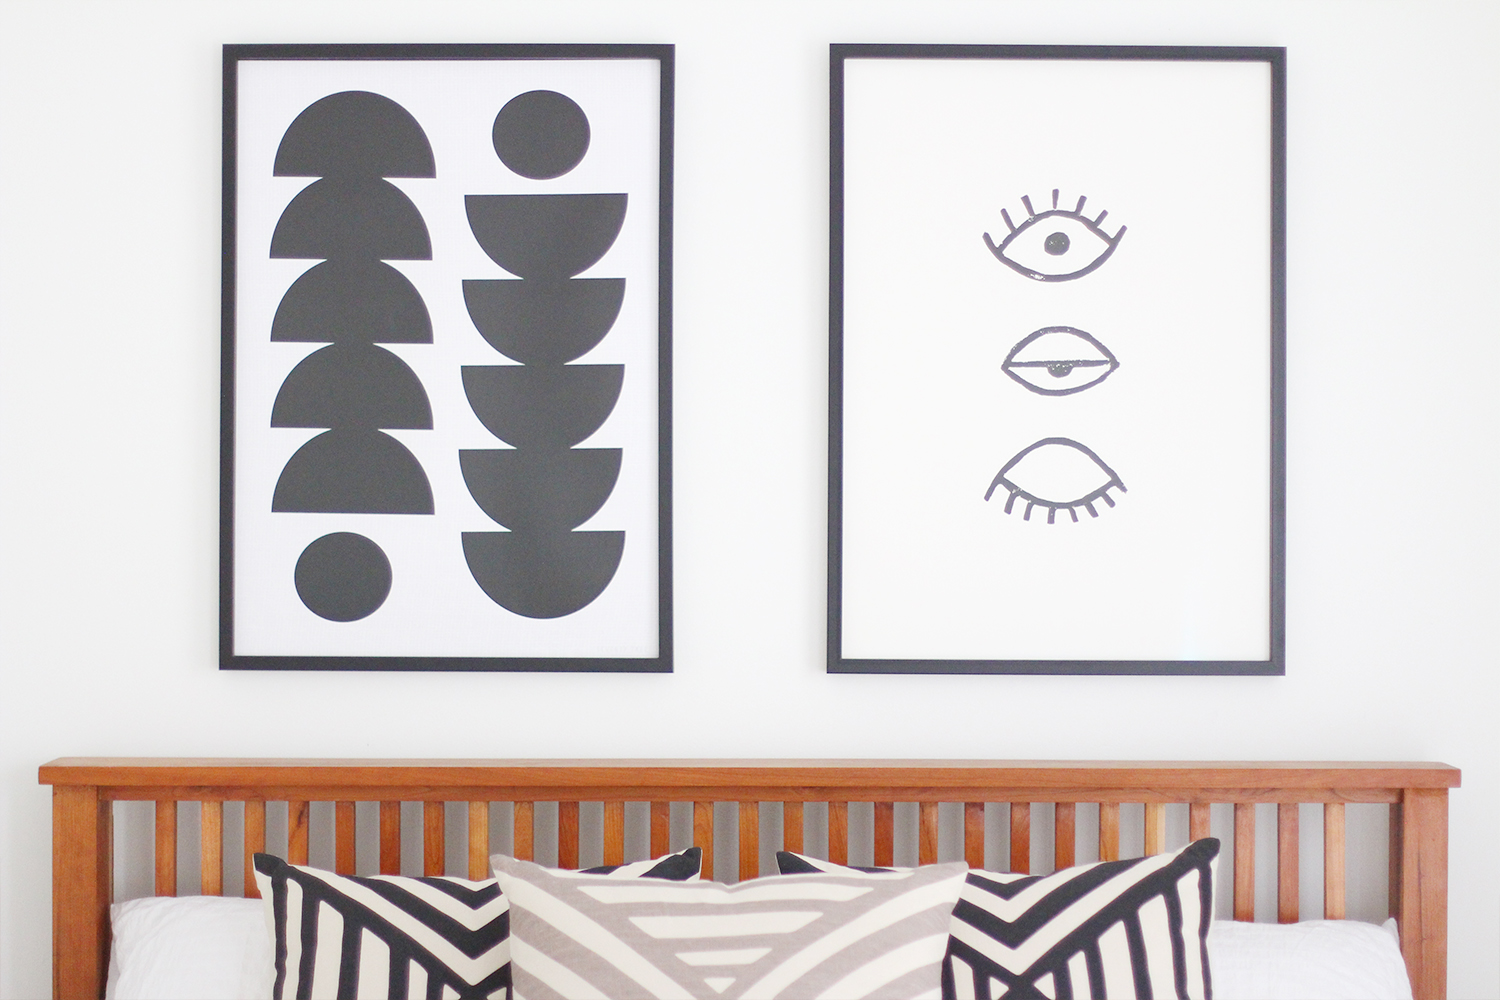
I’ve been smitten with the Fine Little Day ‘Eye Eye’ poster for ages. I wanted to pair it with a strong, bold graphic and the ‘Tropical’ poster by Seventy Tree just seemed to fit the bill. The great thing about these prints is that they could work anywhere in our house so even if we want to switch things up at some point they’ll never go unused. I found them both for a great price via The Poster Club.
I’ve mentioned Lint + Honey a few times on the blog (here and here for example) and Andrea’s pillows are just as beautifully designed and well-made as her kitchen wares. I immediately loved the tribal feel of this simple but striking print and can’t get enough of the black, cream and flax colour palette.


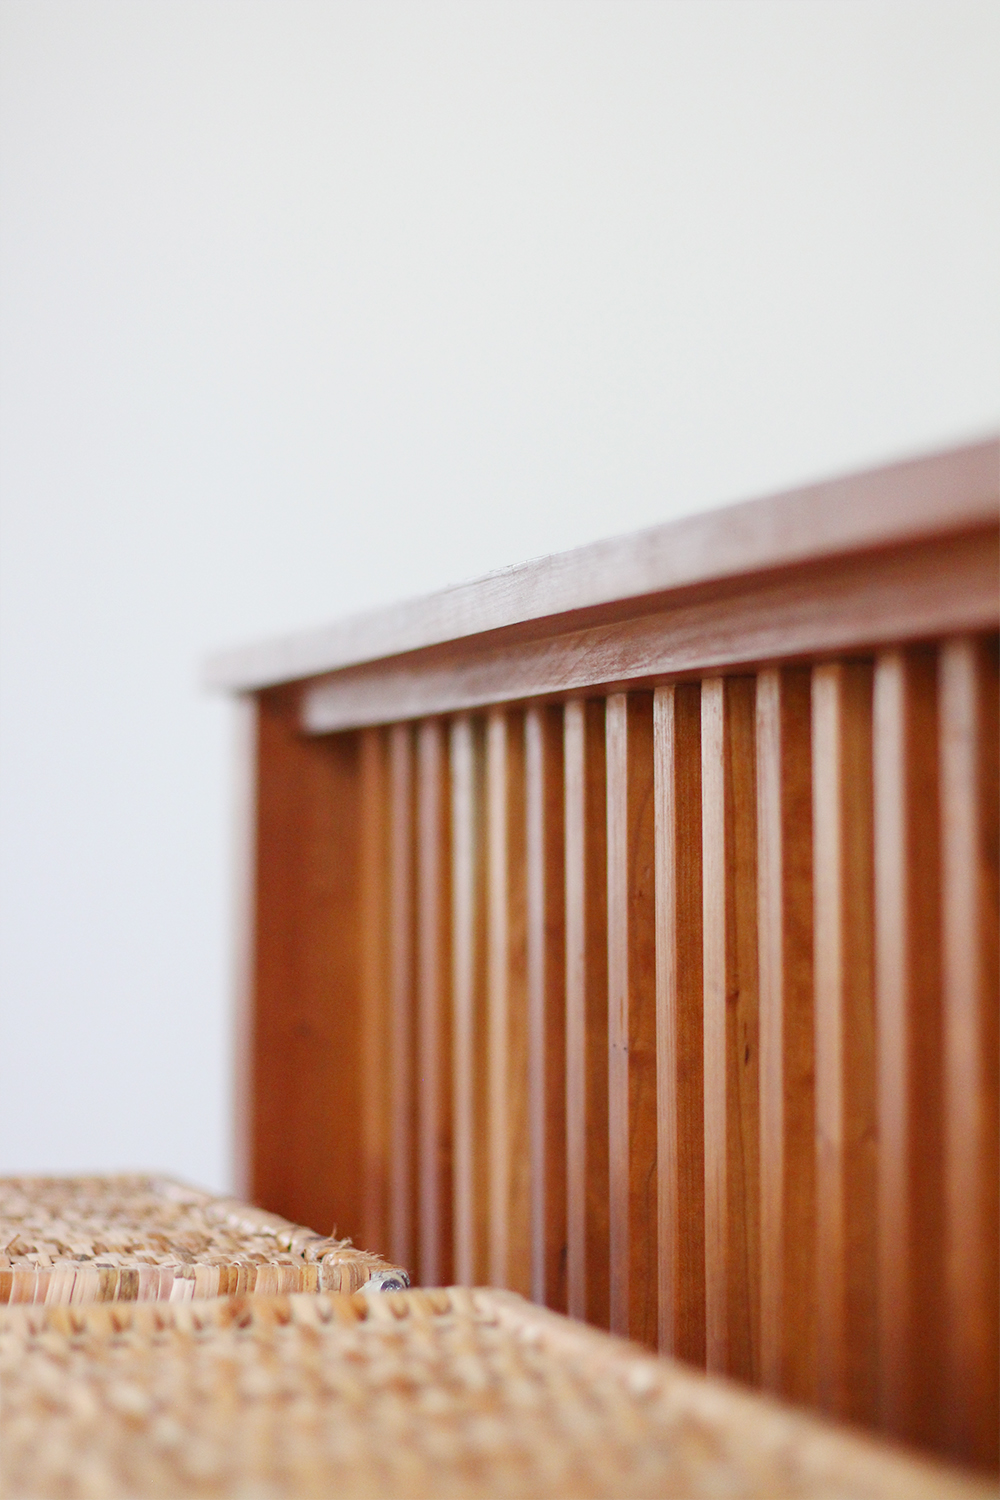
When I originally met Dave he had just completed his first major furniture building project. From a single piece of naturally fallen cherry tree he designed, cut, planed and created this incredible bed frame. I honestly thought he was pretending he made it just to impress me, but nope, it was legit! It’s aged beautifully and Dobby happens to love it just as much as we do! When the curtains are open he has a perfect vantage point to the street outside.

There you have it! Our finished bedroom reno. PHEW! That was a big post but I wanted to do justice to a major project and undertaking. Thanks for taking a look through and waiting so patiently for the reveal, I know I said it would be ready in Feb! Plus now it’s on record that the room actually can look this neat and tidy.
So tell me, have you ever done a home reno before? I’d love to hear your experience!
Please see below for a complete list of product sources.
SOURCES
Paint – White Heron Benjamin Moore
Curtains – IKEA
Closets – PAX System IKEA
Door Mounted Coat Hanger – IKEA (similar)
Bed – Designed + made by Dave
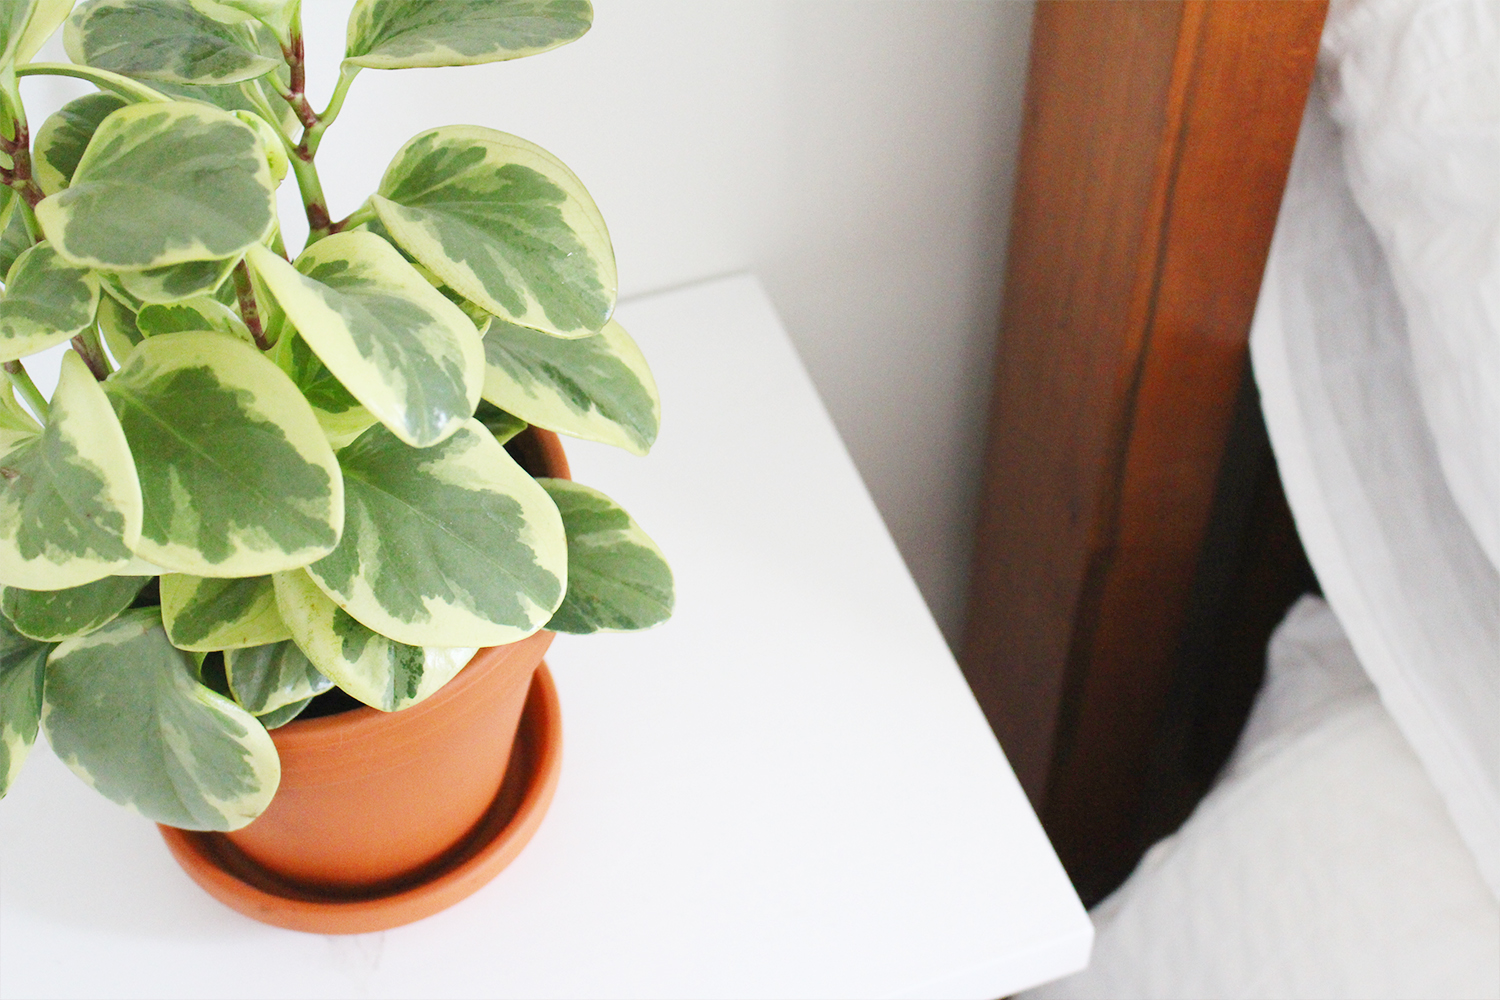
Side Tables – Designed by moi + made by Dave
Posters – The Poster Club | Left | Right (framing by Michael’s)
Pillows – c/o Lint + Honey (Use code ‘STYLEBEE’ for 15% off)
Bedding – IKEA
Wall Sconces – Schoolhouse Electric
Laundry Hampers – IKEA
Cowhide Rug – Purchased at a Farm Fair
Mirror – IKEA (painted white)
Ring + Bracelet Dishes – The Object Enthusiast


I love this room! Looks like a lot of love, sweat, and thought went into it. I’m especially loving the wide plank wood floor and the bedside tables with the lamps above. So nice and comforting.
Thanks so much Stephanie! Blood sweat and tears were definitely a part of it 😉 So glad you like the details too. Xo
The finished product looks beautiful! I love how bright it is – well done! House projects can be very tedious and usually more work than originally planned but the outcomes are rewarding.
Thanks Rachel! Tedious and time consuming indeed! But totally worth it in the end for sure. xoxo
Love! I showed my boyfriend the pic on insta and said “ooou! I want those bedside table thingys!” and he was like “lets just make them” so I rushed over here to see where you bought them from first and apparently he’s on the same page as you and Dave! and oh my goodness that bed!!!! You two make such an amazing team, this room is absolutely stunning. Also, I think the size is great – everything you need fits in so wonderfully and it all just epitomizes that perfect balance between beautiful and functional.
Ahaha that’s so funny! “Let’s just make it.” is Dave’s response to just about everything. You guys could totally make them. You just need a few pieces of wood, a sander and some paint. Et Voila!
Thanks so much for the lovely comment Steph! I really appreciate it! xoxo
It looks gorgeous! I love the sconces and art 🙂 xo
Yay! Thanks Jessica! Means so much coming from you! xoxo
Gorgeous & cozy! Job well done Lee! Love the hardwood floors, and it’s plenty big to me. That’s amazing that Dave made the bed frame and so sex and the city cool! Dobby seems to think its all for him, typical dog reaction lol. Enjoy your finished bedroom.❤️
Thank you Jodie! When it’s clean it’s definitely a good size. If only I could manage to keep it that way! haha Dobby is certain the entire house project is solely for him! Little monkey! Have a good day lovely lady. xo